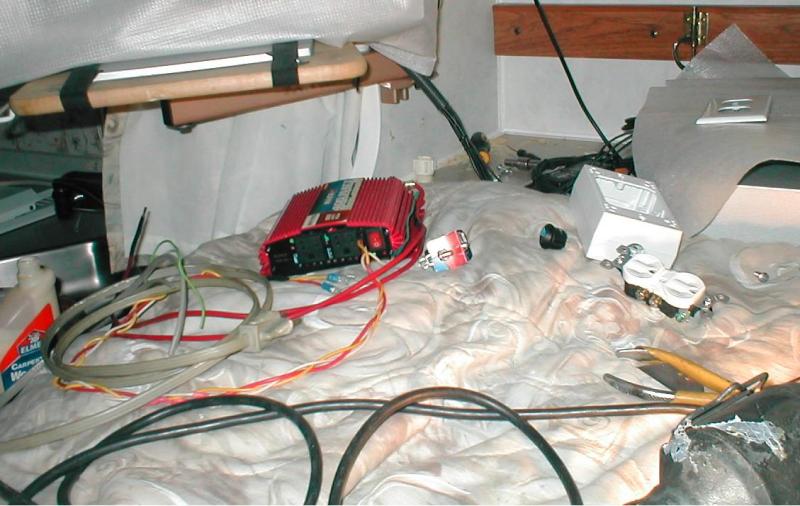
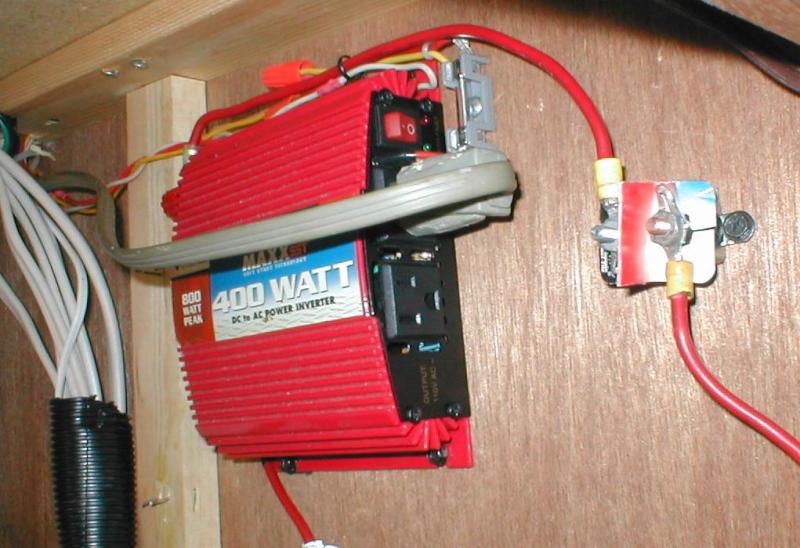
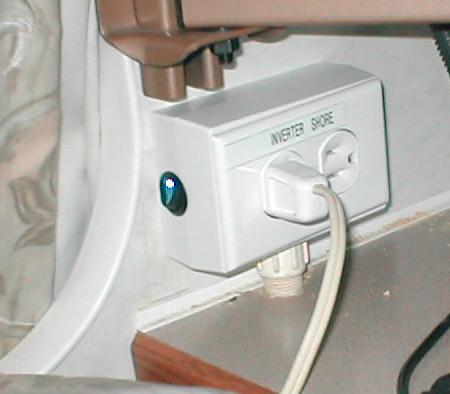
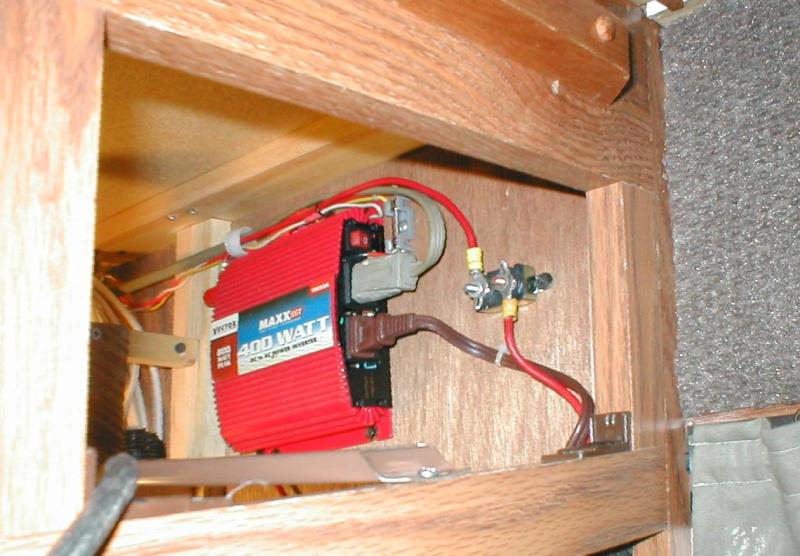
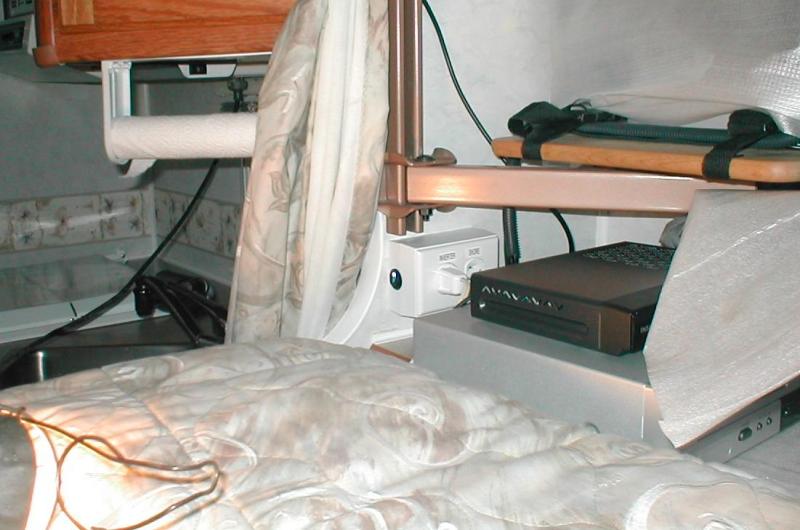
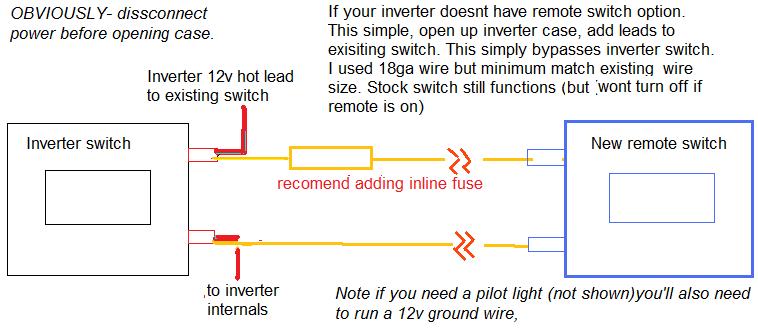
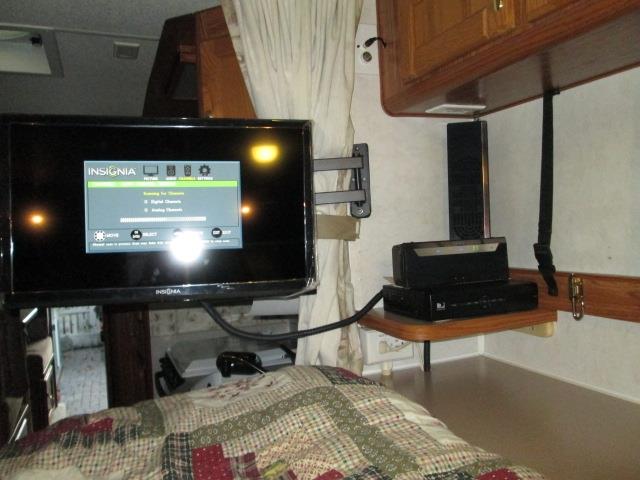
Hard wire inverterWe have a lil 400 watt inverter is solely for running TV, player and Digital ant box. It was temporarily installed 4+ years ago for a trip. Put in under sink cabinet taking up the shelf space. Used an 8' extension cord snaked to TV area. TV, player & dig box all plugged into another ext cord that was either plugged into inverter ext cord or to under cabinet plug. Problem 1 is we always forget to turn on the inverter when retiring for a lil TV time in the Evening, but not remembering till I'm almost warm and comfy, having to get back up fumble around looking for the switch. Second problem is plug. When we have shore power, I try to keep all the cords half way tidy but then pull everything out looking for right cord to unplug from inverter ext cord and into over head cabinet-just a mess. That and a mile of unnecessary wire-funny how some of these temporary installs get on the round toit list then become semi permanent. With nothing better to do, rain stopped, decided out of boredom to hard mount our inverter. Simple easy afternoon project. Plan was with parts on hand, I'd hard mount the inverter on inside of cabinet wall, this allows shortening both incoming and outgoing wires. Hard wire the inverter power supply thru thermal circuit breaker to battery, hard wire ground to main lug. Install a surface mount split 110v receptacle behind TV. Run a 30” 14ga appliance pigtail from inverter output directly and hard mount to one of the plugs. Run a short piece of 12-2 wire from 110v shore breaker (same breaker that currnet overhead tv plug is on) to other plug. So I can plug in either to shore or inverter at same location w/ same cord. TV, player and Dig box are plugged into a extension cord, I can shorten it to about 10”. Run a remote on/off switch for inverter near TV (see diagarm at bottom), no getting back up digging under sink for switch. Simple,..
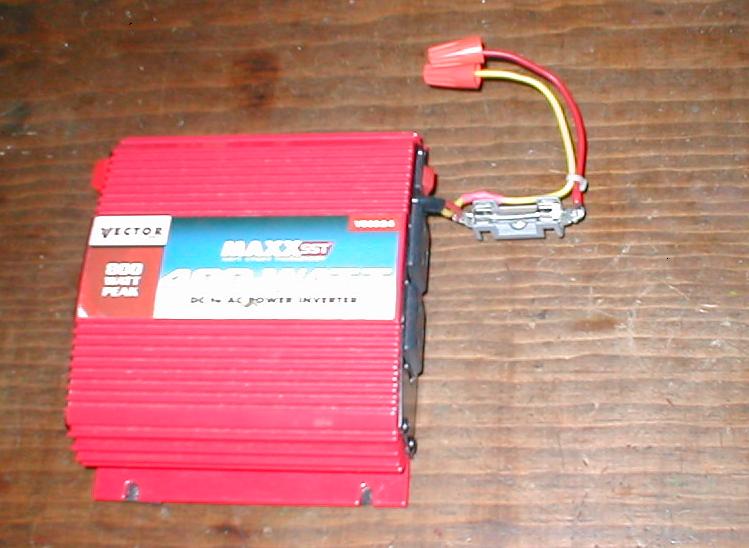
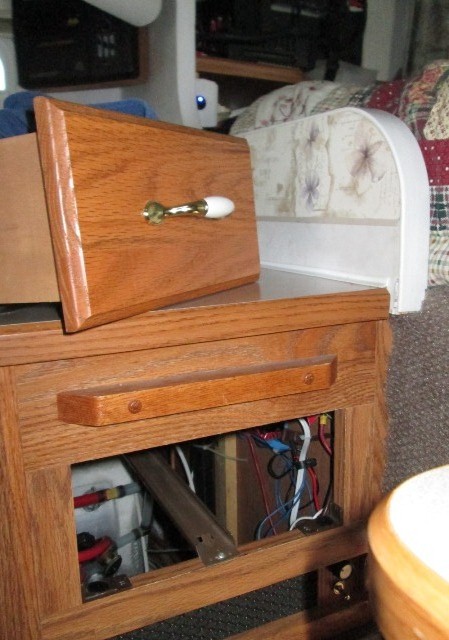
After 4 hours I'm ready to mount inverter, new plug, run & connect wires, thought Id be done. Over minimized what needed to do to accomplish this. Solder remote switch wires to existing switch terminals, add ground wire for remote switch (led indicator), replace 14 ga power supply leads w/shorter 10 ga leads making lugs to fit inverter connections. Modify surface mount receptacle box for remote switch and to except short pvc conduit. Drill thru camper sleeper area to access under sink area, drill cabinet side and thru top for wire access. Actual layout took some time. Ill be able to change out inverter if I ever decide to upgrade for other usage. Wow I stopped because I became conscious of the time and the mess… Hmmm simple afternoon project… may take up a good part of tomorrow. Day 2 of simple afternoon project: Well got inverter installed & wired, wow access for mounting & wiring thru a 5X10 drawer hole -painful. Got the receptacle mounted & wired, routing wires to sleeper are thru cabinet to box, add shore wire from breaker box. Wired the remote switch but didn't fully insert because if its miss wired Ill have to remove all wiring to remove so Ill test first, the writing on switch is microscopic but I think it's right. Nice-this will be SO much more convenient to use. Flip the new LED inverter switch...HUH didnt come on, checked all wiring, check fuse, breaker, everything looks ok? Day 3 of simple afternoon project: Unwired the inverter, just as painful as installing, just a bad location for access, main reason this became so frustrating. Removed and took to the shop. Figured it was toast and I needed to buy new one but wouldn't hurt to look at it. I bench tested with 12v power supply. Umm there's power, lil led is glowing -just isn't coming on, switch broke? Nope no power at switch? Jump and it comes on. Traced the switch leads- the power to switch is a really small wire, it had melted at connection on board. re soldered, UREKA its working. I guess when pretesting the inverter after wiring it, the loose & as of yet installed remote switch leads must have touched led pilot ground wire, burning the board switch connection. Can you think of a 7 letter word that begins with D. Installed an external fuse for the remote switch lead-
I also discovered there are (2) 30 amp fuses inside the "no user serviceable parts inside" inverter, kinda duplicating the thermal breaker on power lead i added, oh well its closer to battery. Tested with 80 watt load for a while..works-got lucky. Now to reinstall... Back to the camper & remount inverter on wall, reconnect the wires. Pulled the fuse on remote switch wires case I decided I'm still a DA and want to test the inverter before fully wiring. Ya I give myself crap sometimes...Double check receptacle wires. Reconnect the main power lead to circuit breaker. Turn on switch at inverter, it comes on. Cool, turn off, then turn on the remote switch- nothing nada zip, not even a light....Ohh its a good thing I was on the bed and nowhere near the inverter, it would been half way down the street. Then I remembered I had pulled the remote switch wire fuse.....
Little more work than evisioined. Sometimes a big one time annoyance is better than constant little ones, and the inverter annoyed me. This project just surprised me.
Did end up reworking inverter a bit. Fan is full bore and pretty loud. Remounted to a piece of dense foam to absorb noise. Also added a switch that sends full power or runs fan power thru reostat.
Query about how I added remote switch to inverter...
The inverters switch is left in the off position. Plan is to hardwire another split plug by dinnet from inverter...if I do Ill add one circut from the inverter like tv plug & one side will be from exsisting dinnet 110v for shore power. Update, done see Dinnet plug page. Update: Few years later...swapped in another TV & articualting arm page.
Back to Ourelkhorn Camper Modifications page |
