Adding Weboost 4G-X RV cell phone antenna and booster to camper
All about options and increasing potential of getting on-line.Recently added a Wifi antenna and booster to camper. Fairly inexpensive means to increase access if Wifi available. This, adding cell phone antenna and booster, is to supplement that. Where we don't have access to Wifi, most places, we might have cell signal. Other than simply using phone is to access the internet thru it.
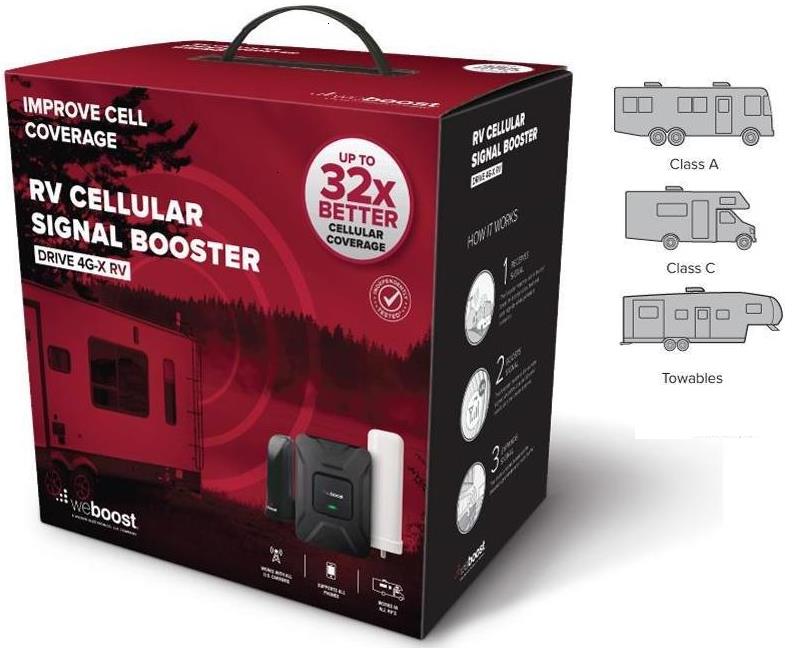
Decided on the Weboost, formerly Wilson Electronics, 4G-X RV system. It is very pricey, but researching most reviews and installations that I found led me to this system. Second choice was the 4G-X, which is the same amplifier or booster but with less powerful inside/ outside antennas.
Deciding which system and how much you want to spend is not a light decision, but physically how you are going to install, run cabling is equally as important. Systems comes with outside antenna and 20' of RG6 cable that runs to included booster. From booster another smaller RJ58 cable that is 13' long runs to inside antenna/access point.
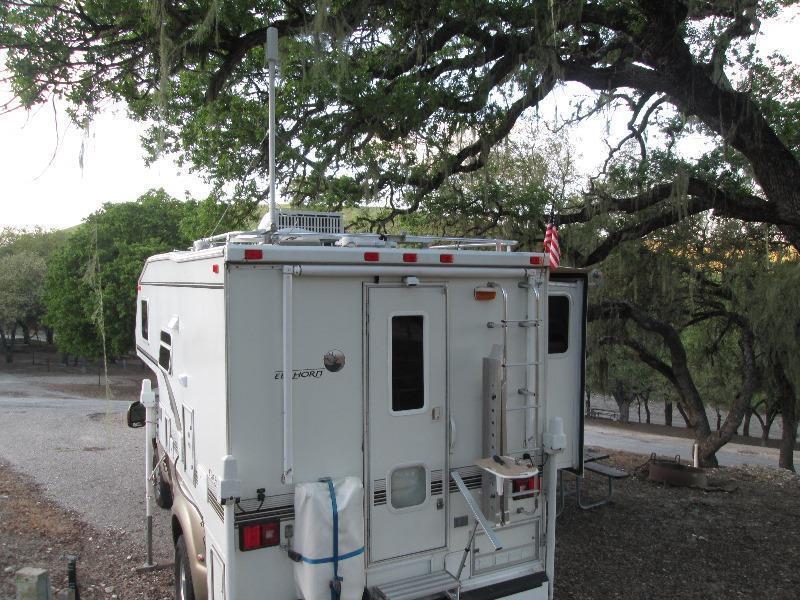
Which brings up the issue in a truck camper or any small RV. (Note the distinct lack of TC pictured?) Mostly needed distance between antennas. If the 2 antennas are too close to each other, system will oscillate & shut itself off. After laying out my new Weboost 4G-X RV that's is what I had. I could not get antennas far enough away from each other given space. I contacted Weboost for options and they sent me the smaller antennas that can be a lot closer to each other without Oscillation. Basically converting my 4G-X RV to a 4G-X so antennas didn't need to be so far apart (or work in the distance I had).
However second issue, and a biggie, was getting from 1 side of the camper to the other, dinette in slide out. Maximum distance was outside antenna at rear corner of camper. Cable could enter into wardrobe from roof to where the booster and wiring would be. Directly across from dinette table. From there run inside antenna over to dinette. The inside antenna from booster needs to be within a few feet from where your device will access. The smaller less powerful inside antenna, though solves oscillation, does require phone to be a lot closer to it. Its antenna lead is only 10'.
Well down inside the wardrobe 4' to the floor, around the walkway to rear door 5', across under door 3', back along floor 4' then up under the slide 3', with a large loop allowing for slide travel another couple of feet, then up in slide wall to dinette table 3'+. That's quite a convoluted distance. Obviously a lot more than either antenna supplied. I had ordered a 20' extension but discovered increasing the cable length quickly decreases the signal. Going to kill system just getting from point A to point B. Its may be 6-7' straight across. Briefly thought of trying to get under camper floor to run straight across but still have the slide issue, antenna leads still too short...
Very close to giving up, not sure how but it dawned on me to possibly run across the ceiling. It would be a very short run, mount the original stronger inside antenna on ceiling above slide pointing down at table. Solve the need for slack under slide and longer cable run and getting up to table. Cable would be more than long enough. Only real problem would be closer to outside antenna. I was not going to do now, tentatively later, but putting the antenna on a pole would increase the distance. I temporarily laid out with original higher power antennas and it worked! Instant green so booster indicates no problem. I had read vertical distance is effectively better than horizontal distance as far as antenna not seeing each other. Horizontal distances in a truck camper just isn't easy.
So now we have a working plan and can proceed.
Point is and why I interjected this at the beginning, layout is critical! Pre-thought needed on small camper. The 4G-X likely better suited to smaller RV but smaller receiving outside antenna, and weaker inside broadcasting antenna.
Fab antenna mast My install, primarily making extended mast
installing outside antenna
Running outside cable inside
Prewire power and wires to booster location
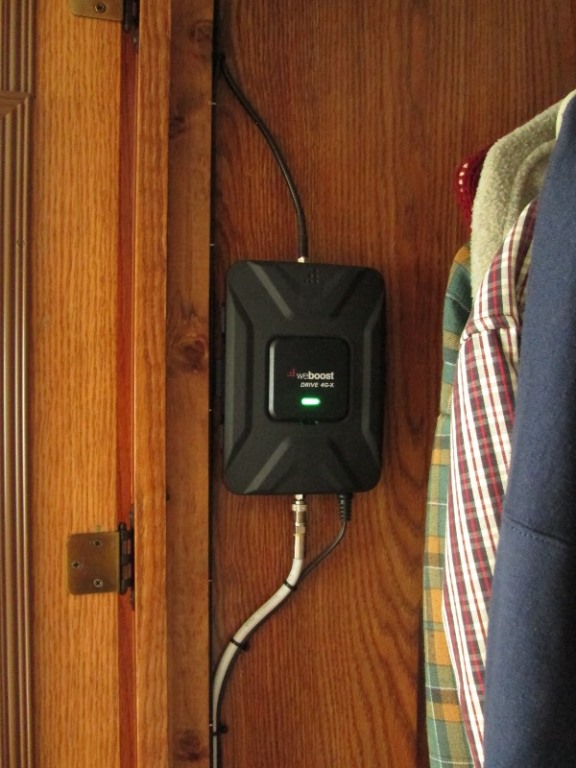
Install inside antenna, mount booster
Added guy wires for high wind areas
Back to the top
On to our install, restarting from the beginning.
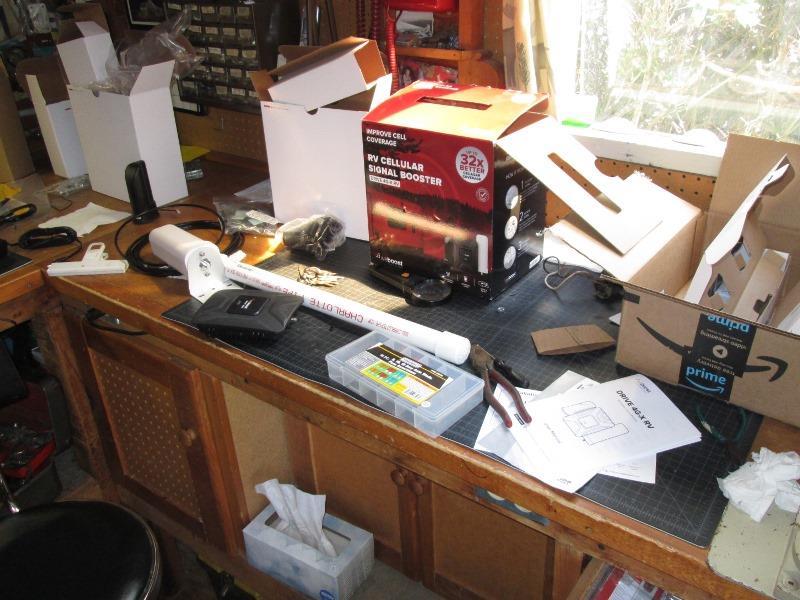
Opened up all the boxes within boxes. Packaged and labeled in steps of installation, but wanted to see the components. Im impressed.
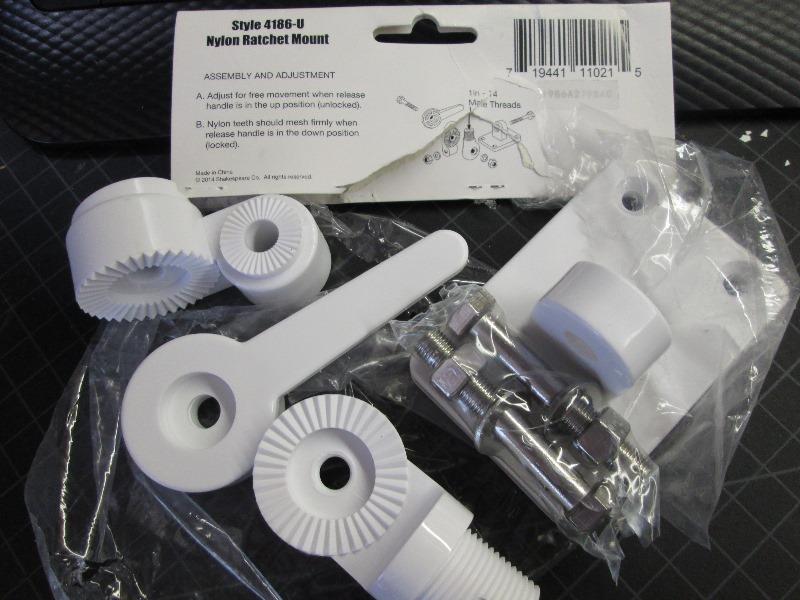
Also ordered a ratcheting antenna mount as I'm not installing on ladder, which kit comes with hardware to do. Ladder is simply on wrong side of camper, and later want to raise antenna.( Note unless your mounting antenna direct or mast less than 2' in height I don't recommend the nylon mount, even a little. It flexes a lot. I ended up replacing with a Stainless mount)
First is mounting the outside antenna to mast.
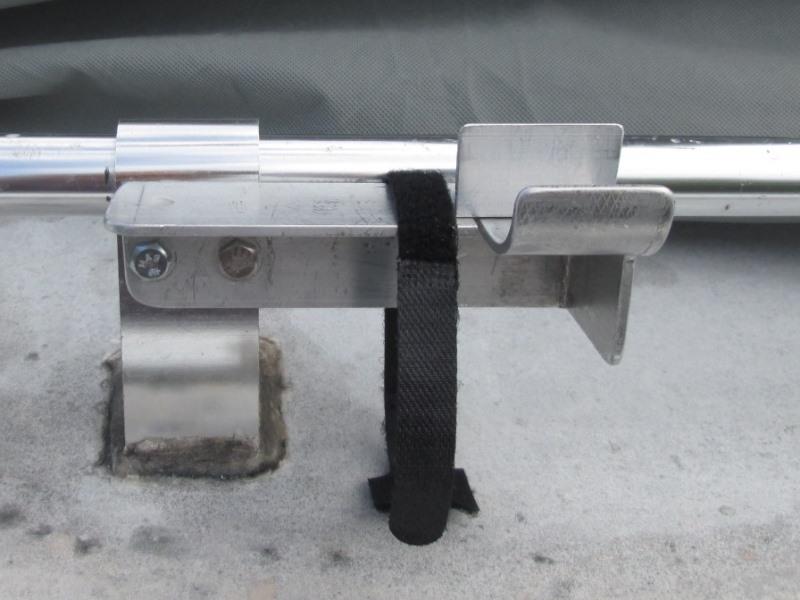
Installing the ratcheting mount to camper roof rail bracket. Roof rail bracket isn't as wide as the ratchet mount so cut 4" long piece of 1/8" x 2" aluminum flat bar. Serve as backing for the ratchet mount. I had cut a 24" length of 1" sch 40 pvc pipe for mast but re cut a 42" length.This will put antenna better than 4' above camper roof. Not using the included U bolts and clamps meant to clamp ladder, 1 -the serrated clamps would cut thru the pvc pipe, 2 - they are zinc coated steel. Also wanted the antenna lead inside of pipe and the connection semi protected. Mounting the antennas bent mount plate to pipe using 1/4" bolts.
To the end of pipe filed couple of small notches to fit between screws holding antenna to its bent aluminum mount.
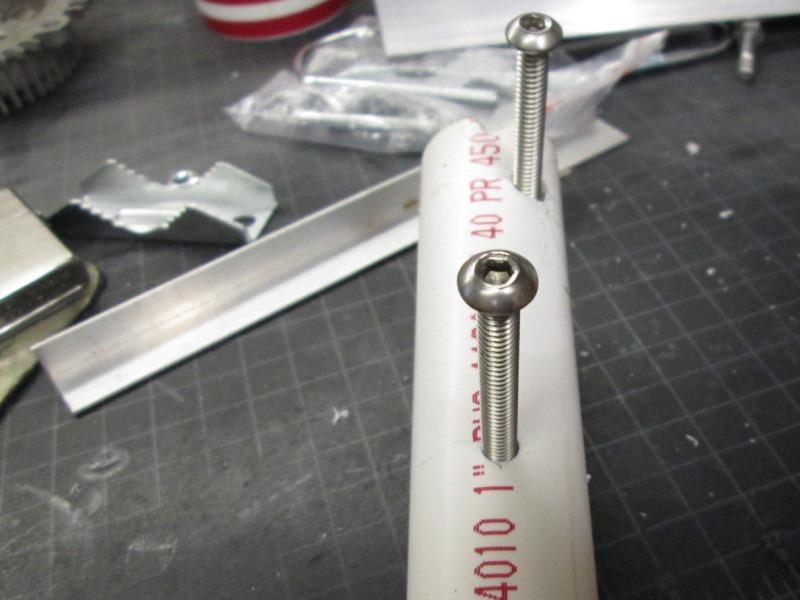
Then drilled thru the pipe and mount plate
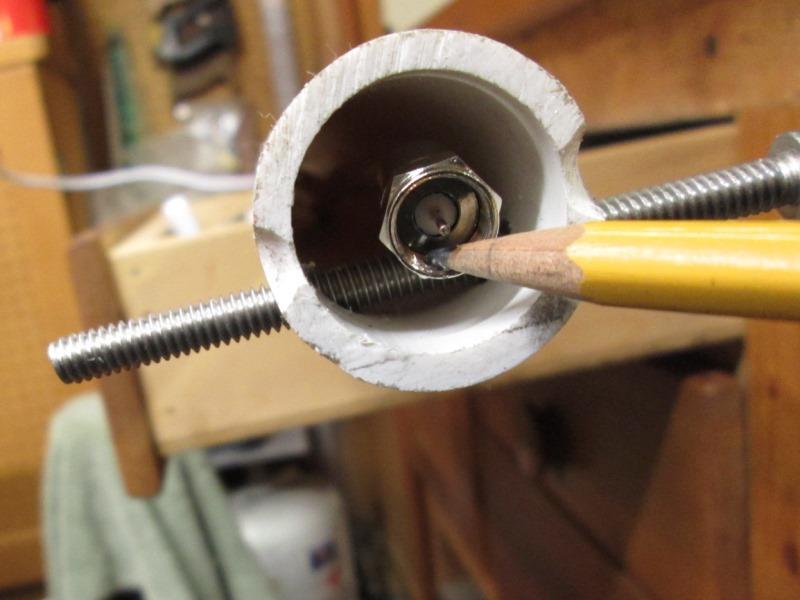
Top bolt is off center to allow cable connection to be centered
Drill a 1/2" hole about 6" up thru one side at bottom of pipe facing camper front. Inserted the cable and connected to antenna. Then its just sliding pipe up after running couple of nuts that will between pipe and antennas mount plate.
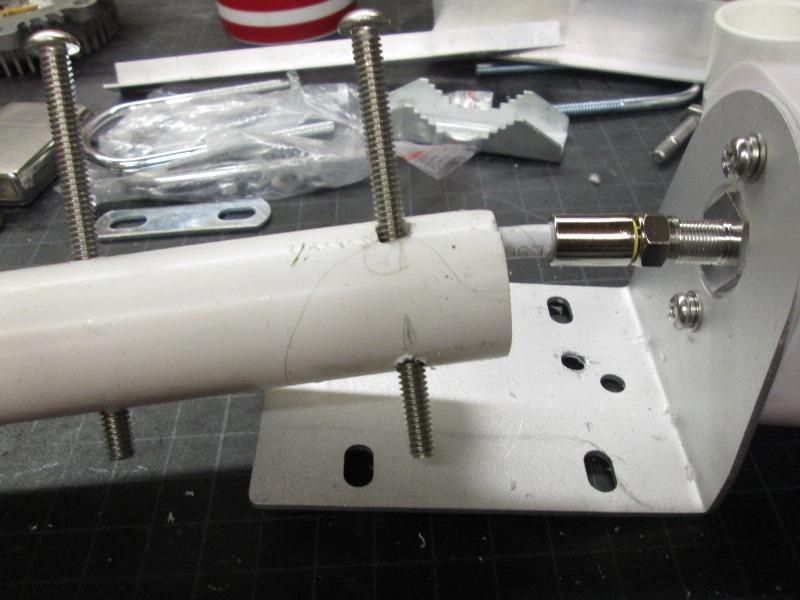
And it worked, I did add a 3rd bolt between. I also trimmed back some of the bent plates width to lessen its mass.
Antenna on the camper
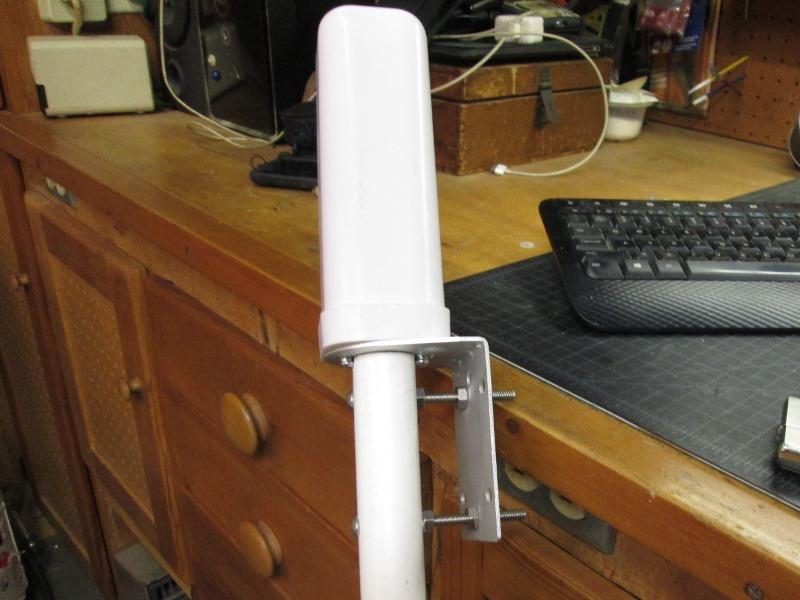
Little later but finished antenna to mast mount
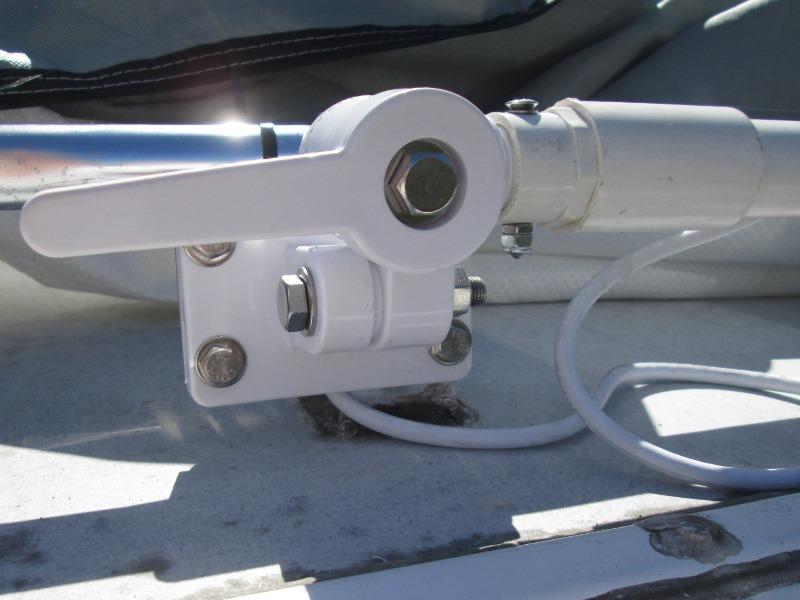
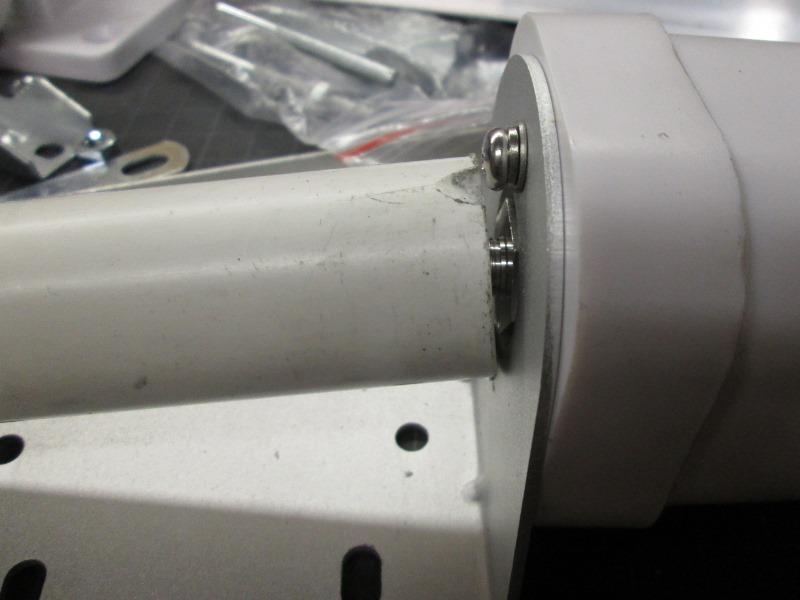
Also later but shows mast threaded onto ratchet mount. Need to point out thread issue.
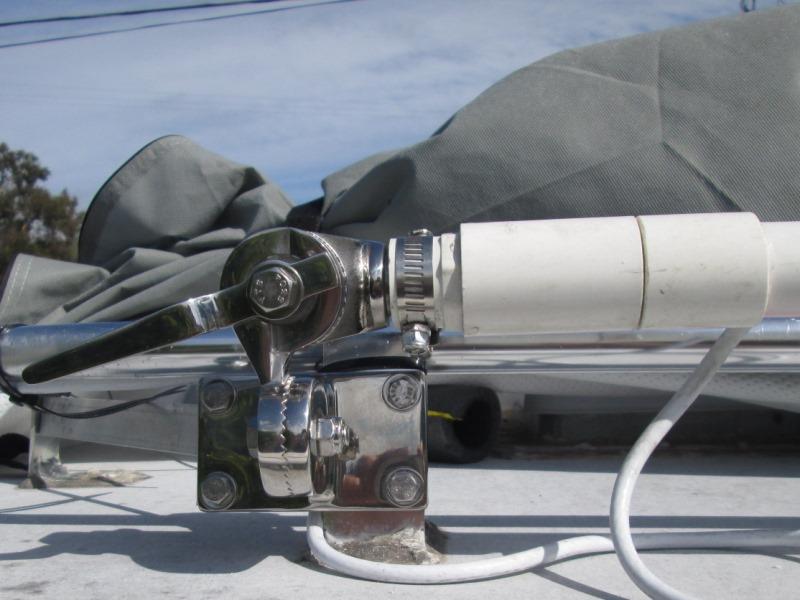
The other end of mast is threaded onto ratchet mount. The ratchet mount is 1-14 straight thread, which is close to 3/4" pipe thread. Difference being pipe thread relies on taper to tighten. Threading pipe fitting onto straight thread, it wont tighten until it bottoms out. Not ideal but it works. However as pvc is soft not sure how long this will last. One error is I glued in a 3/4" female adapter into the 1" coupling. I should had glued in a 1" slip x 3/4" bushing into the 1" coupling just for more material at thread. I drilled thru and used small nut and screw to keep fitting from un threading.
More than likely will be replacing this, see how long it lasts. Short of finding a straight thread fitting and appropriate tube, off the shelf this works but its wallowing out. If nothing else filing off male thread length a bit would allow it to bottom out against end off fitting instead of internally which would help. Correct fitting is the answerer. but continuing with what I have.
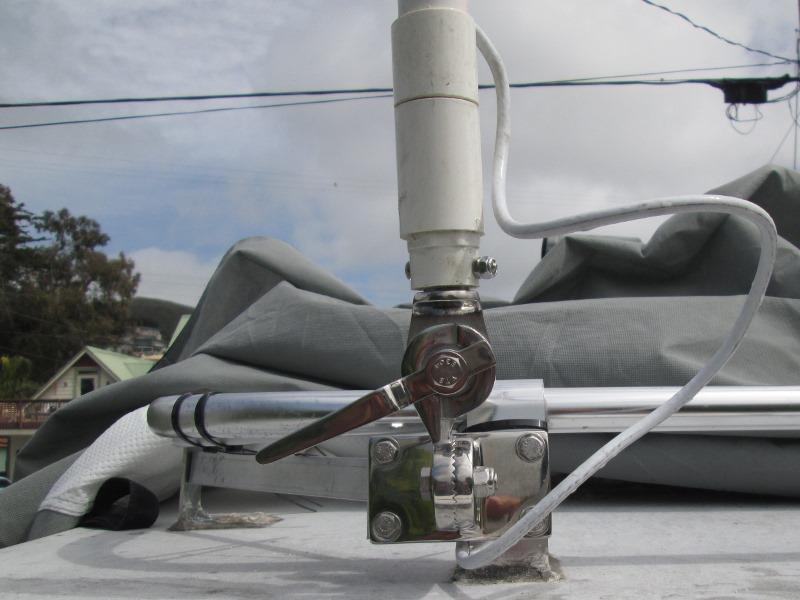
Mounted the ratchet mount with the aluminum plate I had cut earlier to the roof rail. Threaded on the 1" coupling with glued in female adapter to ratchet mont. Then glued in the mast to orient it as wanted, cable facing center of camper and antennas plate facing side.
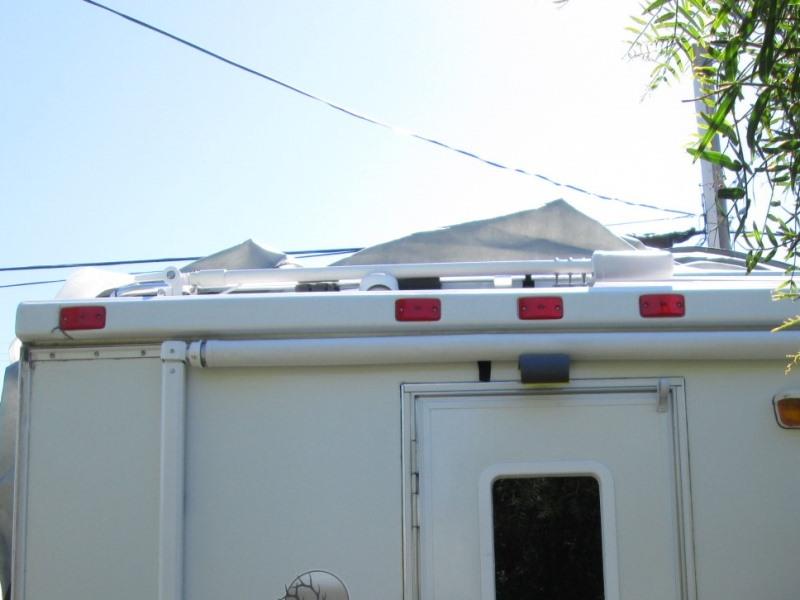
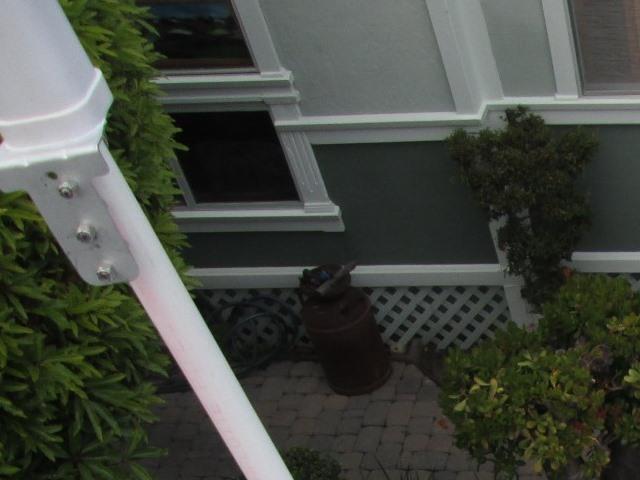
Antenna in stored position
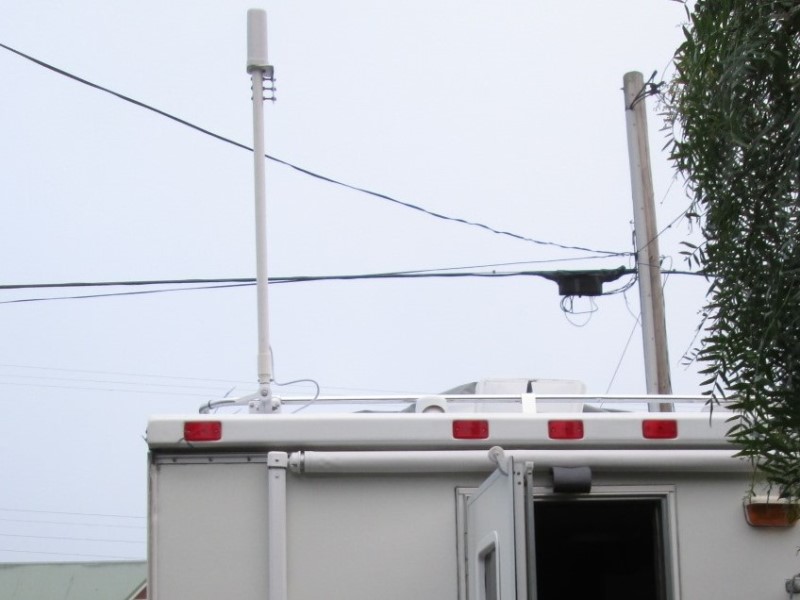
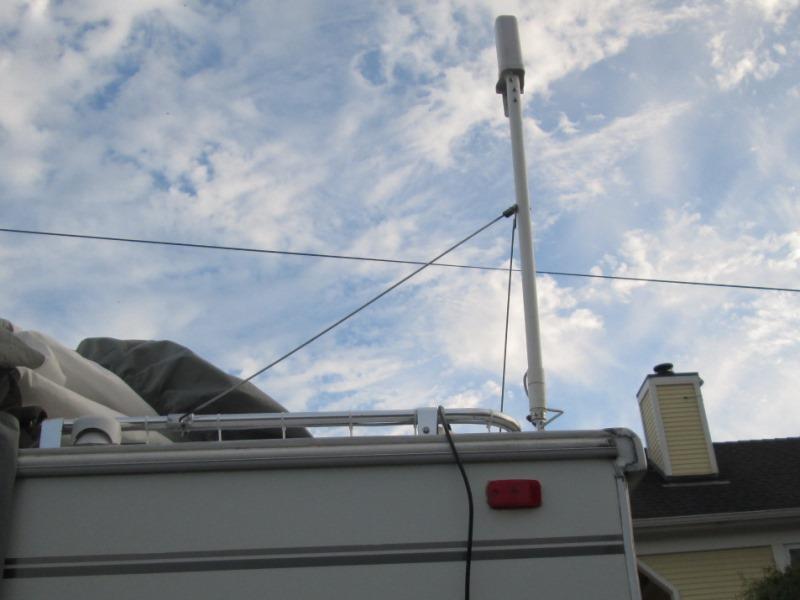
Flick of the handle-raised 4'. Whoo whoo!
On the truck will be about 16' above ground for more "reach" plus adds to needed distance from inside antenna.
Ordered a stainless steel version to replace the nylon ratchet mount. Works but the amount of flex in the nylon mount is ridicules.
Meantime made a cradle to support antenna in lowered position
New mount arrived, nice-zero flex. Thread orientation different though so had to cut mast-re couple to align.
Added a band clamp-just not trusting the pvc. Yup on the round to it -replace this cobbled install. But antenna mounted.
Though I'd like to find a better thread match I am really leaning toward rigid guy wire. 2@ opposing lengths of 3/16" rod. Antenna could stay up in all but the worst of winds. 4' foot in the air is just a lot of leverage, both on the questionable pvc and also on the roof rail mount.
Running the coax inside

Directly below is the wardrobe closet. Other than easy access and easily sealed is option to cut and couple coax should I need to replace instead of re snaking inside. Loosely zip tied to rail. Once set replacing with white ones.
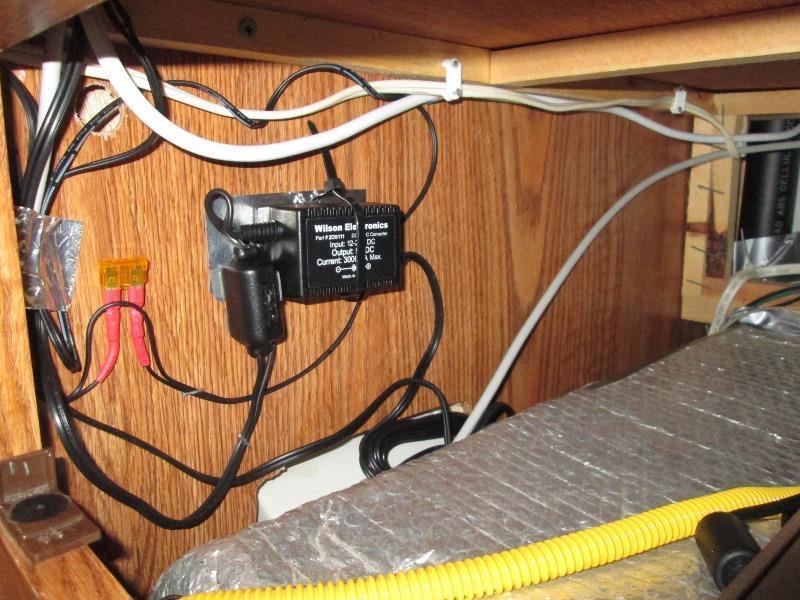
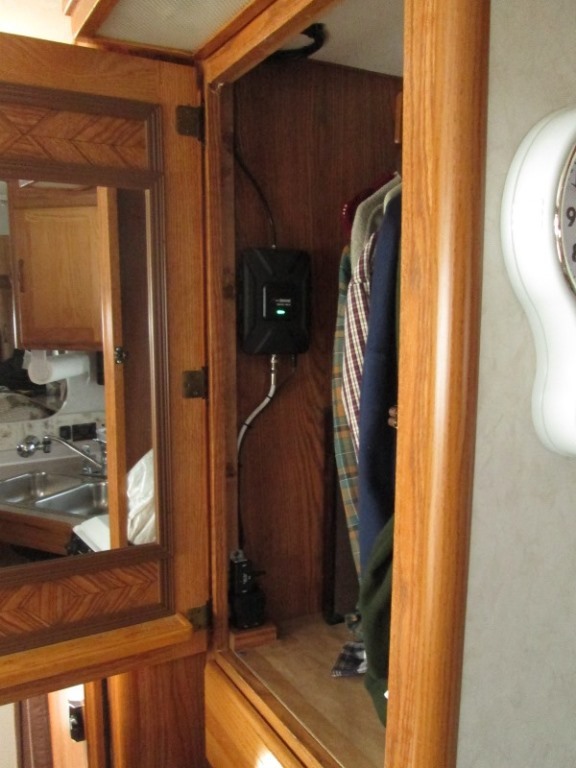
Thru the roof inside wardrobe ceiling. And then back to removable false wall at rear of wardrobe. I used the supplied outside wall penetration cap(intended is coax thru side wall) to cover entrance. Coax runs down behind false wall, under bottom of wardrobe (removed here) then back up. Booster will be mounted about midway on wardrobe wall
Prewire inside
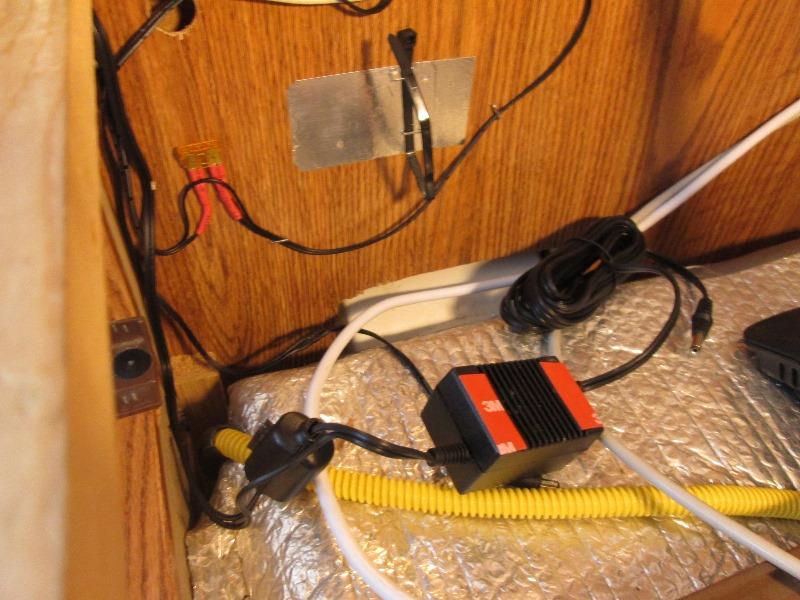
Roughly run all wiring and components. This is under the wardrobe bottom so out of sight but can easily access removing the kitchen utensil drawer. Some of this is the WiFi wiring.
Glad I cant see this-but drawer removed.
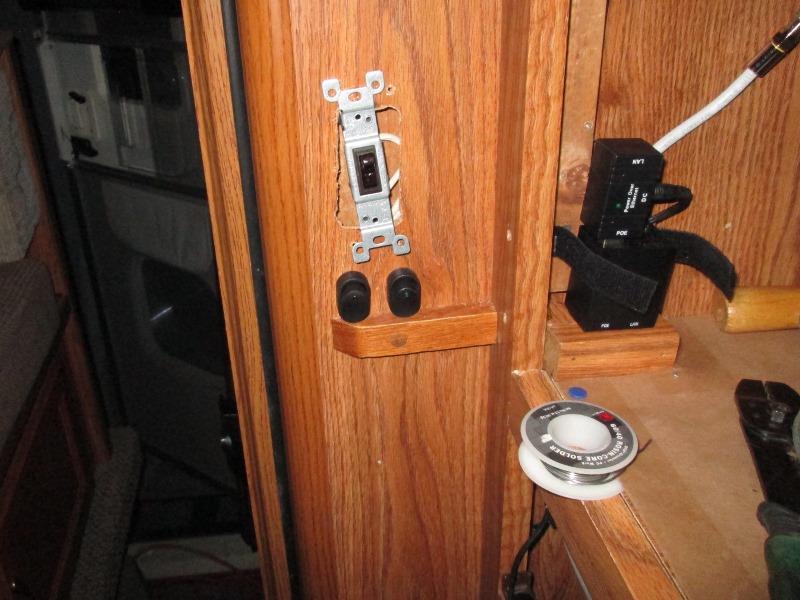
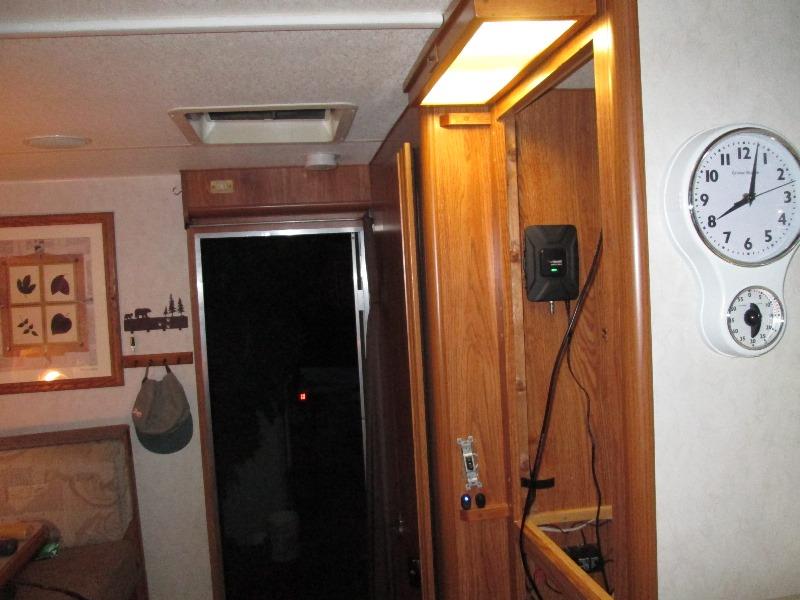
I had earlier added another rocker switch beside Wifi switch to turn on/off cell booster.
Mounting the inside antenna and booster
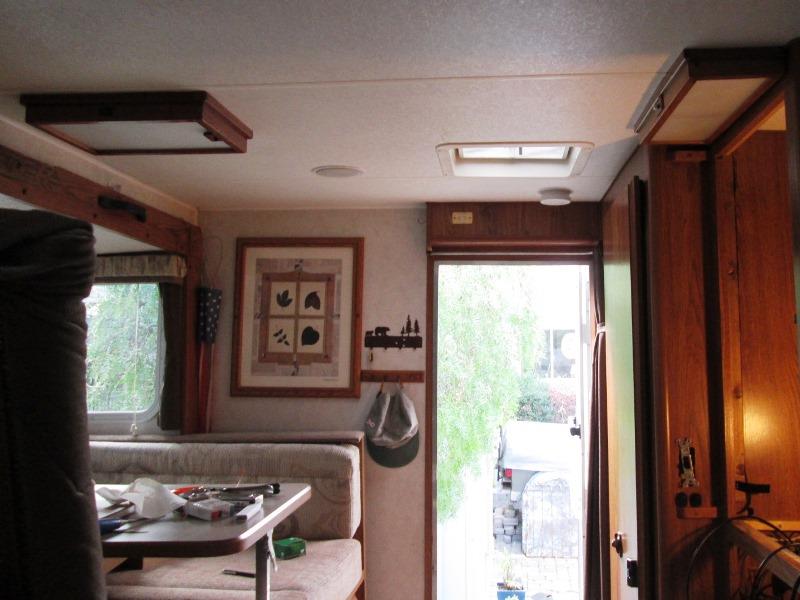
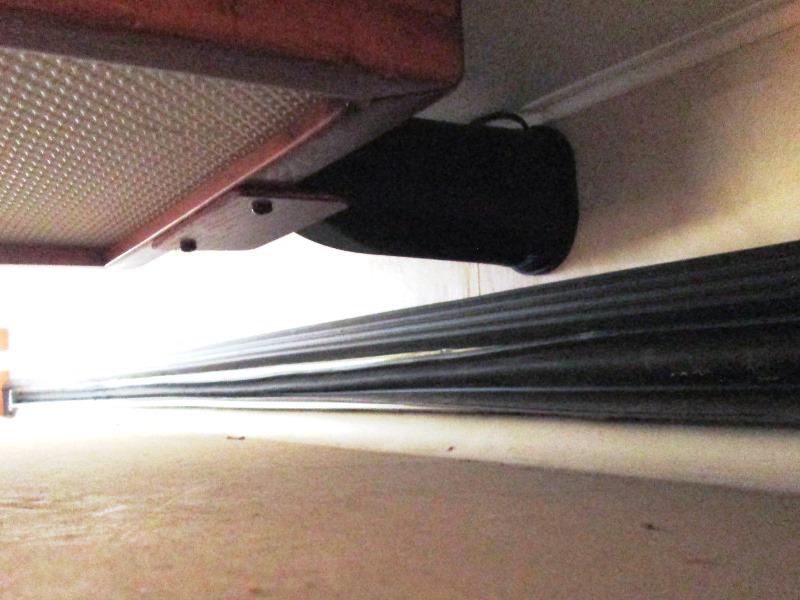
It is also when I realized distance issue with getting from the wardrobe over to dinette. Mentioned early on-this was a huge stumbling block. Having to run coax all around and the allowance for slide travel had me stumped until I saw the plastic trim on ceiling. Using self stick CordMate-III-Channel (or any external mount raceway to hide wires, available any hardware store) I could run across on ceiling. Direct run across from wardrobe and centered over table. Attaching the inside antenna over the dinette above slide ceiling to wall will not have to be concerned with slide travel.
This though solved problem, it is what drove decision to raise the outside antenna.
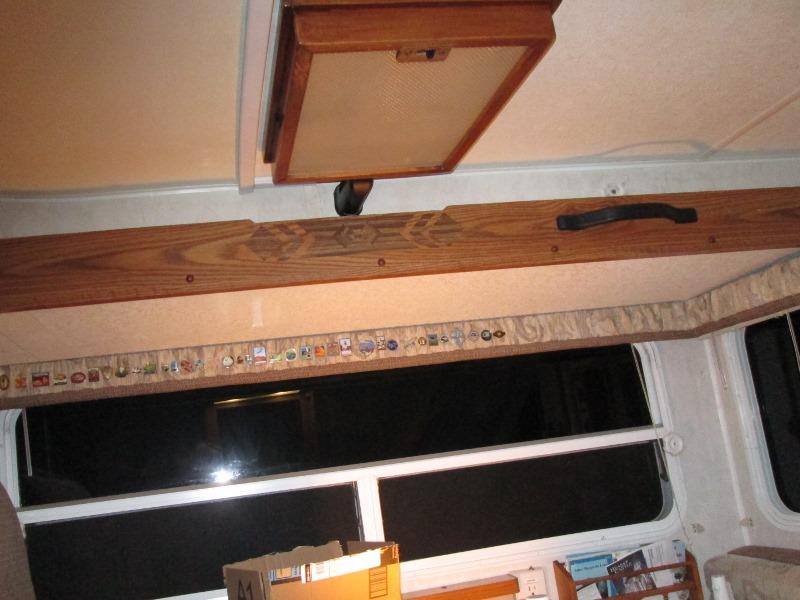
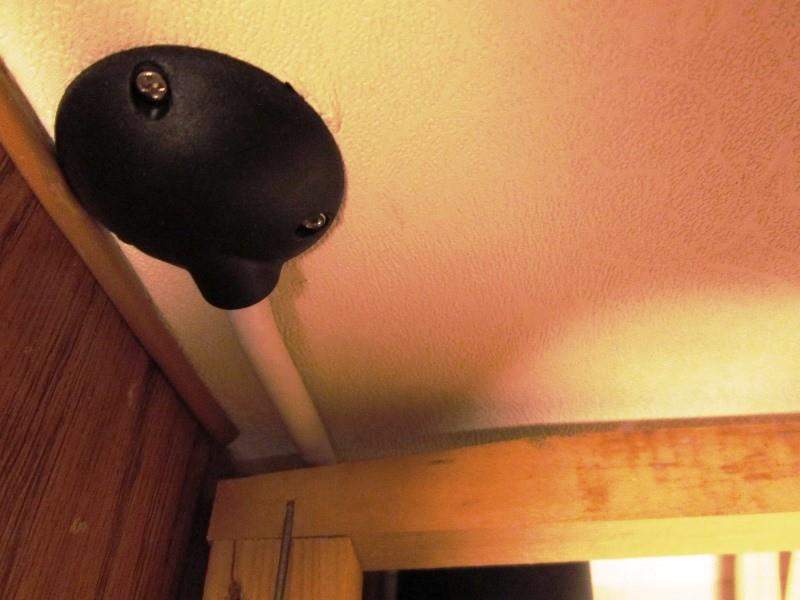
Mounted antenna to wall with 3m tape, used stick on wire channel on the ceiling to run coax back to wardrobe. Added a few staples to the wire channel to ensure doesn't come loose, also a small shaped wood block to support end of antenna. Neither is falling due to heat or age (though probably still sneak a peek before running slide out).
Later I tested just for grins- with slide in (shown) antenna covered by slide roof, signal unchanged.
That's the plan and best case.
Worth the cost? Well only time will tell. If it works at half the results I'm seeing in the driveway I'll be stoked.
Between this cell booster and the Wifi booster increased our ability to 'connect' dramatically. Obviously neither can make signals but between the 2 a lot more likely to reach out when wanted.
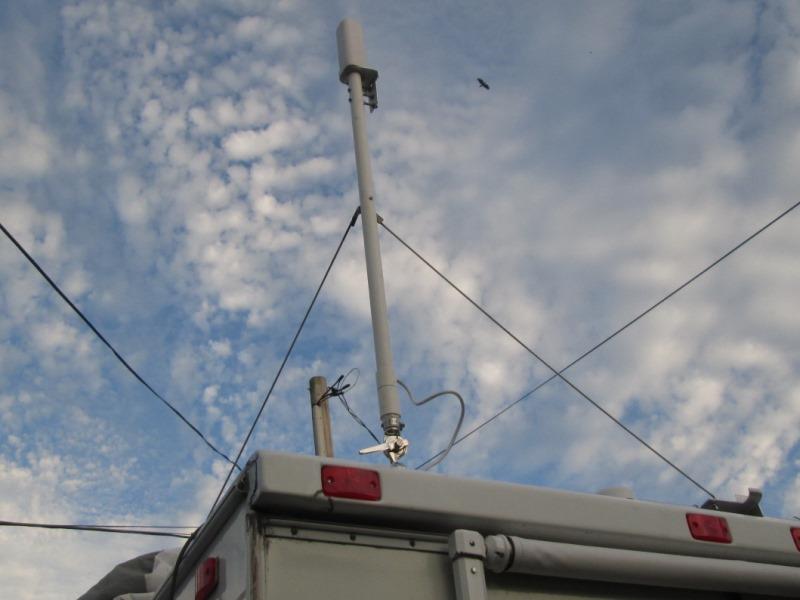
Update: 'Guy' wired
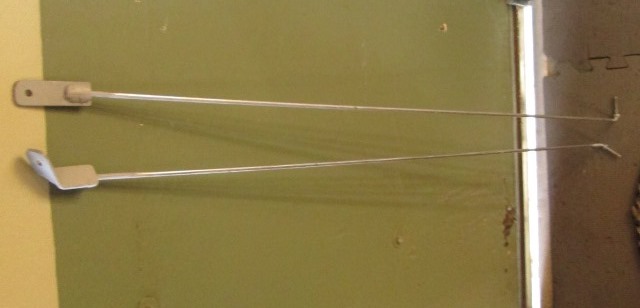
For guy wires as I can only tie off in 2 directions decided to use 3/16" steel round bar. They will resist both push and pull. About 42" long each, mounted at about 40°.
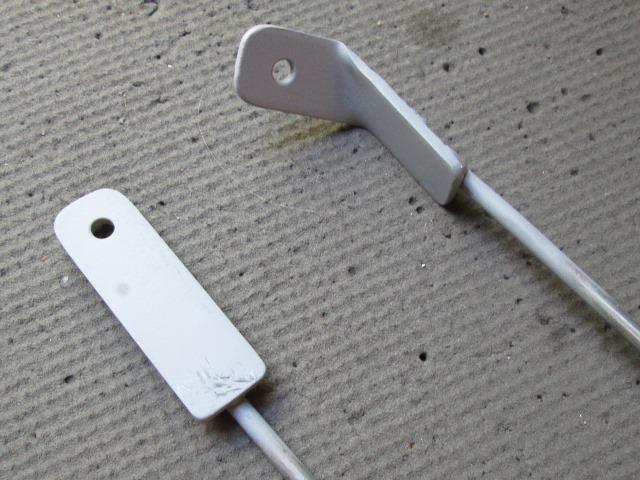
To each section welded on a short length of flat bar.
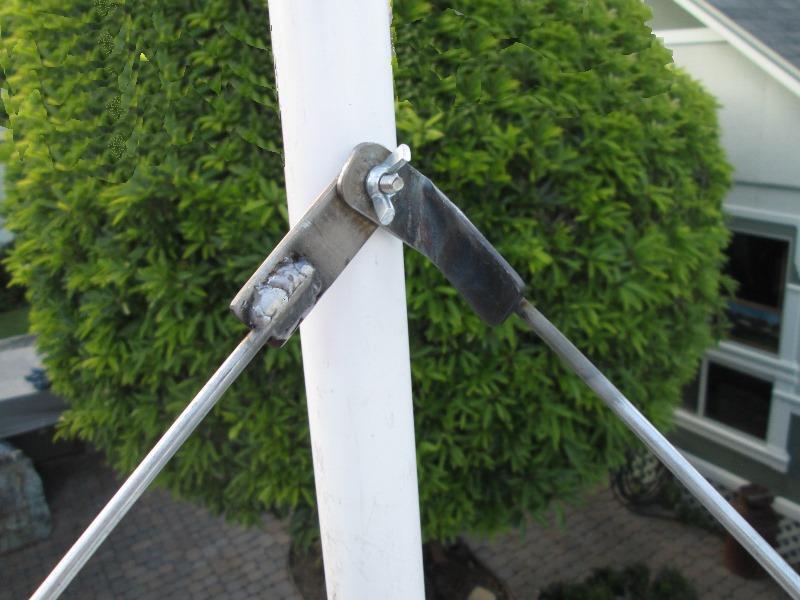
On the antenna mast simply used a stainless screw through pipe. Flat bar ends slips over screw, use nut w/wing nut to secure.
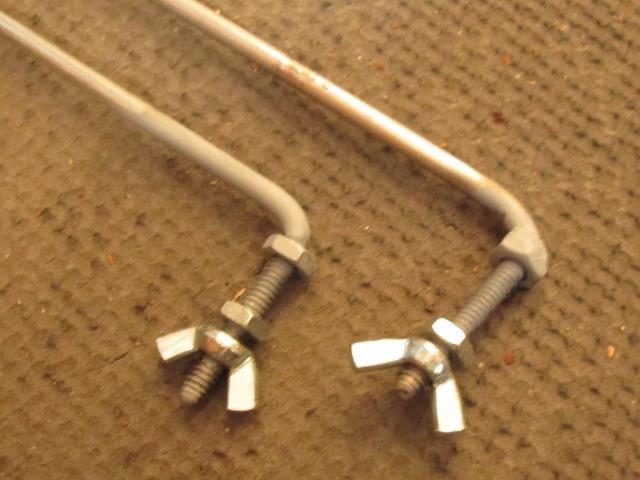
Bent other ends at 90°, about 1" threaded length. Rear bar is poked thru drilled hole in the antenna down bracket. Secured again with nut and wing nut (this allows securing without tools).
The side bar I shaped a piece of aluminum flat bar to slip over and clamp to roof rail for a place to secure. Basically same as rear bar, bent threaded end pokes thru mount and secured with nut and wing nut.. Kinda tricky was bending the top piece of flat bar at an angle so it could slip over screw which is 90° and have round bar point at rail mount.
Everything that is permanently mounted on/to camper, brackets etc., are aluminum, PVC or stainless steel. All permanent hardware is stainless. The zinc coated steel 'guy' wires and hardware will live in the shoe box when not used.
A bit later....
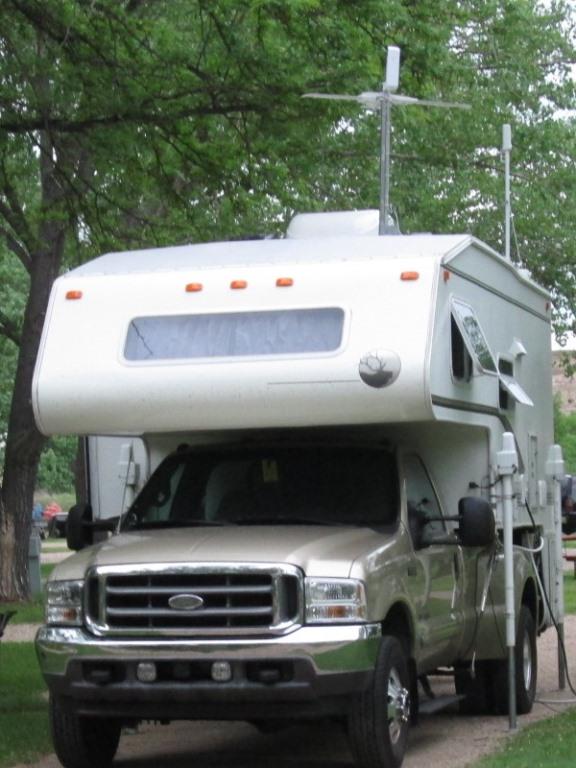
This was outside of the Badlands at a small park taking a break from driving for a couple of days. Systems work awesome. Major storm blew in and relaxing /recharging in the camper was welcome. Im surfing the internet while Margaret texting the kids.
And even more later...
Cell antenna up, using phone as hotspot, without antenna 1-2 bars, with antenna full 5 bars and no 'choking' on internet useage. Both of us on the internet over 3 days used 1.5gb of data. Typically do not set at camp, this was just a few days of doing absoluetly nothing. This is most we've used the phone & data to access the internet and I didnt know what to expect or how fast data would be eaten up using extended on line time. Normally maybe an hour a day to check in. We dont download movies, or transfer large files, monitoring biggest hit was youtube. Casual surfing ,email, different forums etc. useage minimal. I was surprised.
- Update 10/2019:
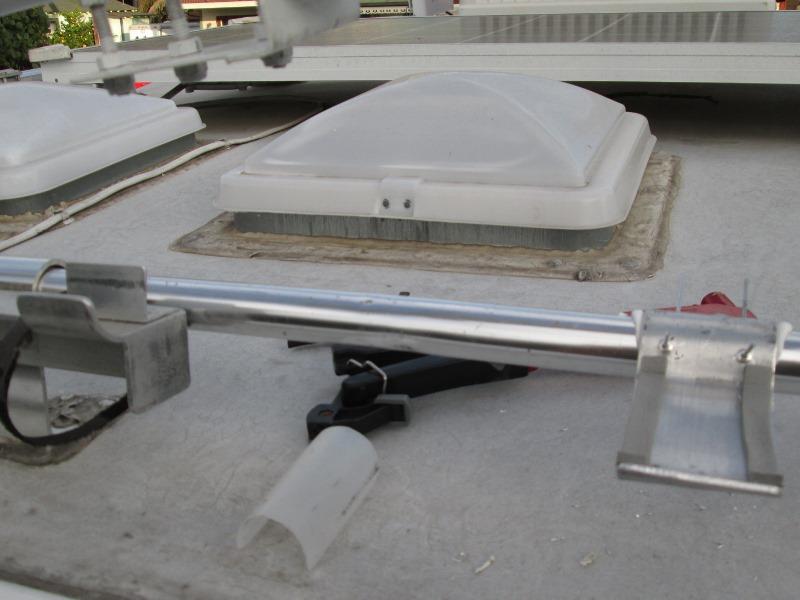
Reinstalled and decided the antenna head needs support.
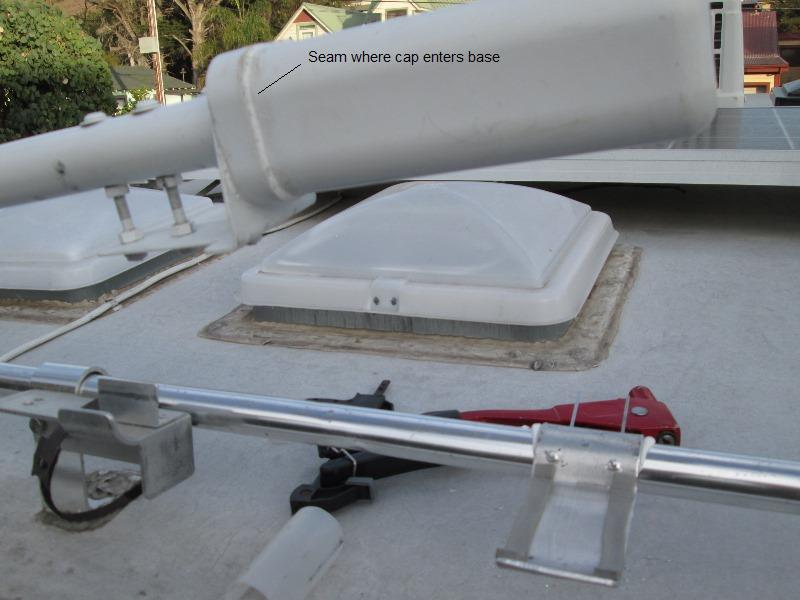
Where top coming loose, mostly showing head out past original support.
Bent piece of 1/8"x1 1/2" aluminum flat bar to half circle to fit over roof handrail. Caulked & riveted in place.
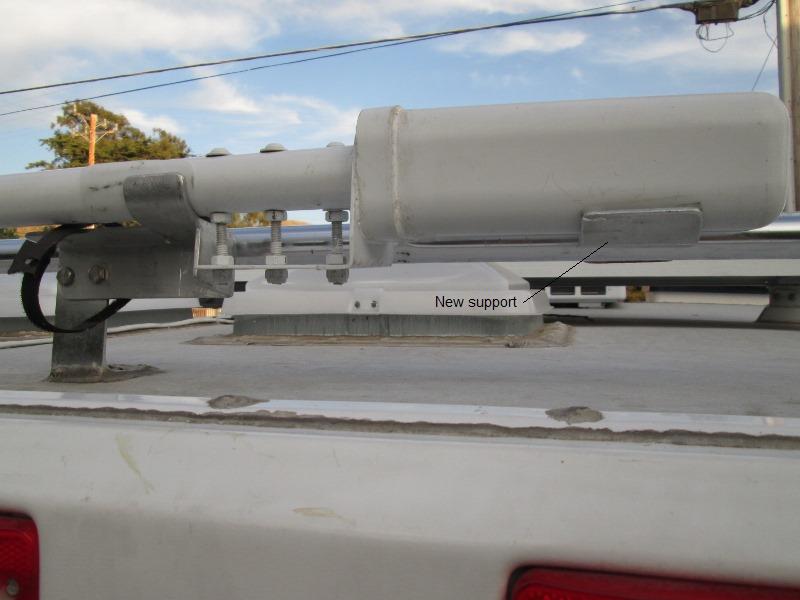
Head lightly sets on support but cant move downward, hopefully prevent this happening again.
AC receptacle Added for ability to use the AC adapters for this and WiFi booster if we have power.
WiFi antenna and booster addition
Back to Ourelkhorn Camper Modifications page
1707