Add spacer to stepsWhen I had installed the scissor steps I mounted bracket to back side of camper step in folded up position, to minimize step height from door sill to step, helped but it is still a ways. See original install 05/01.
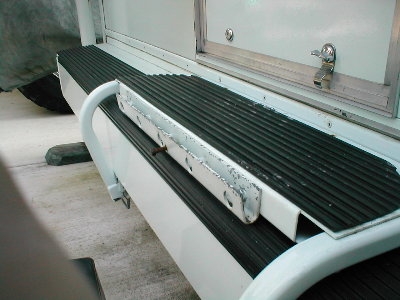 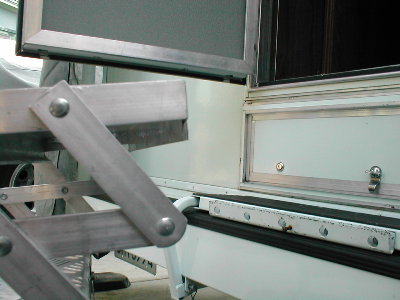 Another idea to raise another 1".
A question on where to mount steps was posted on the RV.net forum, someone linked to how we mounted ours as an option, another poster thought that was a good idea and might try instead of replacing steps to minimize distance. I responded, that he should check if would be enough, also that might be possible to add to step to minimize the distance....
So I looked at ours. There is room for the step to be raised at up to another 1 1/2". If somehow I attached something to top of folded down step, it would (1.)shorten the distance when flipped down just using step from bumper to step, (2. when flipped up and scissors are attached would shorten distance from camper door to step. So I'm doing it. I have some 1/2" plastic (like cutting board). Just remove rubber, cut spacers, attached to step, reinstall rubber. A plan
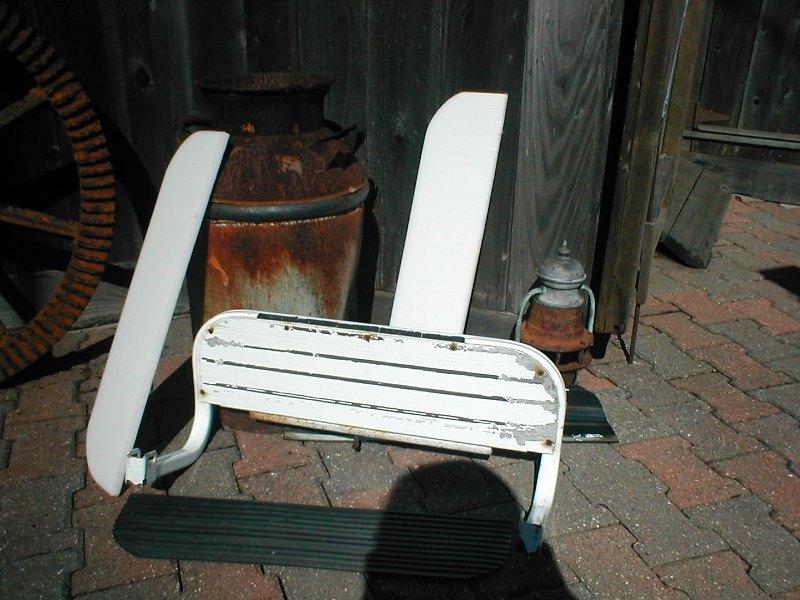 Here I've removed rubber, used for pattern to cut plastic. Used stiff brush with soap & water to clean everything, set in sun to dry. You could use wood or ply to do this, last a few years. Step arm is just steel tube bent to a hoop, a folded piece of alum is riveted to it. Might be possible to fold a new piece of aluminum plate for thicker step. You could also just add a spacer to top of flipped up step-however much you want. I thought about doubling spacer on top, but the scrap ptf plastic I have is dwindling-Ill save for another project that may arrive.
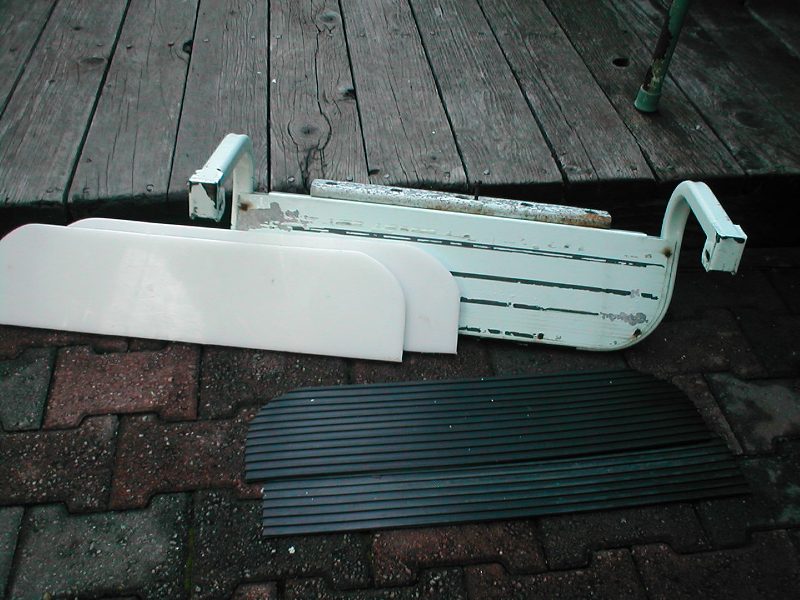 As quite few of the rivets are almost rusted off so I'm going to drill out and replace thembefore proceeding. HINT replacing rivets do only one side at a time, I happily did all on drill press, arm sprung, had a heck of time getting holes realigned.
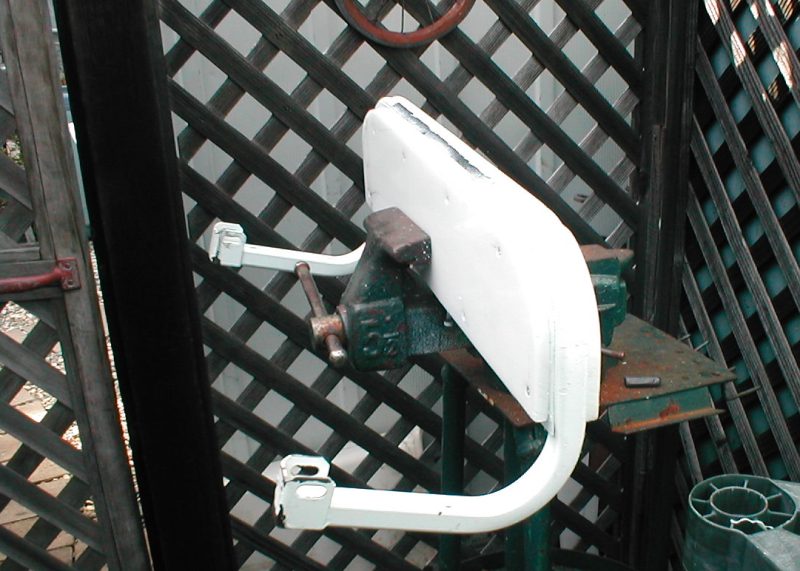 Spacers already attached. To insure hole alignment, I drilled (2) 1/8" holes at outermost corners of plastic, then clamped to step. Drill thru plastic into step plate, take off plastic, redrill plastic 3/16" for screw clearance, then loosely reattach plastic to step with (2) #10 CS phillips screws. Did this both pieces. With plastic attached to plate I then drilled all remaining screw locations 1/8" thru plastic and step, i did 8 screws per side. Then I removed plastic again, redrill all holes (in plastic) to 3/16" thru, used an 11/32 (up to 3/8 dia.) to counter sink all holes. (My counter sinks fuzzed the plastic). Touched up the paint a bit and installed the plastic. Note all my screws are into the aluminum plate & not into arms. Also (before removing pads) note positioning of the step pads (and new spacers) before drilling, they are bout 3/16 from outside edge whether flipped down or up, not directly over each other. My reused pads are bout an 1 1/2" narrower than step, If replacing rubber could have made wider and deeper.
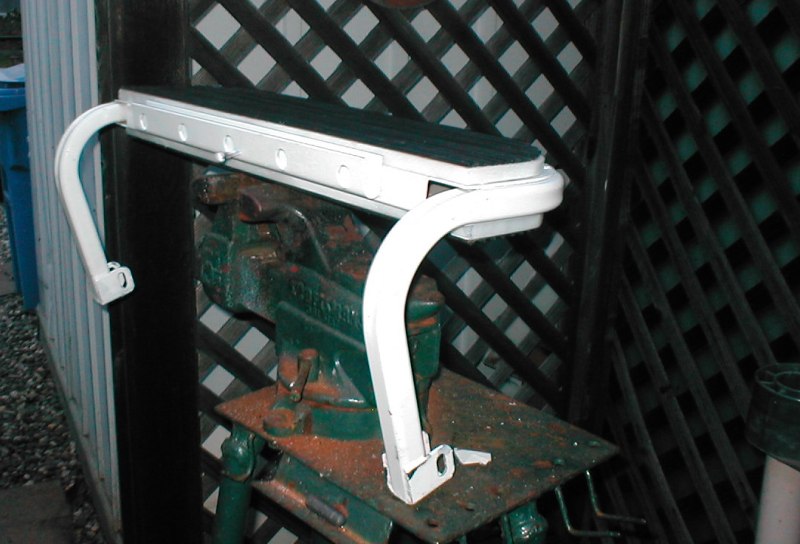 Reattached the rubber step pads, several options to reglue, originally they had some self stick tape. I had some left over hd carpet tape so that's what I used. Not sure if it'll hold up long term so I put 2 screws thru pads into plastic. I can reglue if I don't loose them.
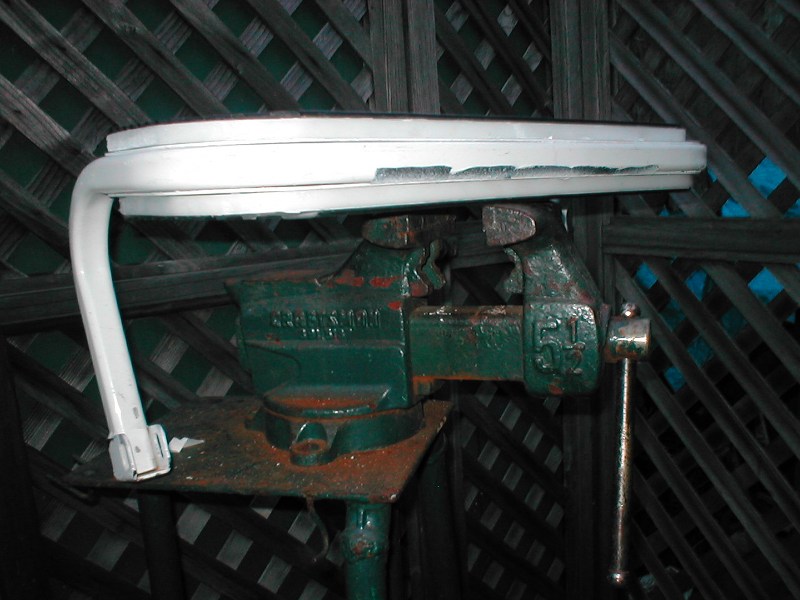 Just showing the sandwiching of step...
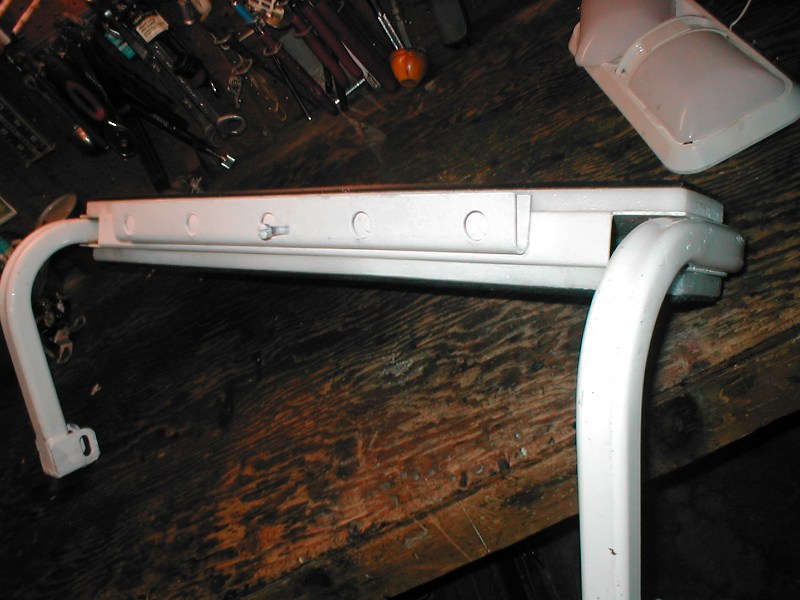 I also, as my scissor step bracket was already attached, needed to redrill and tap the step with (5) 1/4-20 to raise bracket 1/2" so scissor steps would still be flush with step. Funny I didn't think of this 9 years ago. Easy project to shorten step down height 1". Back to Ourelkhorn Camper Modifications page |