Paint our Jeep CJ-7 aluminum wheels
Well Of all the stuff weíve done to our CJ little is documented. 99% of which will never be seen or appreciated ('cept by us). As it is with most customizing. Folks who donít work on their own stuff have no clue
what is actually involved in custom work, or why we do it. Only the visual exterior part you see. I think thatís why folks are so tight within any given group whether it be tuners, low riders, wheelers or
whatever. Itís an appreciation in sharing what it took-those long hours of Imagineering, designing, fabricating, 'till the wee hours wrenching and the trial & error to make it work. Changed our wheels several years ago to aluminum. Poor old steel wheels were just beat. Getting out of round, hard to balance. Bead lip got to the point even hammering flat again couple werenít holding air. Plus living next to the ocean-rust was more prevalent than the chrome. Had to replace, due to the rust opted to go aluminum-At the time not much more cost than another set of steel wheels. I only bought 6 (4 on jeep- 2 for the trailer)-had one of the steel wheels and odd tire for spare. But Iíve never really liked aluminum wheels-to me just a huge chunk of raw metal. I also missed and thought it looked better with old style 'modular' black wheel centers. Always thought Iíd try painting but difficult to take a perfectly good set of wheels and 'paint' them. Recently I ruined a tire. Had the odd spare on the jeep, kinda looked funny. Also when I put the ruined tire on rack & its alum. wheel it didnít really fit well, the offset is about 1/2" shallower and wheel barley caught studs on rack. But I REALLY didnít like the look of aluminum wheel on the rack. When I got home decided to try and find a matching tire, redo the rack so aluminum wheel fit better and use matching alum wheel from our jeep trailer on rack for spare (which we'll not be using anymore ).That and look at painting.
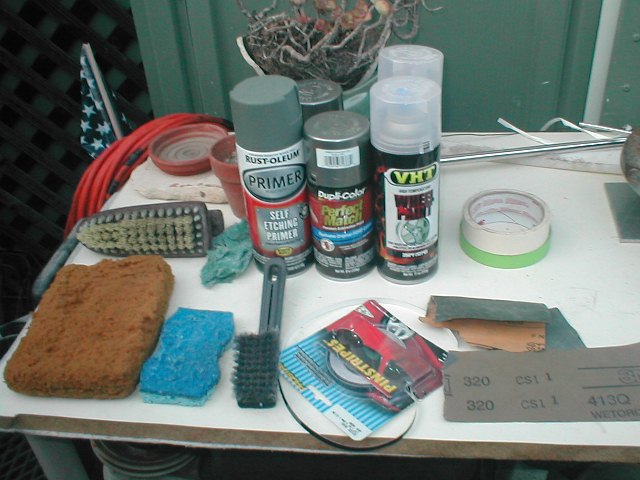
Materials: available auto parts and local hardware
Prepping wheelsSo getting ready to paint my first step was to wash. Second only to sanding. Seriously washed using dish soap, rinse , wash. I had some tsp and some other paint prep stuff but unsure effect on unpainted polished surfaces. My wheels are large hole so inside of wheel very visible. If youíve a ton of grease might not be worth the effort, mine werenít too bad. First the back side of tire & wheel, stiff bristle brush, then fine wire brush to back of wheel and 3m green. Then did the front. I didnít want to spread any contaminants in handling tire so used different 3m pads (on inside hole cast surfaces only) and clean brushes on fronts. Then I flipped and rewashed the back of wheel, then rewashed the fronts with particular attention to the hole cast holes surfaces with small wire brush, . The final wash of fronts was to wheel only. let dry. I then wiped down face with paint thinner. I then wiped and dried area that tape line was going with acetone.
Sanding: Plan almost change here. The wheels sanded out with 'satin' centers and high gloss outer looked awesome. Briefly though of using semi-gloss or satin clear. Nah stick to plan. But if I could do a better job in sanding uniformly....
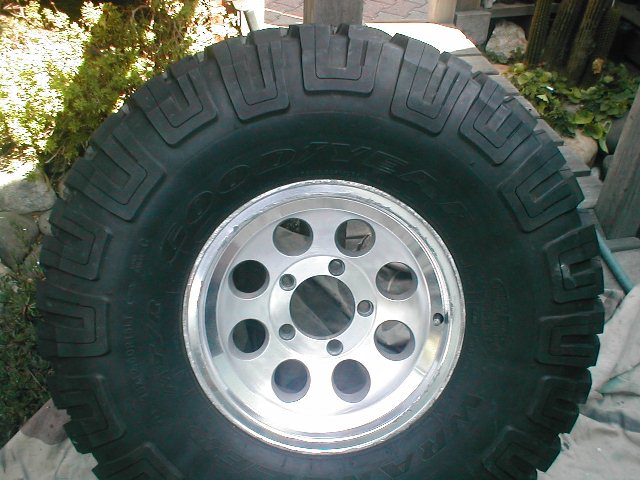 sanded Well as mentioned-where I wanted paint to stop was hardest decision. I would have liked to run paint past the dished center and on to the outside lip (where stem is), made a narrower polished perimeter. But thereís a few nicks on this surface so decided to run dished center only. Would be easier to mask at dish edge. However easier to draw line at this point, masking tape wasnít going to work as surface is a flat tight radial surface. I have some fine line tape but not enough. As AZ didnít have any I bought 1/4" pin striping tape. This worked well for laying nice clean line. Keeping about a 2-3" lead ahead of tape as its laid down with one finger and "slightly" stretching and pulling around curve I managed to get nice fairly uniform circle. Not perfect but visually good. Pulling too tight itíll pull up, not enough and it wonít flow around and lay flat. At any rate by 4th wheel got fairly good with it. Masked inside center hole and taped lug nut holes. I then wrapped face & tread in newspaper to about 3" near taped line. I also roughly papered inside perimeter of wheel to keep paint off. Then I used masking paper and green (or blue) tape to run onto the plastic pinstripe tape. (NOTE I want to remove all the masking EXCEPT the thin line tape after painting. Allowing controlled removal at paint line. I found after 1st wheel when using the plastic tape, when removing after painting the paint can peel off, so rest of wheels I run paper masking tape on top as close ( to within a 1/16") to edge as I could. Try not to lift/ reposition tape on top, may pull your vinyl tape underneath. As the masking tape is going to have to be folded to get around the circle wonít be perfect-just be aware the more the plastic pinstripe tape is exposed the more likely paint on it will peel and deposit back onto painted surface. At any rate just masking-not rocket science but tape laying and removal can ruin an otherwise perfect paint job. Once masking done I wiped with mineral spirits and dried with CLEAN cloth, then I wiped with rubbing alcohol and another clean cloth. Stood tire to paint, as Iím outside donít want too much dust settling onto face. I marked the tire into quarter marks as Iíll be rolling tire to paint....
Painting wheels-Primer: First primer coat and final clear coat are most important to me. I see where a lot of folks were dusting on 1st primer coat. Not sure with etching primer this best method. I tried for uniform coverage on first coat though kept semi light wanted it 'wet' enough to bite, allowed 15 min before recoating. Subsequent coats will melt into previous coats allowing to build up without running. Also on mine the holes are fairly deep, after spraying face I sprayed 1st few product coats from the back side to ensure coverage in holes. Final coats I didnít so I didnít 'dust' the face. On the face, start off the edge, spray across always moving and off the edge then let off. Back & forth until its covered starting and ending off the edge. As I passed holes I rotated the can a bit in the direction traveling trying to make sure to hit that face of hole as I passed. Donít get too focused on this, easily get it to wet, pick it up on the next coat. final coat let set for 30 min.
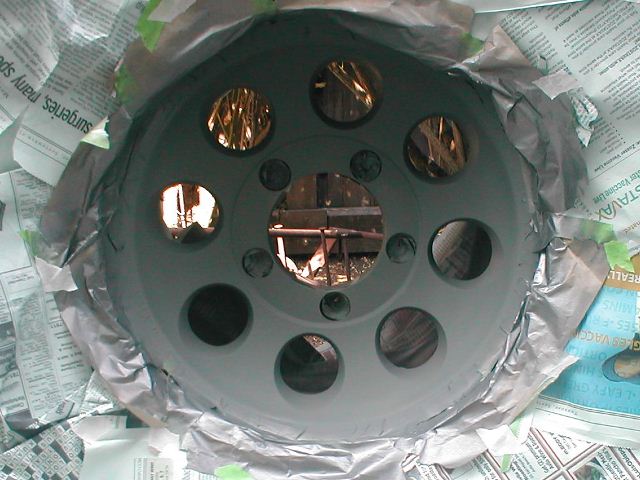 Primed 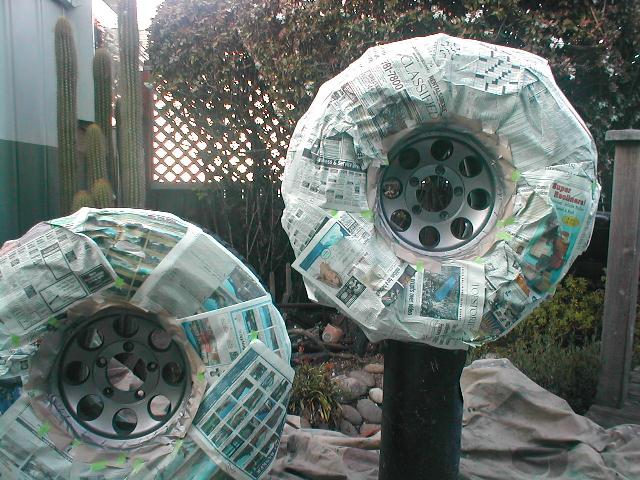 color 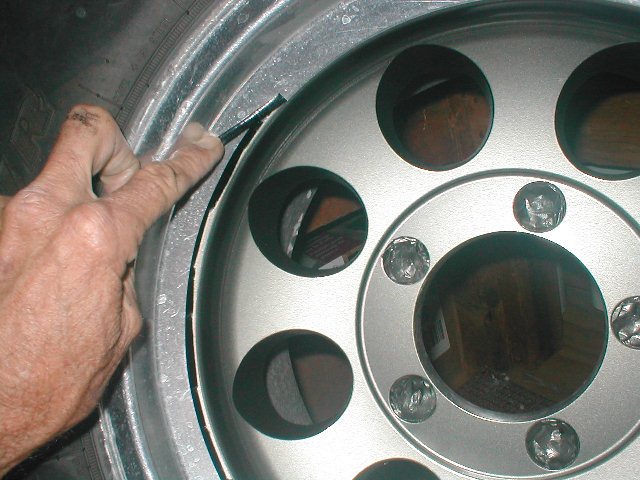 Made center caps-Well cut old ones I had to make "shorties". I have flanged axles (no external hub) in the rear so the 4 1/2" tall center caps served no purpose other than getting whacked. No one really makes a nice shorty for the 4 1/4" centers. Kinda reminds me of a 40's wheel look- I like it (plus free) 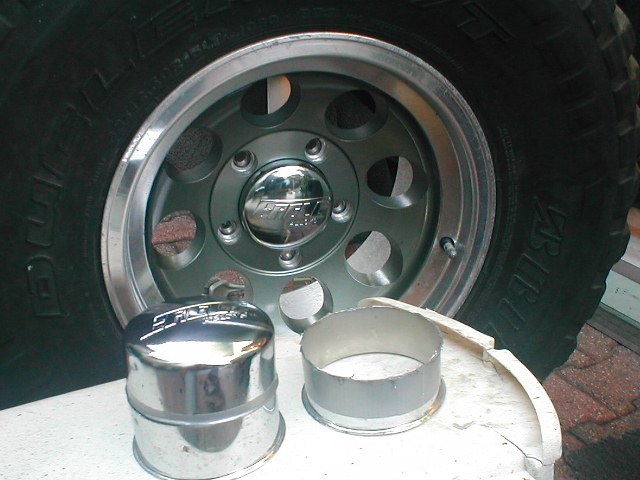 "New" shorty caps
Finished & mounted 'New' painted wheels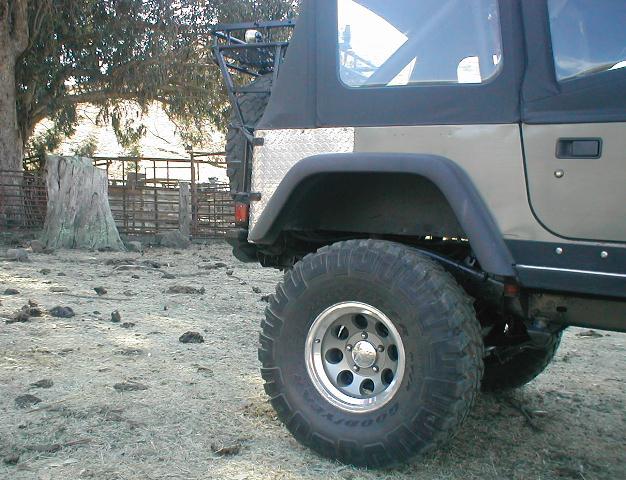 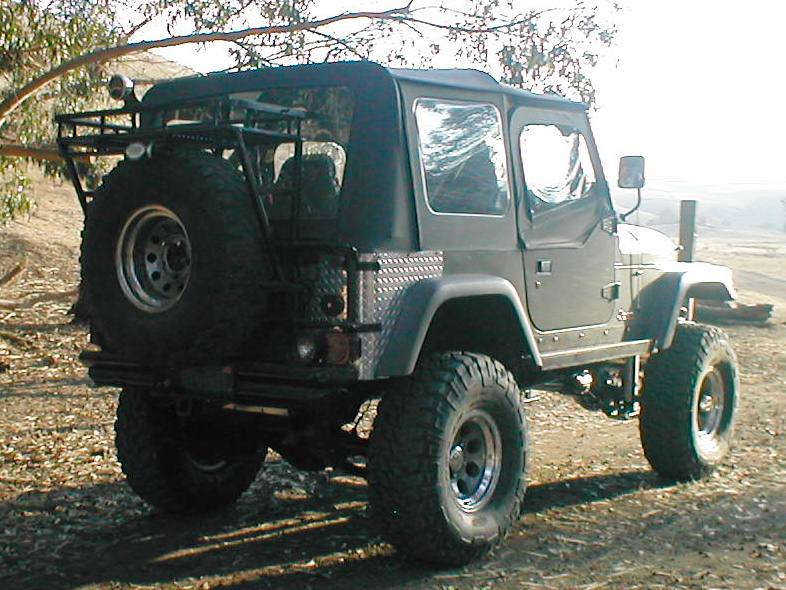 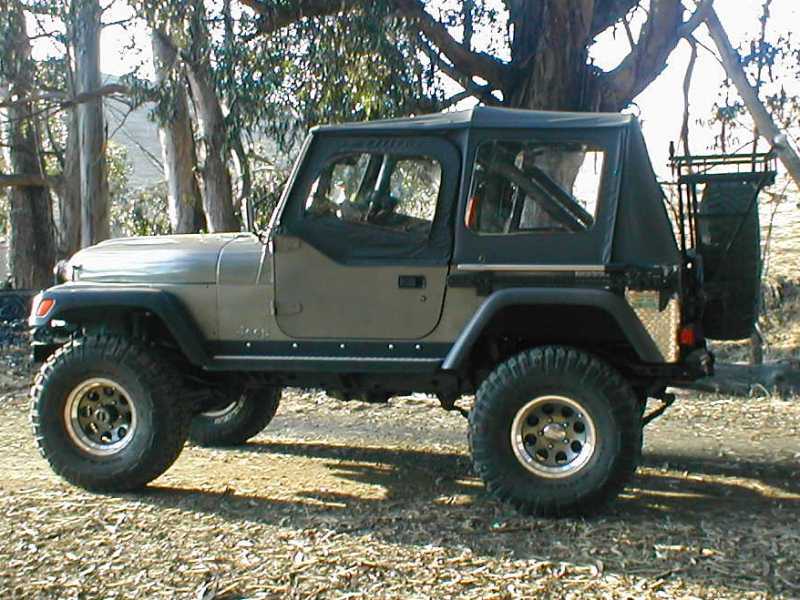
|
Back to our Jeeps home page
