|
2012 replace right inflation switch, replace bezel to angle gage Well I’ve had a leak in my air bag system for about 3 months. Right bag over several days would end up flat. I'd go out every so often with spray bottle of soap, determined to find it. Make a mess out of me and the truck spraying all the fittings-checking the bags and reservoirs. Just couldn't find it. try again in a week or so but end up giving up. Meanwhile bag gradually got to the point over night lost almost 15# Last attempt I got really serious, spent several hours trying to locate. As it took 12 hours to leak down 15# realized it was still a VERY small leak. so spent a lot of time just watching for a bubble. I pulled my ping tank, pulled the bag to inspect the back side-. I just couldn't find it, frustrating. My bags are 12 years old and they are pretty weathered. They do need replacing. I was kind of thinking maybe time to go ahead 'cause maybe just permeating thru the bag. Not likely but I'm at a loss. But due to cost its last-plus I want to insure something else isn't leaking before I order bags. Only thing I haven't checked are the fittings behind the dash-switches and gage. I need to check-but pulling the dash I want to have parts on hand. I have extra tees and line, Start with a switch. If it's not a fitting or switch Ill order bags. If that doesn't fix last item would be the gage itself. But replacing switch will be a start-gages aren't cheap
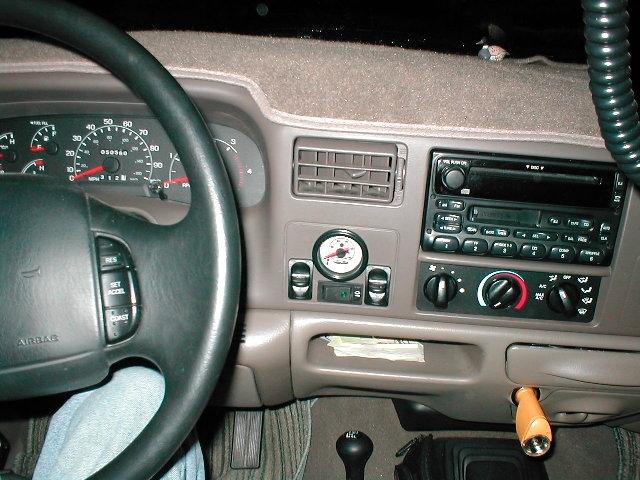 I decided to order a switch, when it arrives Ill pull dash and inspect everything behind. At that time Ill replace the switch. Then It also occurred to me since I'm pulling the dash I could finally put in an angled bezel to point the gage up. It sets low in dash and visually can't see top of graduations-always been an issue but never motivated to go thru the effort to uninstall everything. Kind of had to bend over to get a straight on look at the gage and get semi accurate reading with the dual needles. Adding the angled bezel would allow looking at it straight on. That would be nice. Make pulling it apart worthwhile even if not switch. Well after ordering wrong ring (2 5/8"), correct trim bezel (2 1/16") finally came in along with a replacement switch. Pulled the dash along with attached air bag cluster took to the shop. Removed right side switch, replaced with new one. Pulled the lines loose and removed the gage. Errr. Well the OD of new trim bezel is quite thick, When I originally installed the switches and gage in dash it was all squeezed in an embossed area of dash. Looked like it almost belonged. Well the new trim ring isn't going to fit inside the embossing, it's also going to need a bit of finessing to fit between switches. So when done it's going to be crowded-kinda stuck on the dash looking. At this point I decided function is primary-if it looks like crap no help for it now. Only option would be to make a panel. Possibly down the road-plus if I made a panel I could spread the components back out a bit-but biggest plus is it could be pulled from the dash with having to remove dash to work on...yup future project. Kind of sucks but this needs to work. So dremeled the new ring so it would fit, plumbed the lines. Yup that looks like dog poop. Hooked up air lines-reconnected all the electrical and dash stuff, reinstalled the dash. That looks pretty bad-hmmm but I can actually see the gage. Aired up to 80 psi. Let it set and check in the morning.. WHOO_WOOO! it's working!. Was kind of bummed with the appearance but stoked with the angled bezel and being able to fully see gage, but more importantly it WAS the switch. I had about zero confidence this would fix. STOKED!
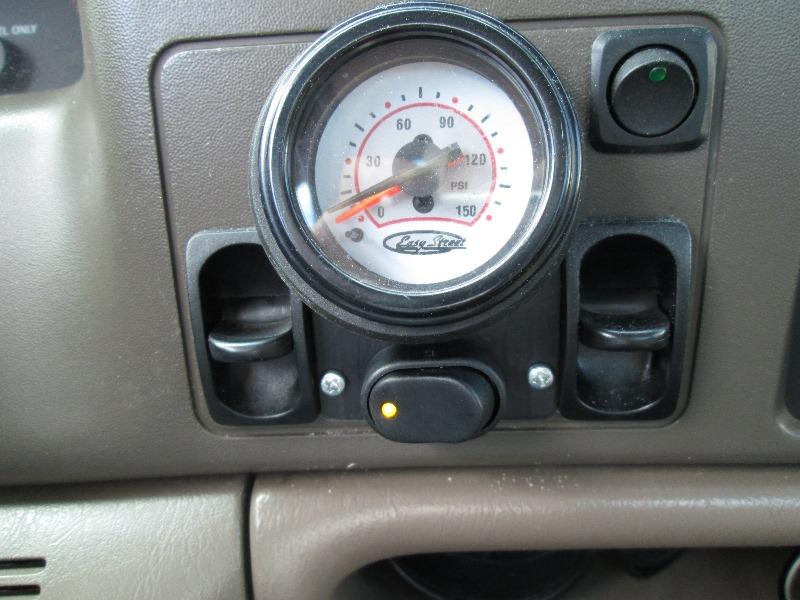
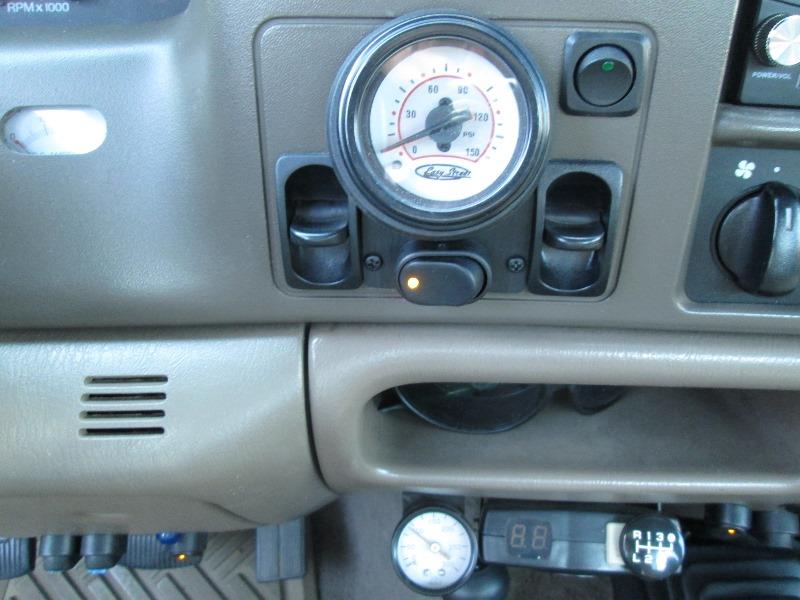
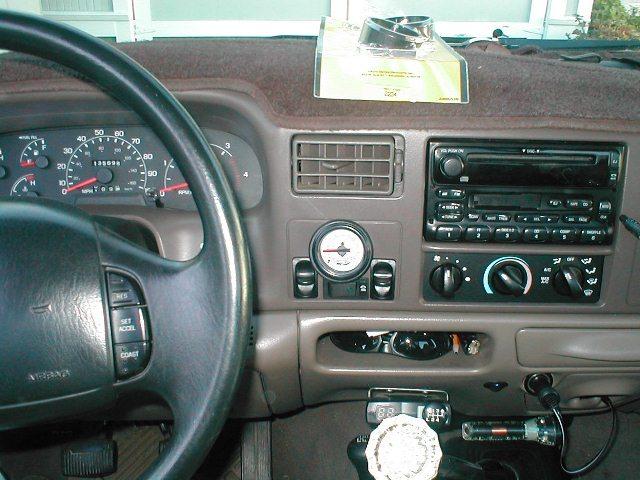 Still leaned over a bit to take picture but with angled bezel face flashed. The new bezel does protrude from the dash quite a bit-makes it look like it's on top of switches. You can see the trim bezel setting on dash (come in a pack of three). Pretty sure I'll redo -just need to find a piece of textured plastic or maybe matt black aluminum sheet. It only needs to be about 1/4" larger perimeter than line on dash. Orrr...possibly a dash overlay kit. Anyway when I do Ill replace other switch also. I'll look also revisit installing a small tank gage. Picked one, 1 1/4", a few years ago but couldn't find a place that looked right. But for now-system fixed, last thing I would have figured is bad switch. I'll probably go ahead and order new bags and other switch. Update: replaced bags & brackets with newer 'used' kit Parts:
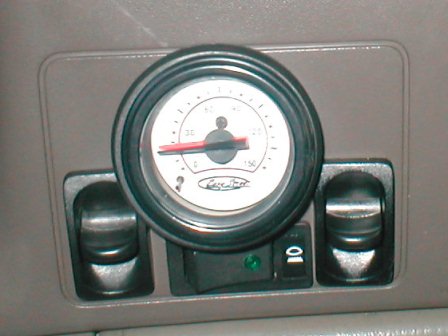
Last outing switch took a dump day returning home. Fortunately bags were aired up, tank full pressure. If needed I could bypass wires but simply ignored till we got home. I had noticed day before occasionally pilot would flicker. Once home, pulled dash to get to back of switch to pop loose. Pushed thru dash, unplugged wires. The switch housing is cracked?allowing switch to work but not make contact internally. Never seen a switch do that. I don't remember where this switch came from but I couldn't find anything to replace it. Cut out is non standard and its offset from face. No markings of any kind.
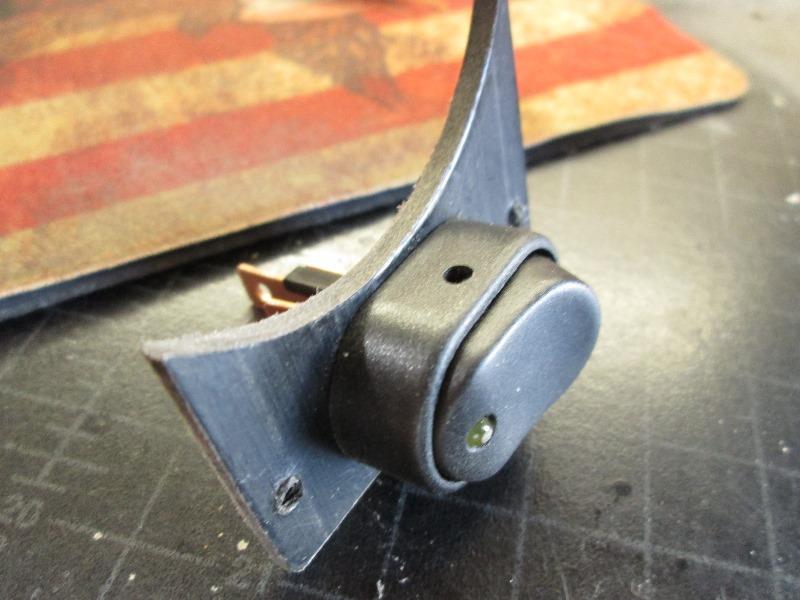
Decided to try to make a face plate to cover old cut out, use a standard smaller switch. Would allow in future to be able to remove switch without pulling dash apart, use just about any switch. Used a piece of black plastic to make panel. Fitting between switches and gauge took quit a bit of trail fit/ back to shop to file,sand, back to truck check fit, back to shop re file etc till it finally fit.
Decision to try to make panel fill space to gage was a lucky call at least to my eye. More work matching radius, was going to just make rectangle but visually this just looks better filling space.
Pulled panel with new switch plugged in leads, reattach to dash. Painted the screws. II did note and puzzles me, this circuit is fused at 20 amp dedicated to air compressor, new switch rated at 30 amp (though this style usually good for 15), but more importantly there is no relay. While its been working for 14+ years, that there isn't a relay, full load going thru switch just isn't something I would do normally. As system didn't include a switch, intent was direct to source, I added the switch. Wonder if this was a round toit that slipped, was 14 years ago. Be easy enough to add relay, make the switch just ignition hot signal to relay...hmm to be determined
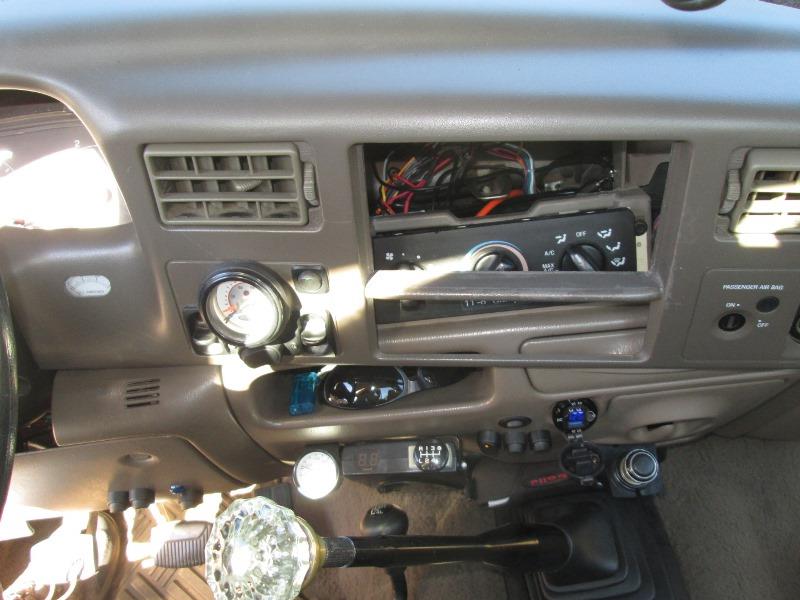
Very slow leak thru switch drains left air bag overnight. Replacing left switch like I did the right switch couple of years ago. Opened this page to see how I did it and found it was almost 10 years ago, time flies... Well no information as far as 'how' I did it so documenting this replacement. As I cant access the tubing to replace switch the real work is pulling dash so taking a few pictures to show process. Swapping switch will take a few minuets, pulling dash likely couple of hours.
Upper middle dash panel removal.
pull headlight switch disconnect plugs Pop dash panel lose enough to access and disconnect wires from aux amp gage, 12v power port, & passenger air bag switch. That's the plan. However, once radio removed I'll look to see if I can access tubing to remove switch, I dont think so but worth looking at.
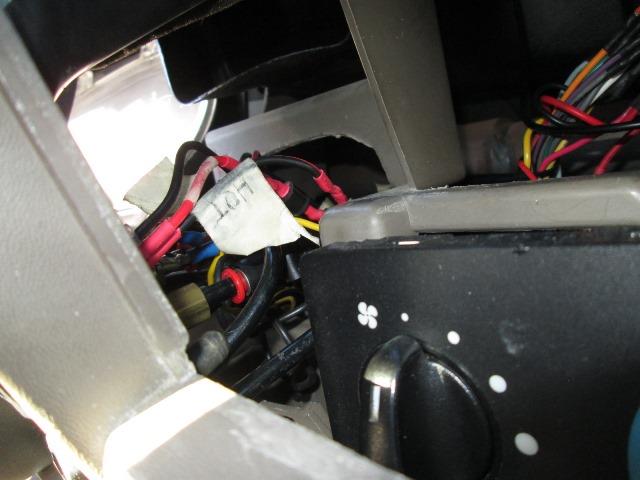
Mostly for my own documentation... Ok, pulled radio & headlight switch. Pop dash loose and peeked behind.
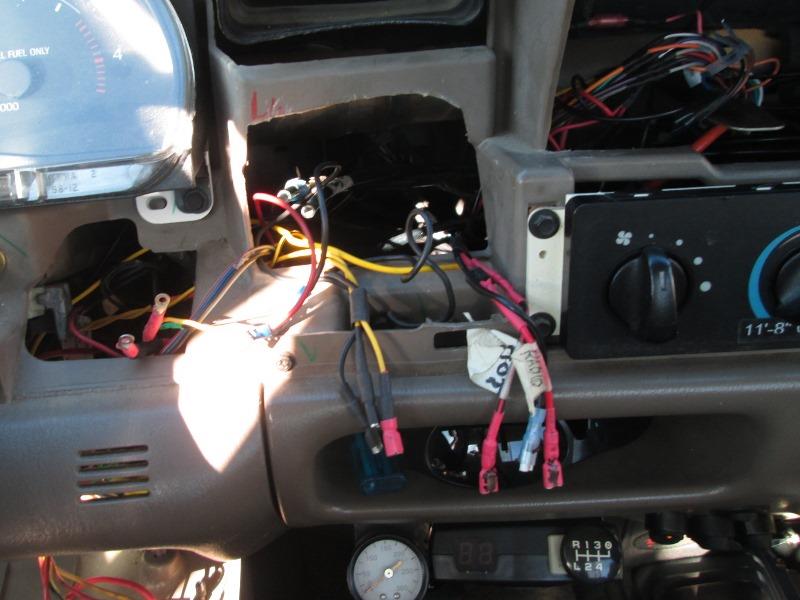
Noway-nohow, dash panel needs to be removed to replace switch. Pulled the passenger air bag switch and 12v power plug (headlight switch already removed) to lean dash down enough to access back side.
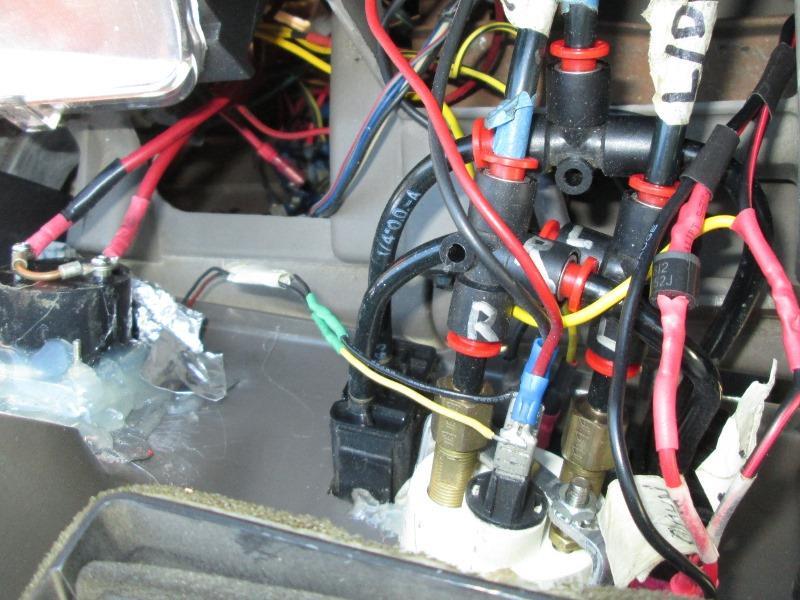
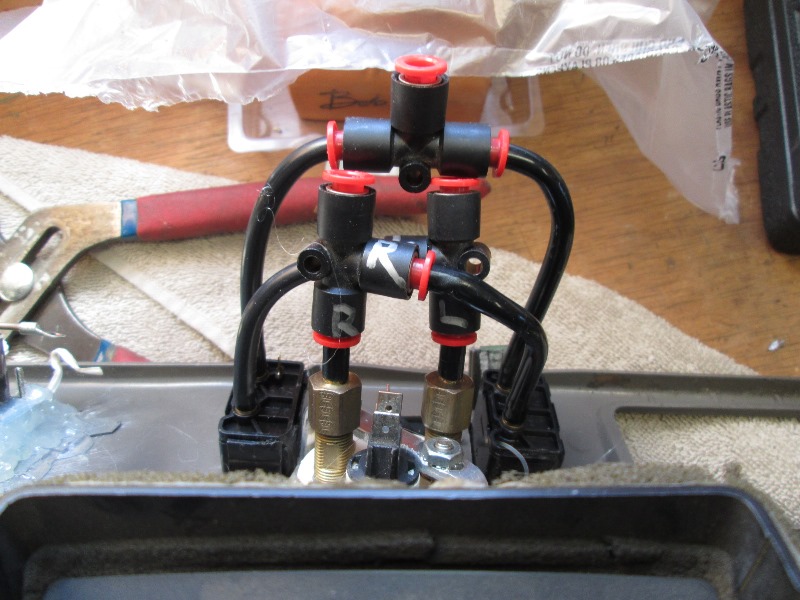
The replaced gage bezel to angle the gage partially covers paddle switch, otherwise further disassembly would not have been needed and switch could have been replaced at this point. But gage needs to be removed to pull switch. Simpler to remove dash than trying to continue. Disconnected the amp gage on left and release air fittings on incoming tank air tee and 2 outlet tees. Remove wires from compressor switch and aux radio bypass switch. Bypass switch was added with dash in-took the opportunity to untangle wires woven thru air lines...
Wires for compressor switch not labeled
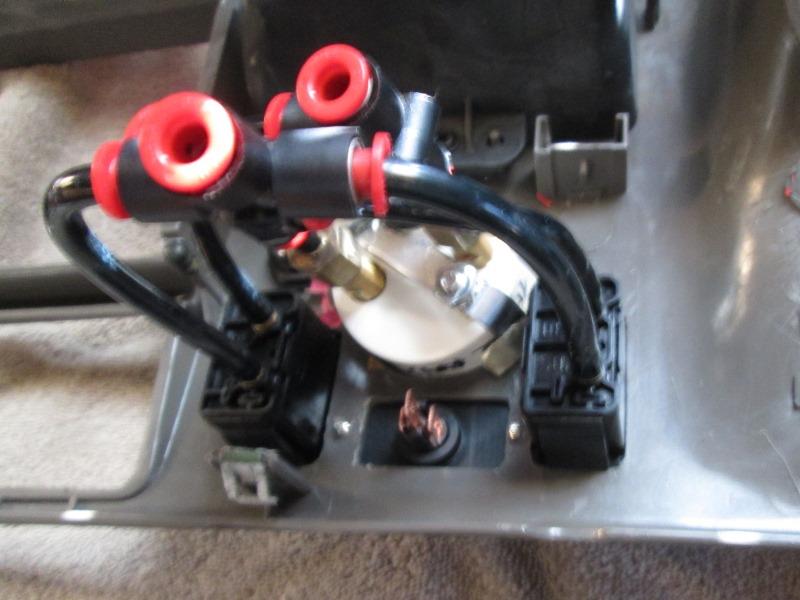
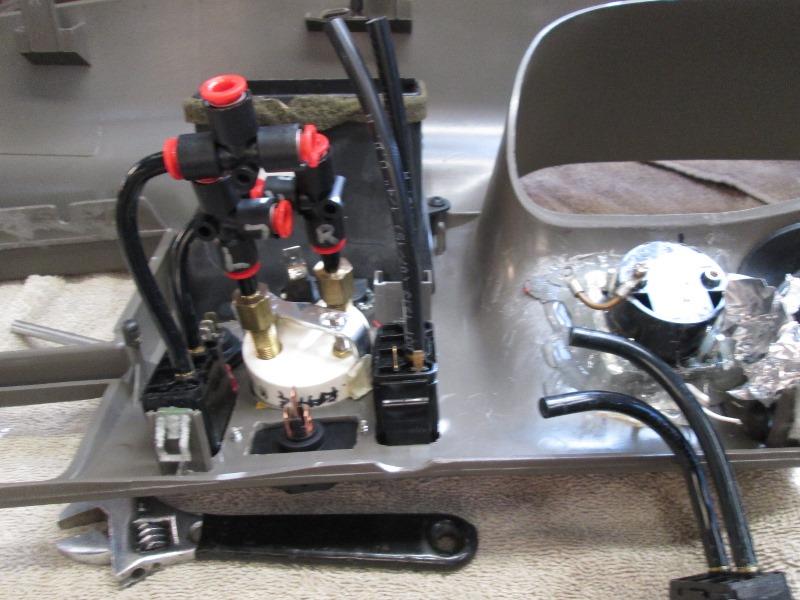
With dash free took to shop. Release paddle switch tubes from tees and pull switch after loosening gage mount
Cut 2 pieces of new air line to run to tees and inserted onto new switch, , it takes quite bit of force to get air lines on the paddle switch barbs. Install new switch into dash. Used heat gun to relax lines to make 90° bends and insert into outlet tees.
Simple as that.. reconnect radio bypass and compressor switch wires and leads to amp gage. Reconnect air line tubes to tees. Powered compressor to test and verify connections. Plug in connectors for air bag switch and 12v power plug. Snap the dash panel back into place. Reinstall headlight switch and radio. Simple as that, 3 hours later... Seems to be working but wont know for sure until tomorrow. Set both bags at 10psi-check in the morning. If this doesn't fix its crawling around with soap solution checking connections/bags under truck. Which is why I started out just replacing the switch. Last time on right side I'd go out with spray bottle spend a couple of hours checking everything and couldn't find a leak. Replaced the switch and that was it-hopefully this leak is also the switch. And it was!, leak fixed....however now the right side is leaking....err. Ordered another switch. Pretty sure I can remove the right switch without fully removing dash again, just swing it down. Save disconnecting all the wiring etc.
It may be I disturbed the lines on right switch, just odd it started leaking, but just as easy to change switch & replace lines opening up. It did occur to me that I should replace both switches opening up, but I didn't cause it was working.
And FAIL
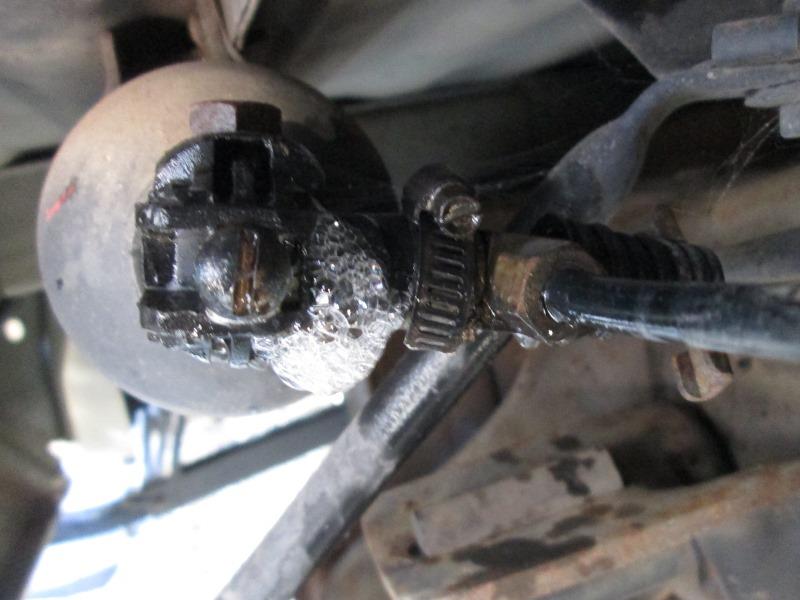
Leak found... of course last place I checked. Small screw sealing hole in Ping tank head leaking, alot. 10 years later and screw came loose, wouldnt tighten- go figure. Removed, re tapped for larger screw. So far its holding but wont celebrate until tommorrow. So bottom line- I had a leak but instead of checking fittings I took short cut and just replaced switch which was the source 10 years ago on right side. Lesson- next time just get out the spray bottle, don't assume previous fix applies. Short cuts invaribly are, often as not, the long way round. Couldnt count how many times I've proven that. Back to our F250 truck page Back to Ourelkhorn Camper Modifications page |
