|
Installing...
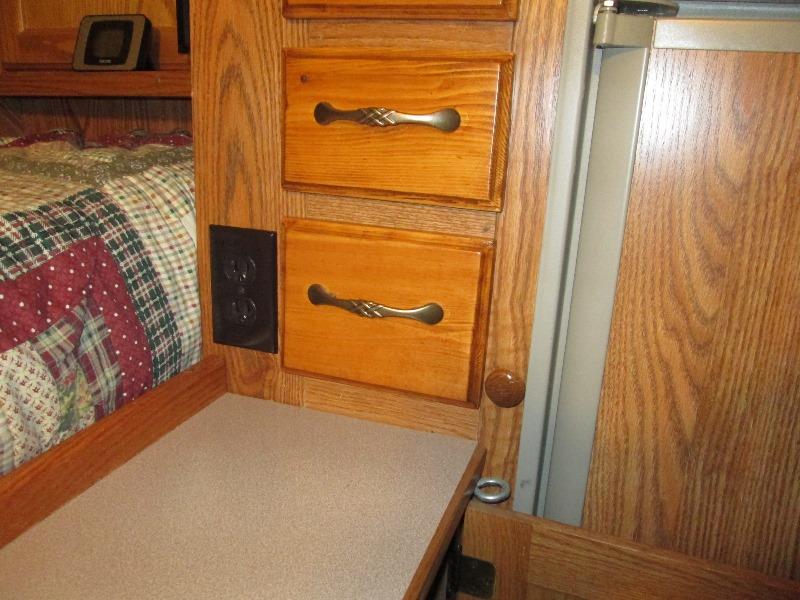
As mentioned the location where new receptacle to be mounted. (Slide is in). Odd blind space behind goes all the way top to bottom and to the rear about 5" of slide. Basically a hollow box behind face trim. Marking off to center electric box between drawer and corner.
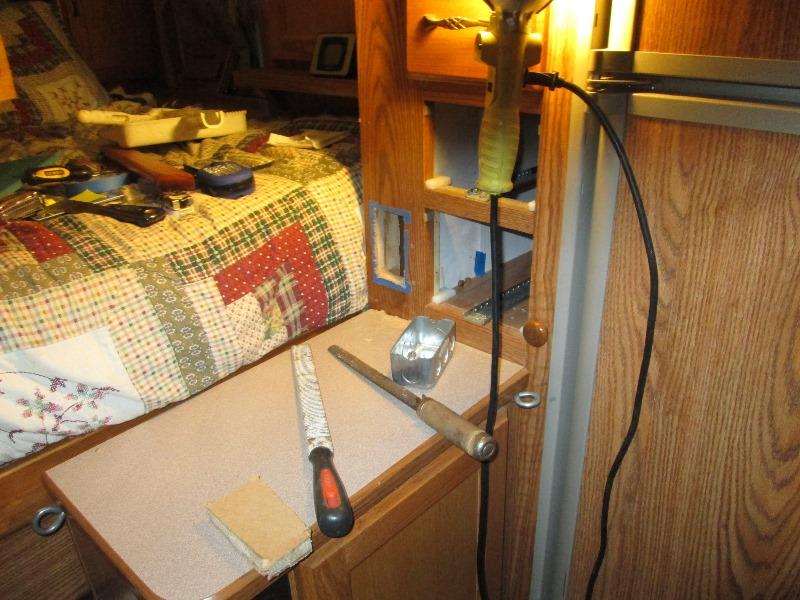
Drill holes in corners and slowly cut out with jig saw to keep dust down.
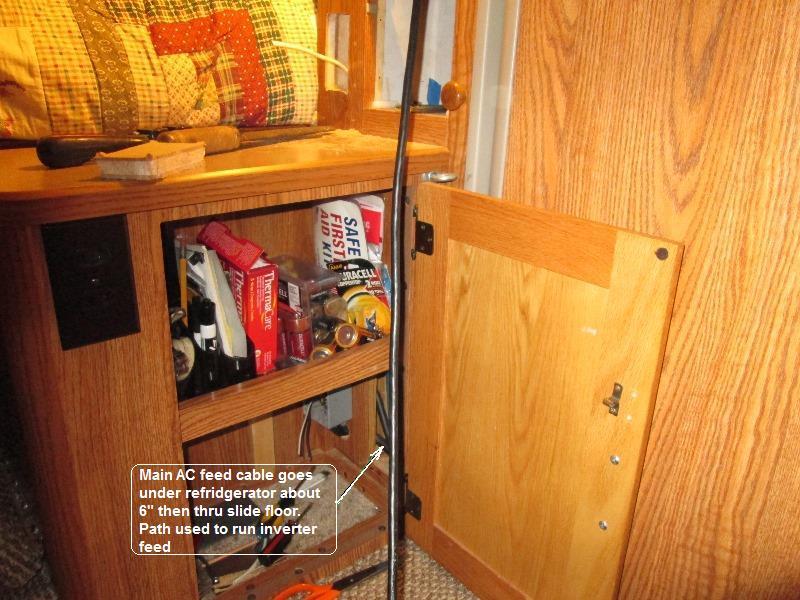
Dropped romex down from new hole and entered into existing junction box at bottom of cabinet for AC feed. That was easy, we now have AC on top. Picture also shows the main AC feed cable that enters junction box. It goes over to the right under refrigerator about 6" then drops down thru slide floor where it continues around to other side of camper. I'll follow this path with cable for the inverter feed.
This was NOT easy. I can see where cable enters thru wall under refer and where it exits under slide floor, its only a bit over 6", fortunately thru 1 1/2" holes. Reaching both at same time painful, one arm under slide floor, the other on top inside cabinet pushing stiff fish wire. Took an hour to fish a wire that 6". From under neath I stuck a finger up thru hole and with other hand fed wire from top hole until I could feel it on my finger tip. Getting wire to make 90° thru 1 1/2" thick floor just wasn't working. Almost had it 3 times but lost it, gave up after about 45 minuets. Looking at options I cant go straight down as slide rails/support rollers are there. I might go all the way back and then thru floor and back in under slide floor. Would mean cable outside when slide is out, no. Could go straight back but go thru and enter behind refer and then across refer compartment, reenter cabinet at dinette then into exiting seat box access to under slide floor. Doable but doubles the length of wire. Just stupid- all for a blind 6".
With little hope before abandoning this project of adding inverter I made one last attempt. Stuck my finger thru hole under neath, fed the fish wire from top. I could feel it hit something but from underneath I couldn't feel. Slight push/pull the feed wire and it suddenly freed and I could push again. However I still couldn't find it thru bottom hole. Few explicatives and I gave up and withdrew my arm. Stuck flashlight underneath to see if there was any alternative and the fish wire is sticking thru the hole! Hokey Smoke. All I can think is when it stopped moving it hit the feed cable, push and pull caused it follow it down thru hole. Wow .
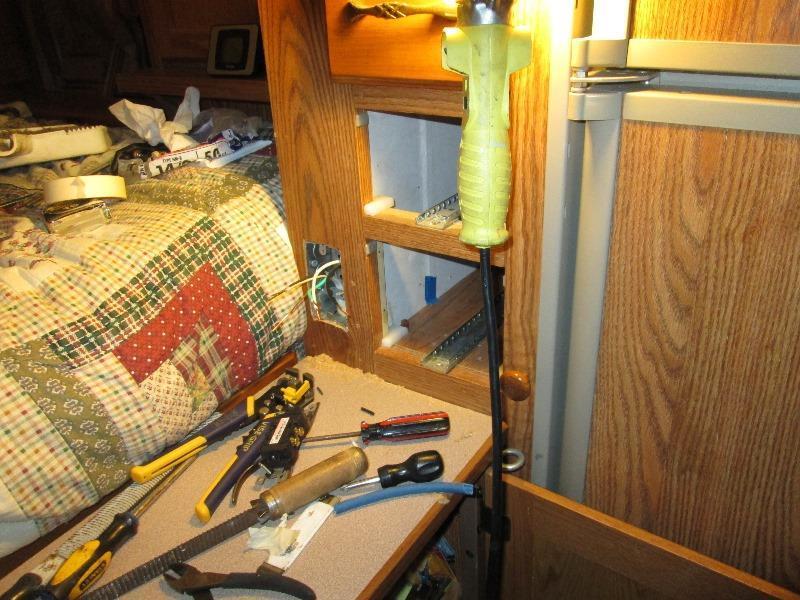
Tapped the new cable to the wire and pulled it thru. Then pushed the wire up and thru receptacle hole pulled cable out. Fixed it and romex into box and mounted box.
Wired the receptacle and mounted. No sooner fasten cover and realized I hadn't pulled the remote cable thru or at least an extra pull string. I usually do when snaking wires leave pull string for future use if needed. And here I need to. The inverter ordered has a wired remote switch, assumed this would be most logical place near the receptacle. Should easily be able to tape couple of strings to the cable I just pulled thru, pull it thru some more, detach the strings and pull cable back. But receptacle done with AC to counter top.
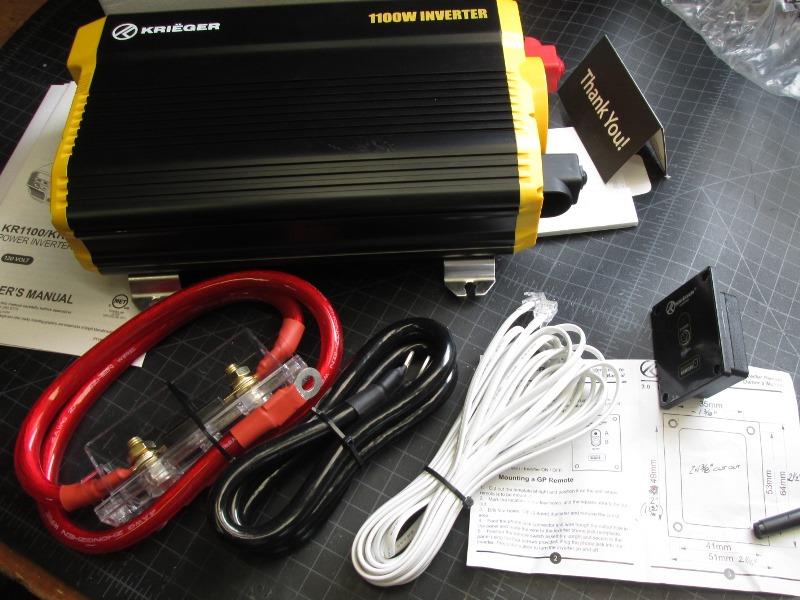
The inverter I used https://www.amazon.com/gp/product/B00T564EIY , a Krieger 1100 watt. Not a recomendation just what we ordered. Good reviews, inexpensive, comes with remote switch, cables/fuse to connect, 3 year warranty. Panel thats shows power in/out, battery level, front switches-
Next is to mount the inverter. Couple of issues. Biggest is there is not easy place to fit this unit. At approx 12"x 7"x 3 1/2" it's huge...Needs to be 3' within battery which limits to under sink. Though a lot of room no free wall or floor area to mount. Lastly is access to the inverter. It has a panel that gives volt and watt readings, nice but not needed for use. Same with the front mounted start/stop switch, as I'll be using the remote switch I don't need to access the switch. However there is main power switch on the rear of inverter that I do want to reach or some how kill power to the inverter as standby power of inverter is 1/2" amp. Last as far as location I want to be able to access the receptacles on front. THough this inverters main function is to power the hard wired receptacle I added, seems silly not to be able easily plug in something else if I choose.
Inverter arrived!
I'm impressed. Included are 4ga cables, fuse and remote.
Once inverter arrived and could physically try to place, the shelf idea I had early on would work. More importantly the inverter setting on shelf could set all the forward toward cabinet opening, I didn't think i would fit between drain and side of cabinet. Just need to relocate the accumulator tank. Solves all the concern I had. So its just building a shelf.
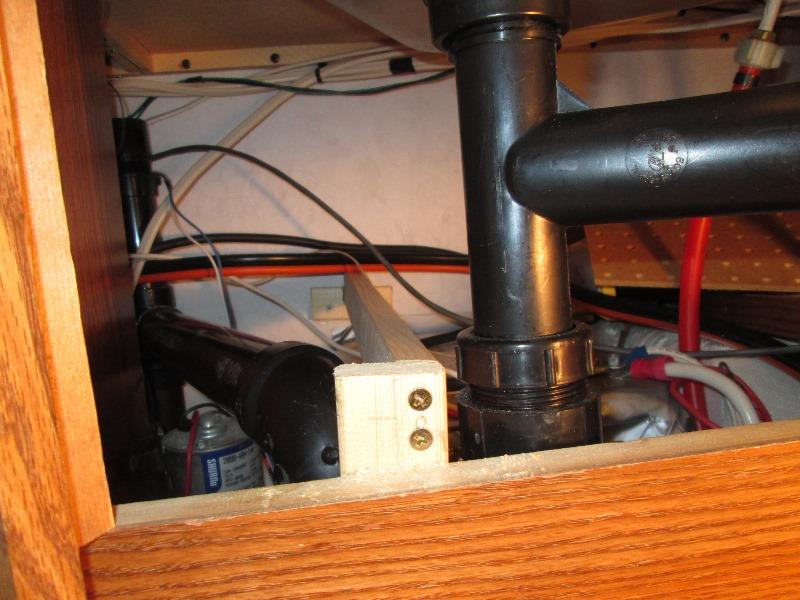
After some hee hawing around what I came up with. 1x2 spanning from cabinet to exterior wall to support outer edge of shelf. As this needs to be easily removeable the rear drops into slot. Added small piece of 1x2 glued and screwed to existing shelf and a block with notch to exterior wall. Added a length of 1x2 to cabinet wall to support other edge of shelf.
Also shown just to the right is the battery box with the common 12v battery ground lug, just out of view is cable entrance into battery box.
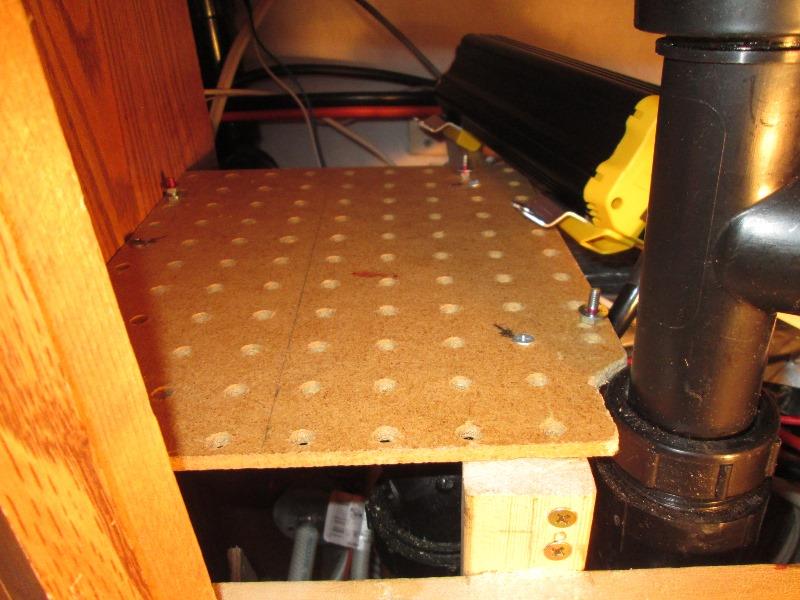
Shelf I used peg board for the extra 'vent' holes. To it marked and fixed 8-32 screw standoffs that feet of inverter will set on. The left side screws have additional nuts spaced so slotted holes of inverter feet can slide between.
The right side has nuts to tighten down and secure.
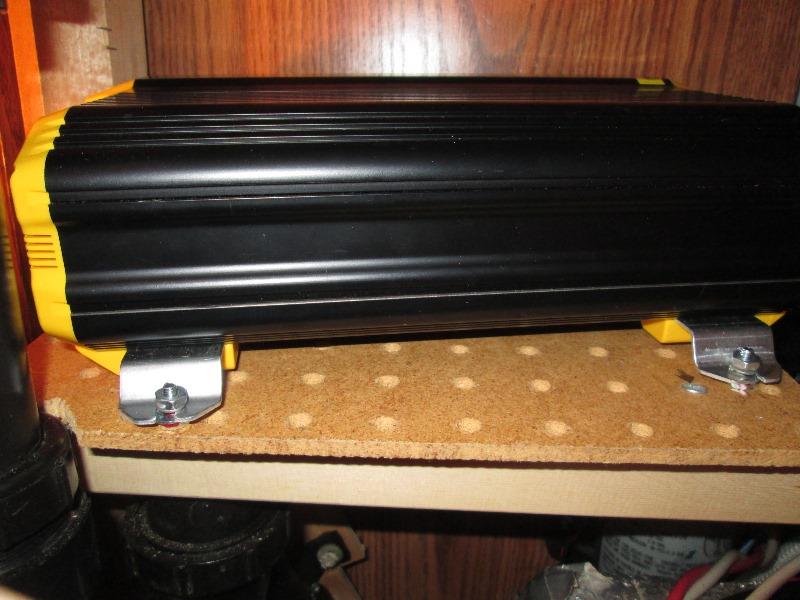
So its just removing these 2 nuts, tilt and lift off inverter and set aside when/if needed.
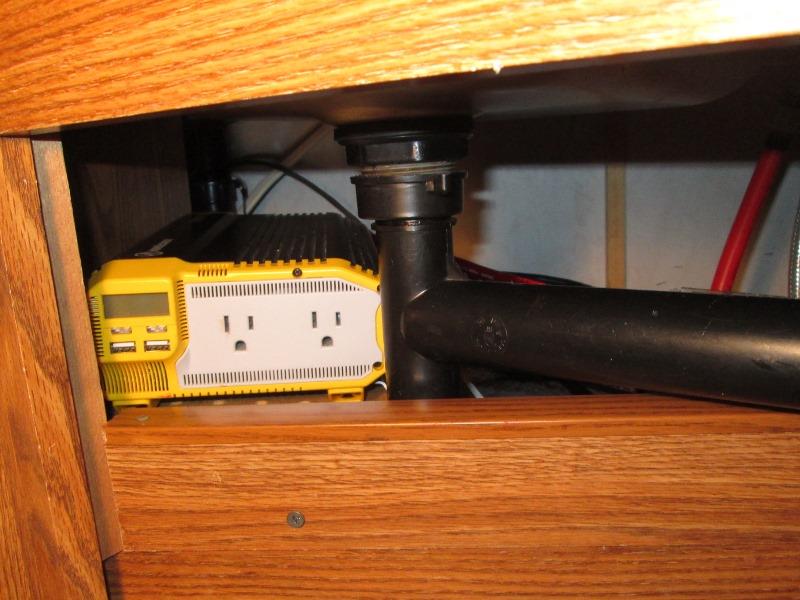
Inverter sets at slight angle to fully access. It also has USB charge ports. Worked out better than I hoped especially considering I was unsure that I could mount at all. Except...
The 12v positive cable is about 12" shy of reaching +terminal of battery. I was going to replace one 18" half of included cable (from fuse out) with a longer one but realized the batteries + lead is connected to the Perko switch, big red thing to the right. (The Perko switch originally was installed for option to select battery 1, 2 or both and off. Camper is now wired both batteries in parallel and Perko switch is only used as battery disconnect, our camper didn't come with one).
Point is I can tap the unused terminal of the Perko. I assume adding some voltage drop with the extra 3' length and the switch itself but to easy not to try. I can change later if it appears to be problem. However this allows me to select camper batteries off, on, camper on + inverter. More importantly is simple easy means to disconnect inverter. Whether while camping or in storage. Because of that I'd try replacing the cable from batteries to perko switch with heavier gage 1st.
Install the remote switch and testing.
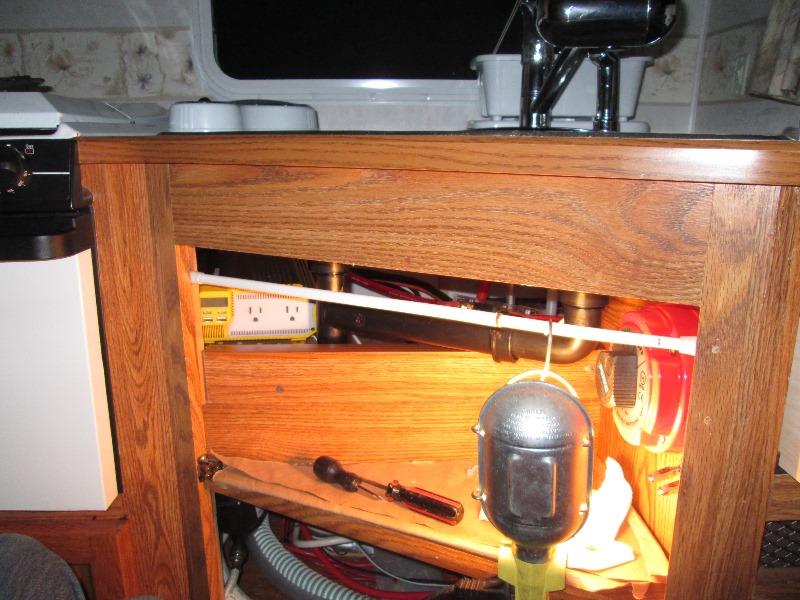
Running the remote cable proved to be not difficult. Cut out wall trim for remote switch above the new receptacle, plugged in the switch and mounted.
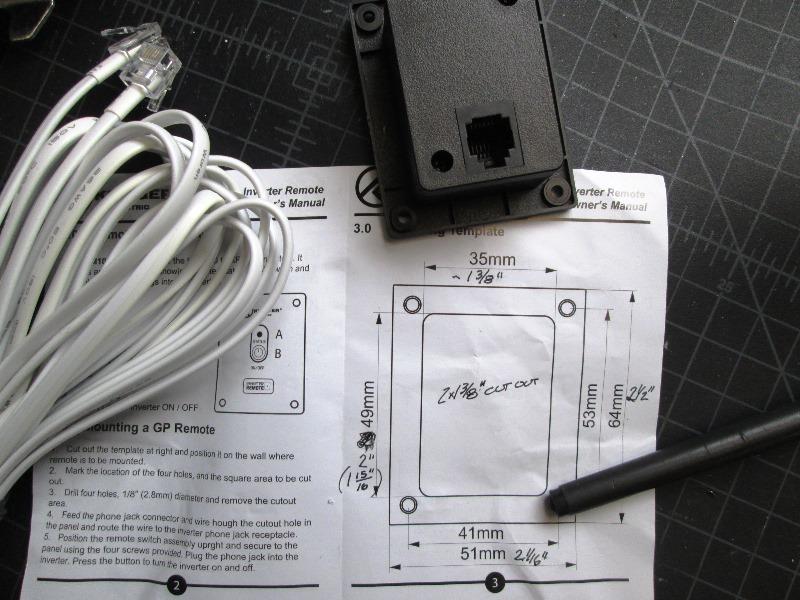
One of the questions I had before buying was size of cut out for remote.
Unit comes with a template, 2" x 1 3/8" cut out. I'd note, Though buried here where no one will find wont help but the corners of cut out are really close to the mounting screw holes. Directions say to use 1/8" in corners-don't-use a larger bit spaced away, giving more material between cut out and screw holes. Only negative about this unit is the remote, 4 times the size it needs to be and some are even larger. But functions, though I removed and modified.
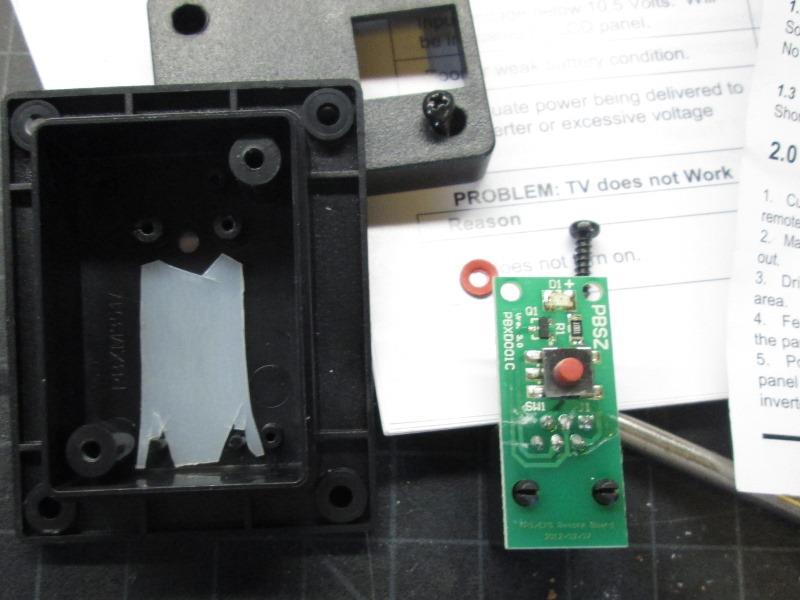
You had to press REALLY hard to get the case button to reach and activate switch. Added a strip of plastic (milk jug) between button you push and the switch on board. Helped a lot,
Install complete. This should meet our needs. Over all pretty happy, especially after testing. I assumed we could easily use the single serve 'pod' coffee pot with its short brew time.
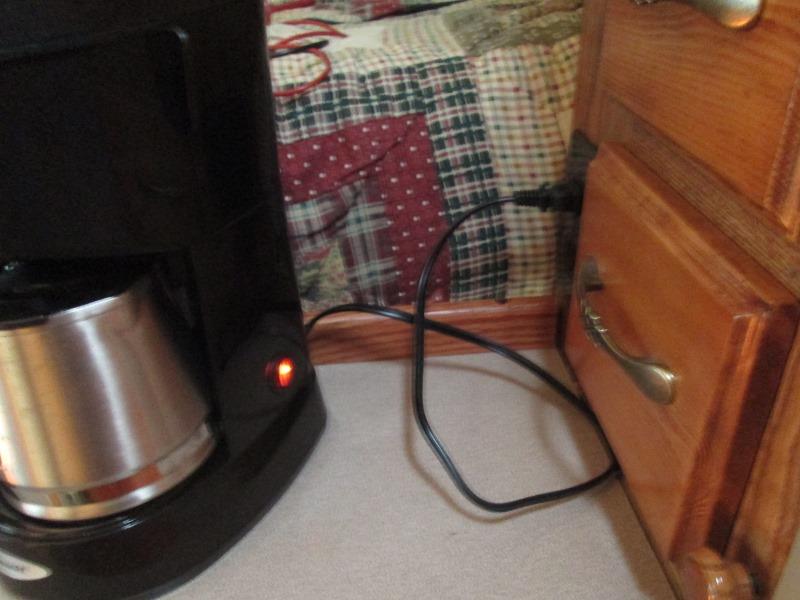
Was going to test and verify but decided to test using the 5 cup drip coffee pot with its much longer brew time. Wattage rating the same @800. Set up to verify. Solar off , camper unplugged, batteries @12.4v due to playing with stuff while doing this install. Which is a good test as batteries are usually low in the morning. It took a little over 6 minuets to brew, wattage use peaked at 558 watts, pulling down batteries to 10.8v. But it completed, I was actually amazed. I didn't think our system would support this. With normal solar active would be even better. I don't think I would use in inclement weather where solar couldn't replenish the batteries but I know it will work. I should note the meter on inverter while showing available volts dropping to 10.8v during pot cooking, solar battery volt meter showed they never dropped below 12.1v. AS soon as pot finished voltage went back to 12.3v.
So stoked I sat up the pod pot.
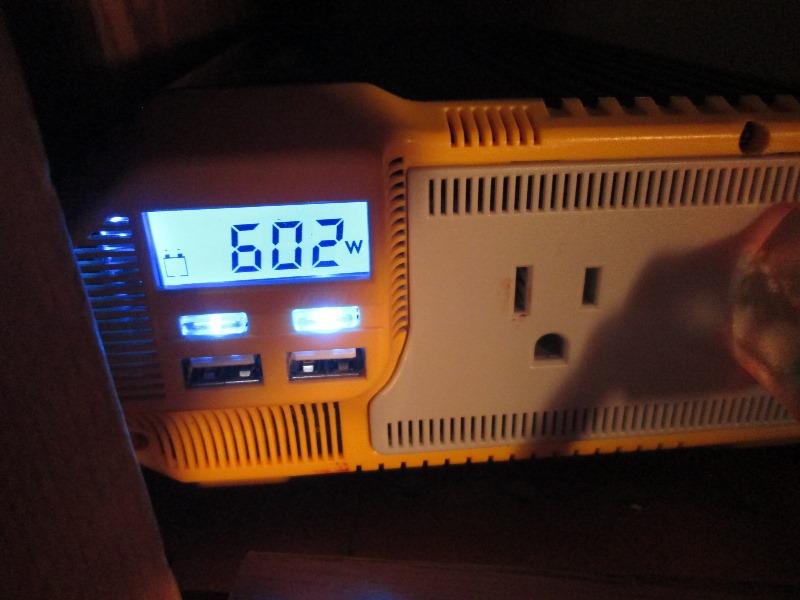
Higher wattage load than the drip. It peaked briefly at 612 watts but ran at a higher 602. Surprisingly the actual load time off 600 watts was under a minuet and it cycles, not a constant load. So actual load time closer to 45 seconds! When it shut off batteries jumped back to 12.3v. I guess the advertised run time of 3 minuets is from when you pour water in until you pull out your cup. Other plus is when its done it shuts itself off. The drip pot has hot plate so you need to shut off or would drain batteries. Though the 'keep hot' is supposed to use less power I didn't leave on to check.
Bottom line that 1st cup of coffee will cost me 90 bucks, typical use would be the single serve pot. Not waiting for that 1st cup priceless. Was a fun project that actually worked.

FYI note: The single serve pod pot we have, Chulux, is the cheapest I could find off Amazon at $35. Identical pots sold under different brands.
https://www.amazon.com/gp/product/B016UO0EL4
I only mention because many have stated the high wattage of some of the 'better' brands and not being able to use on inverter.
IE Per mfg the Keurig® K-Mini Plus™ coffee maker is specified 1470Watts which I couldn't run. Point being Just check.
Back to top of page
relocate accumulator this displaced, using tire extension hose
Back to Ourelkhorn Camper Modifications page
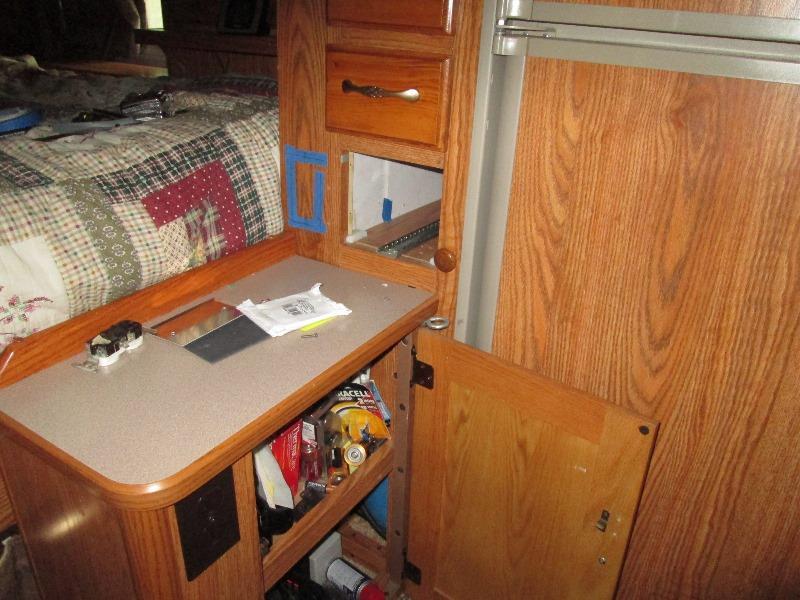
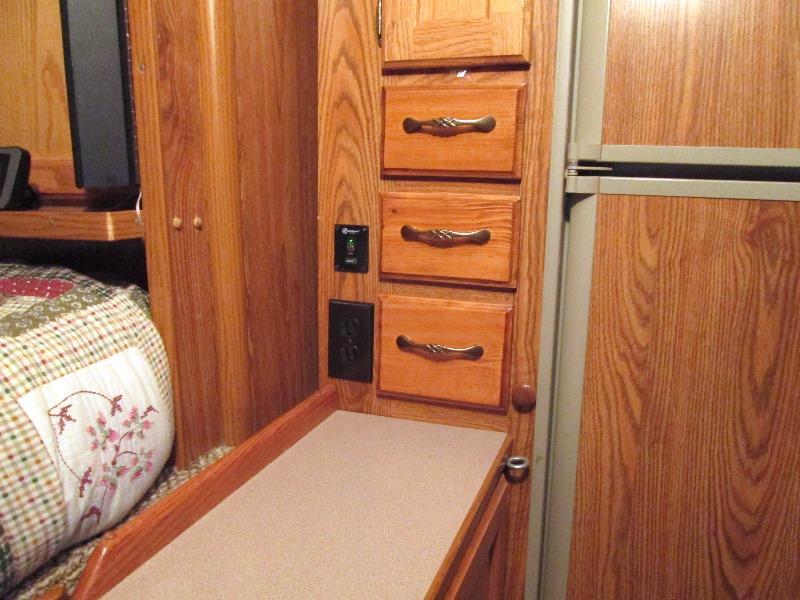
| 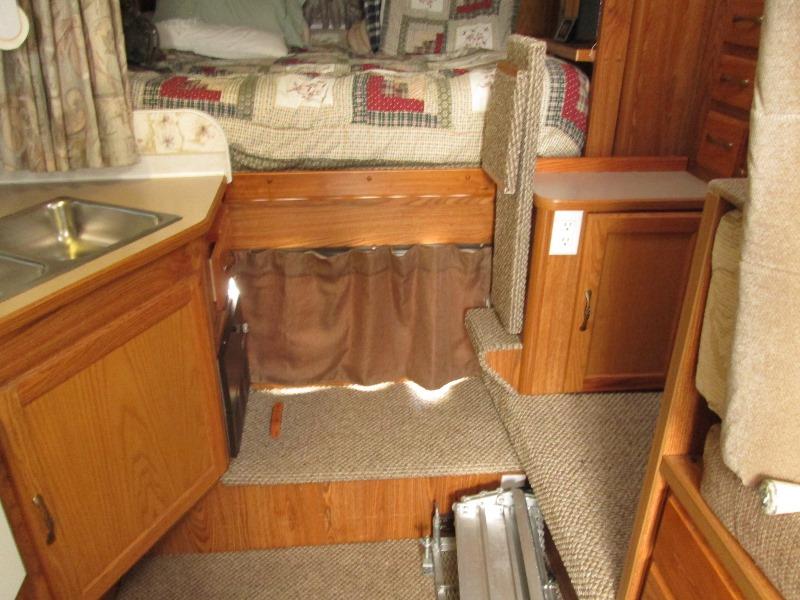 Small cabinet counter top on the right is where we set electric coffee pot, receptacle on face is what was used. This is part of the slide. Wall behind counter top is the cabover wardrobe. Next to the 3 drawers on the slide wall is about 4" of clear wall between drawers an outside slide wall. Perfect for placing receptacle, checking space behind goes all the way to slide floor to run wires. Directly below inside of cabinet is a junction box I could tap for AC. Following existing cables I could route inverter power out cable over to other side of camper near battery where new inverter would go.