Labor Day weekend project-rework cabinet door by bed to flush top.
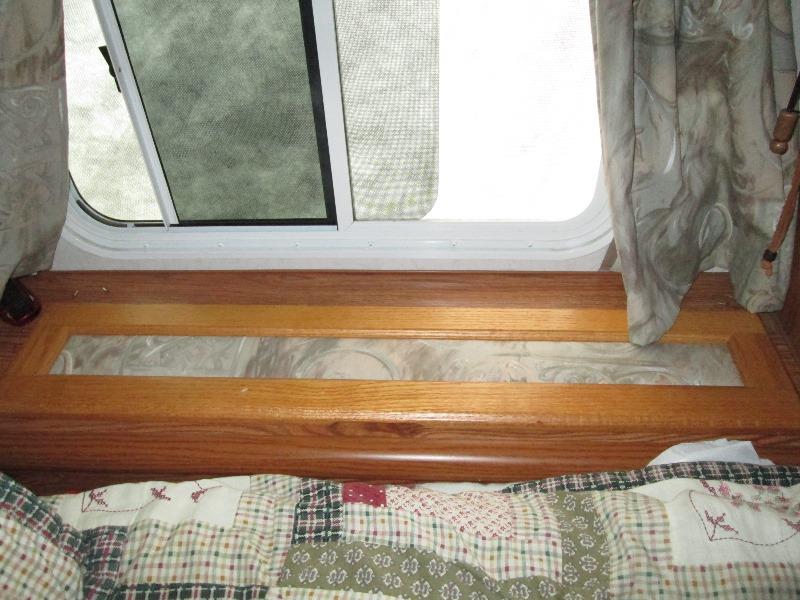
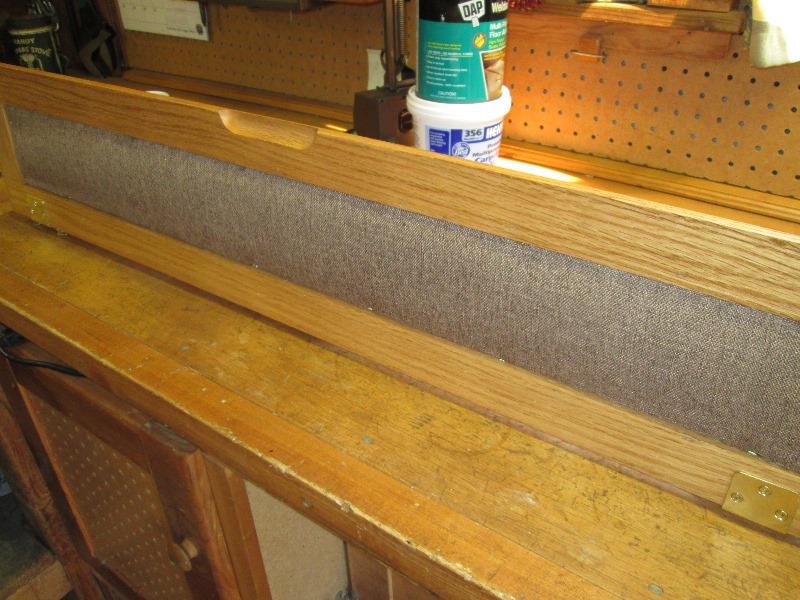
Beside the bed is small horizontal cabinet. I don't know what its for, some say hamper- ya I want soiled clothes next to where I sleep... Doesn't hold much but its the area I set stuff and use as bedside table. But say a clock or glass of milk its a balancing act to set anything on door frame as the door is surface mounted and pretty much takes all the space. Other real issue is the inset center panel is padded fabric. I cant tell you how much I hate this. I do not know where the idea of inserting fabric into a door came from but it is stupid. Period. Practically, functionally and appearance.
Originally & what started this, as I never think to fix until were out camping, is when replacing carpet I thought might use some to replace fabric. But that got nixed, look better but wouldn't address lack of use. But now looking at it plan is to remove fabric, pull the finished backing paneling and insert it into hole making it flat and more useable.
Whacking fabric side with mallet to break rear panel loose I carefully pried off, this is to be reused to fill door insert.
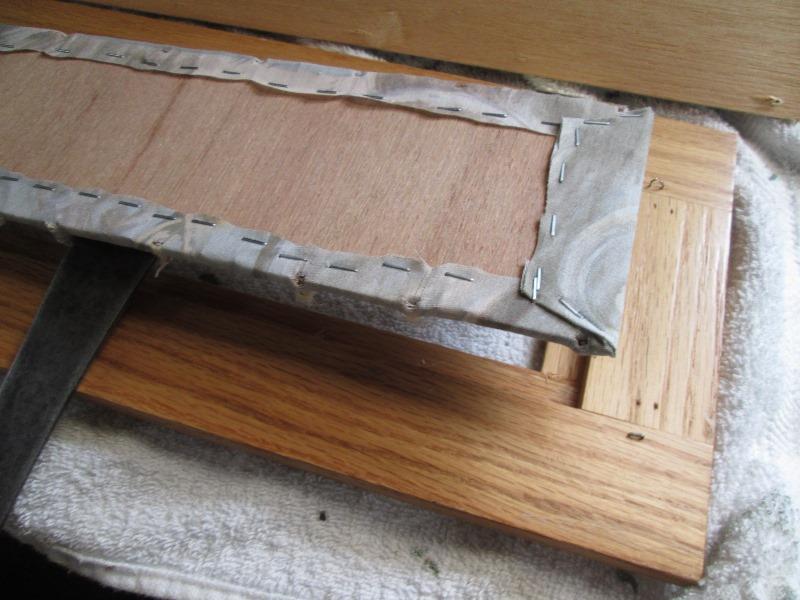
Again whack from fabric side to break fabric panel loose pulled it out. 'Few' staples, both holding the fabric to plywood and ply to door. Someone sure wanted me to live with this.
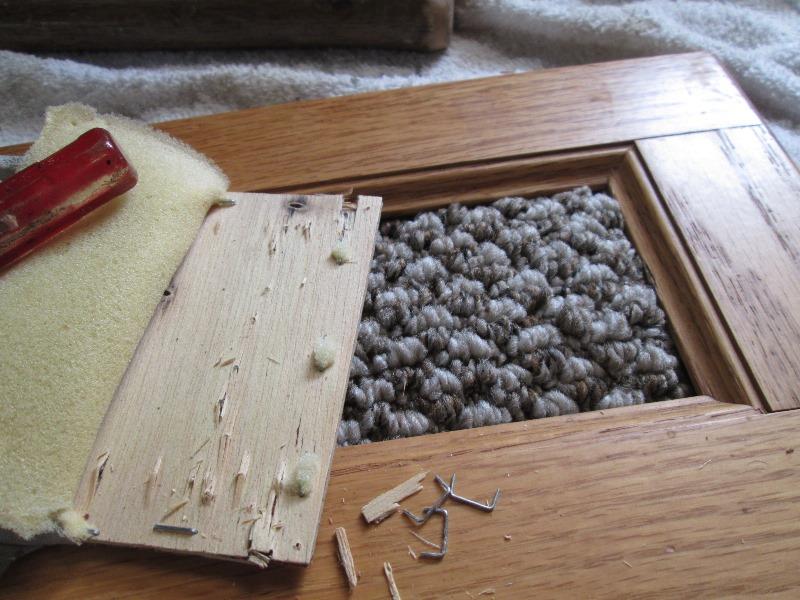
Hope against hope that behind fabric the plywood was finished so I could reuse and not cut back panel I pulled fabric back a bit. Nope.. Even if it had been finished, stapled into ruin.
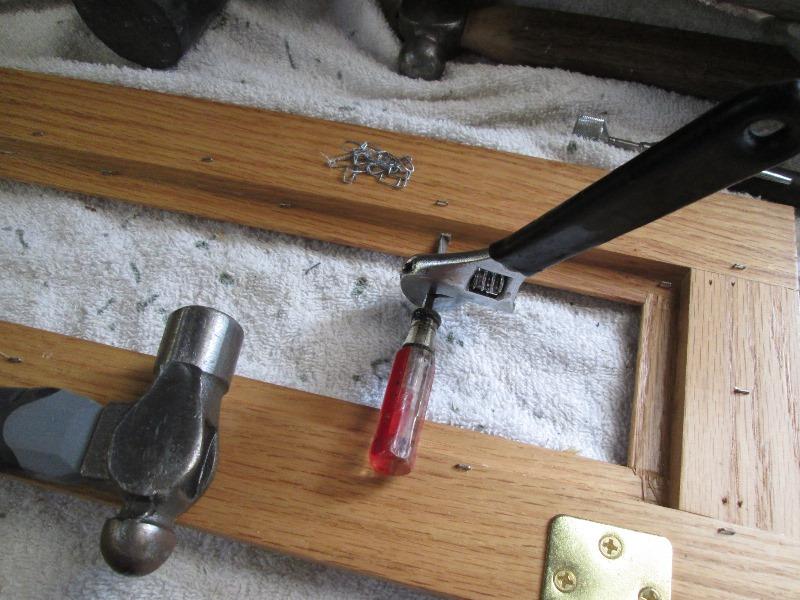
Staples really don't want to come out. If not for they might break out of front I would have drove in. The face staples on the exposed frame I am driving in-making a mess trying to pull. Lightly tap screw driver under, then twist working legs out enough to grab with pliers. Got all the inside staples pulled. Ended up having to pull face staples. As hard as they are to pull, even harder to try and hammer flush, just smushed. Used a steel putty knife against staples to keep screwdriver and pliers from 'denting' wood.
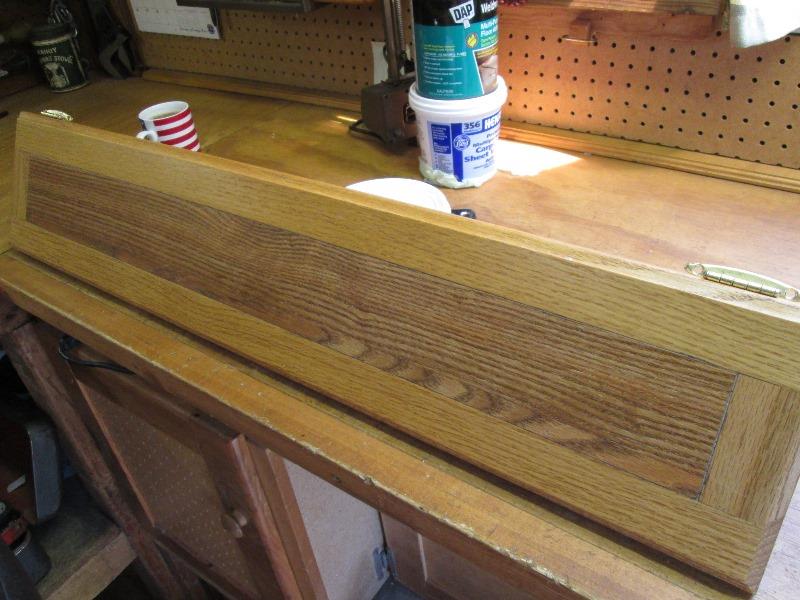
Haven't cut yet but what was planned. Inserting finished side of backing paneling into door as panel. But, though give me more room to set stuff, still a problem as far as paying attention where setting stuff, limited area due to its recessed panel.
And plan is changing
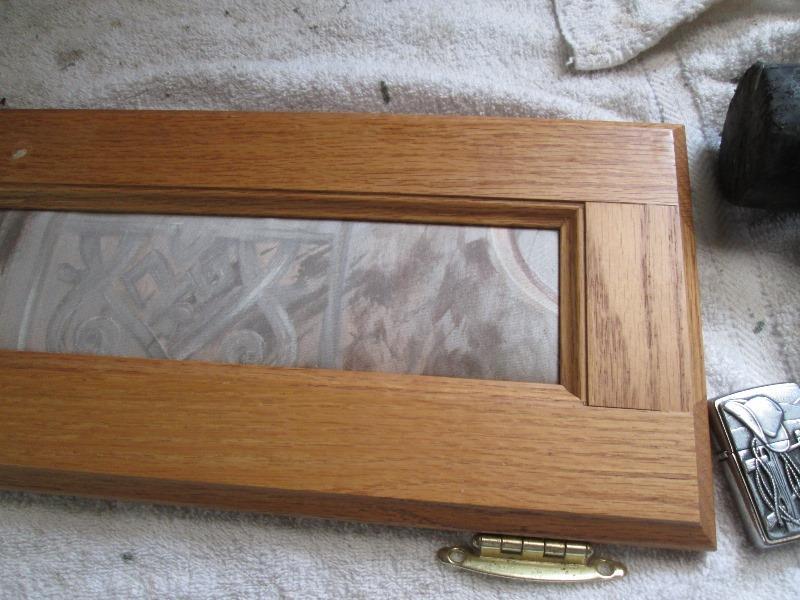
It occurred to me I could cut the paneling and install in the small step on face of door, making door top flat. It also occurred to me I could easily trim the door frame so it could be set into the cabinet, flush instead of surface mounted. (Which is what it should have been). Need a piece of piano hinge and a recessed pull, (or finger hole). Neither of which I have on hand. Also would need refinishing the cut perimeter. If I were not so lazy that's what I'd do. But not today.
Nixing the flush mounting of door for now at least, but still mount the paneling on face of door, gives me the usability, get rids of foo-foo cloth.
I need to trim the paneling to insert into door anyway, recessing the routed edge another 1/16" so it sat flush would dramatically increase useability of "night stand". I can always if want come back later, re cut the door for flush mounting.
Easier said than done...
I didn't really come up with an easy way to deepen the small 1/8" step. Because, mistake was, without thinking I cut the paneling to fit in recess before deepening the door frame. Without any way to compensate for errors/over cutting- stuff happens- don't want to attempt running thru router table which would be 1st choice. So cutting by hand. Combination of small chisel, mostly scraping with sharp router bit I managed to clean groove of built up urethane till scraping wood but after about 20 minuets maybe only 1/32" in depth. Took the plywood panel to sander and took it down back side to 1/16" thick at edge, sanding 10° bevel..
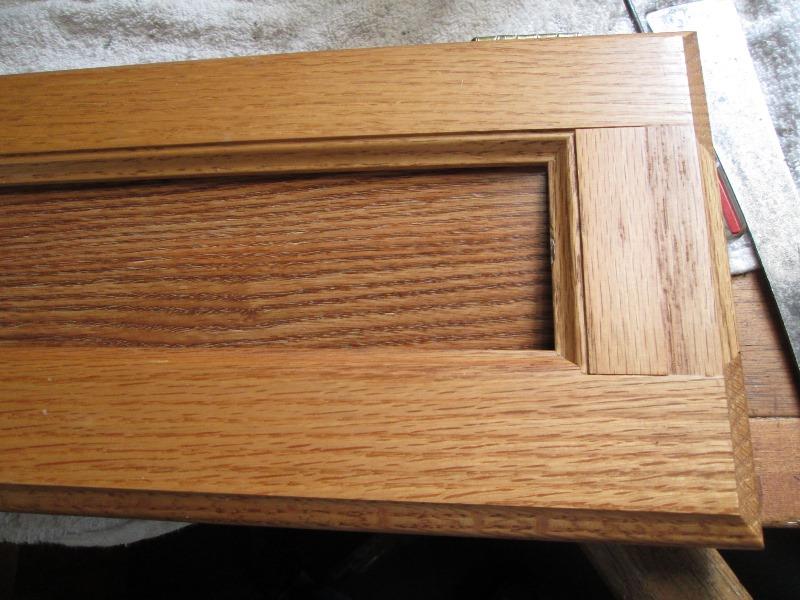
Finally getting where it sat flush, glued entire perimeter and set a few wire brads.
Wrapped the original cloth/foam insert with scrap brown, installed into back side, just to cover raw luan face and bazillion staple holes.
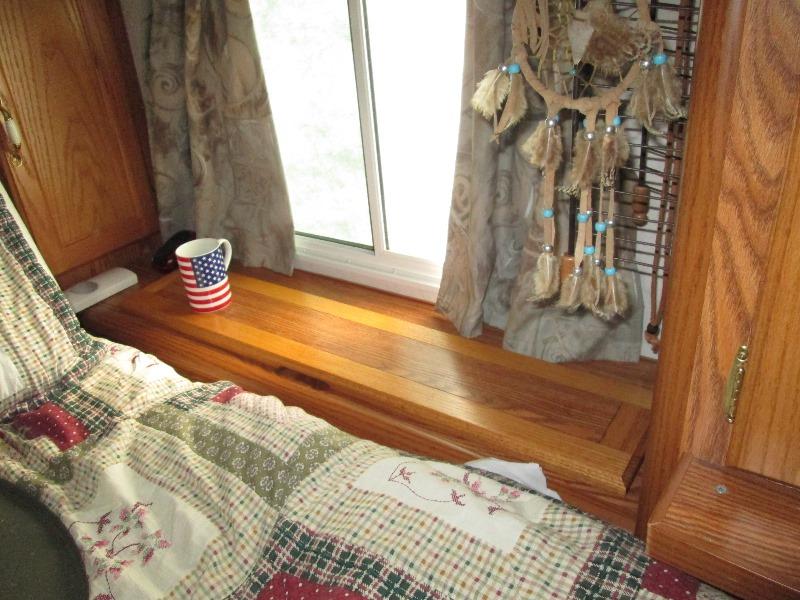
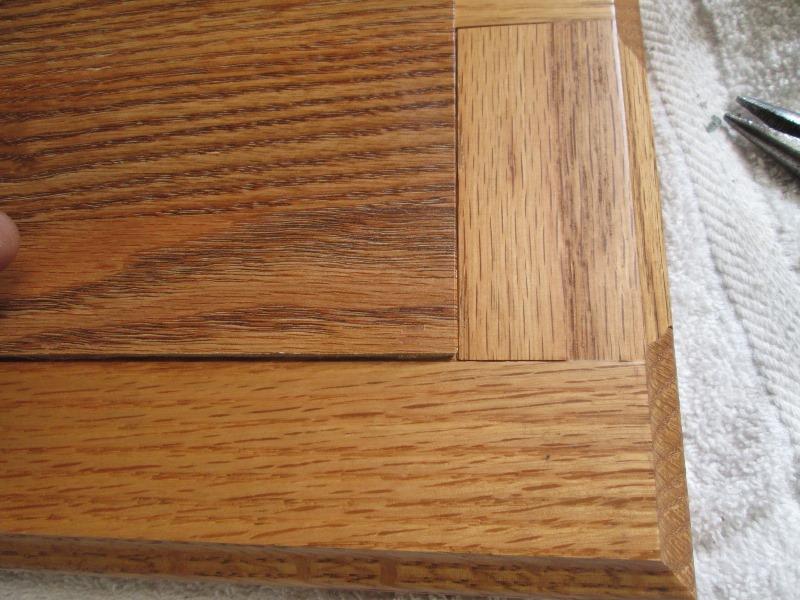
Nice- usable top!. The surface on the paneling insert is very thin and needs top coating for wear. Getting ready to go out for a while so wait until we return. I'll remove the door and apply couple of good coats of urethane where it can air out outside of camper.
I did note and mentioned earlier, if I ran the door thru table saw, cutting off approximatley 1/2" from perimeter of door, lid/door could be installed so its flush to top of cabinet-greatly increase useable surface area. Just need a piano hinge (which fortunently I dont have on hand), add stop on front edge- restain. More work, but one 'could'. I'm not, this mod serves purpose for useability-but just saying, could be made into complete flush top as it should have been from factory.
Related "remodel" projects done at same time
New door curtain to replace pillow case that was hung temporaily...10 years ago.
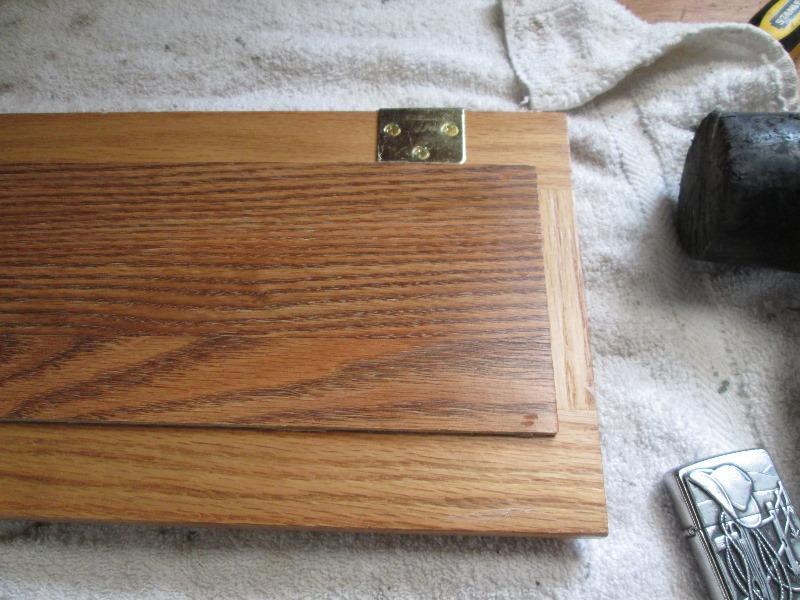
Replace camper cabinent hardware just getting rid of all the bright shiny brass.
Add gas spring to shoe box lid new carpet stiffeness made hard to open, also holds it open
Replace carpet new carpet throughout- what started this
Back to Ourelkhorn Camper Modifications page