Simple addition-add another wall vent
-
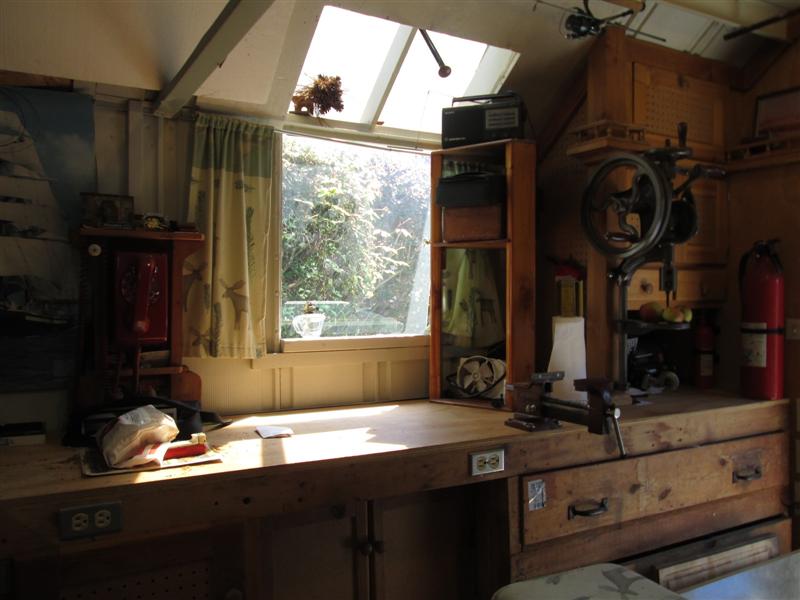
Oddly after the shop completion was the ambient air temp inside. Hot & stuffy. I attributed to the window, which originally was at end of building is now basically in the middle. Especially when setting at back bench, the air just doesn't move.

I had reworked the window so it actually opens, and had added a roof vent shortly after finishing. The window helped considerably but if it's over 80 just gets stifling at back of building. The roof vent, though air moves in & out doesn't help over the bench. The RV vents are an easy addition so decided to add another in wall over bench.
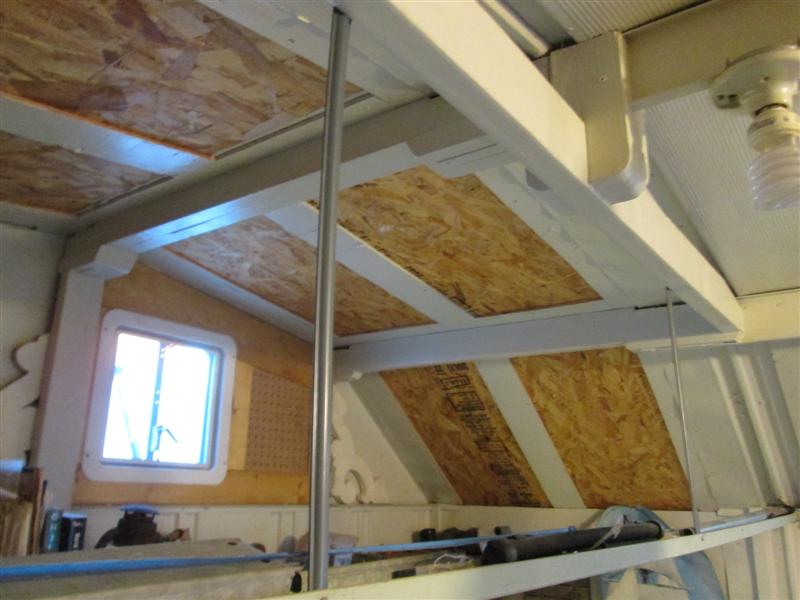
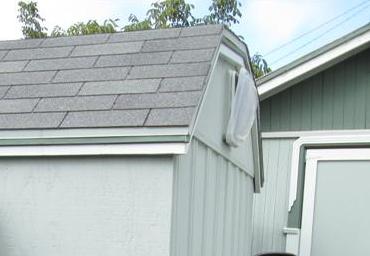
It's a 14" RV vent. They use a simple external flange to mount. Using a pair of tin snips trimmed the hole. To inside I added a 1/4" ply frame, mostly as backing, the flange screws thru building into it, so its not simply screwed to building sheet metal. Gives the hole a bit more rigidity and sandwiches the thin metal of building insuring vent frame seals. Used butyl tape as sealant between flange and building. Trimmed the putty after a few days caulked and painted the flange & screws

Inside I added a 1x4 frame to add enough 'thickness' to use the screen and inside trim. Used pegboard to 'fill the one gable section. Turned out nice. On the round to it list was covering remaining metal walls, this was the motivation to finish & cover remaining exposed metal walls later.

One of the things I debated was orientation of the new vent. Pivoting from top allows using when raining to an extent, and how it should be mounted, though really designed to be installed on flat roof. Inclement weather rain would likely blow when mounted on wall even pivoting from top. So if raining it will be closed. Pivoting from bottom would let me see outside-albeit treetops and sky. Also pivoting from bottom would allow more opening higher up letting the heat out, which is whole point-I opted for sky.
It has proven awesome, world of difference, nice to glance outside and the air actually moves.
Update 10/2018: Adding a Hengs Vortex I fan kit to the vent, add remote switches, tap ATX 12v power supply to run fan. See Shopexhaust.htm
Back to shop mods & additions section
Back to Our shops home page