Replace Atwood truck camper jack switches.
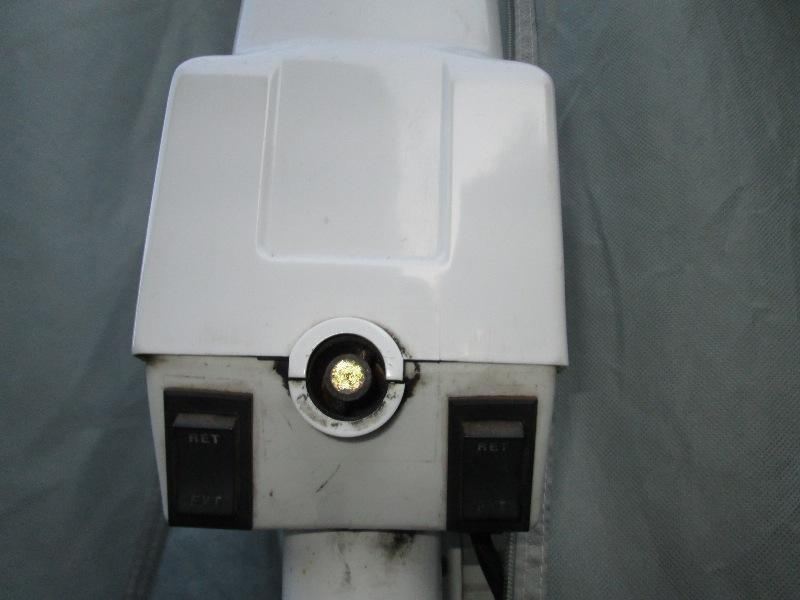
Our manual Atwood truck camper jack switches like to stick.They have been doing it for quite a while. lubbing will help but always comes back. Mostly because the rocker is a pretty close fit to hole in bezel. Switch functionally is fine but least bit of dust they stick. Rather annoying when you let go expecting them to stop and jack keeps running. I learned to expect them to stick so use both hands, one on each switch and am prepared to manually rock to center off. However when they decide to stick its in either direction and some times Ill be bumping back and forth trying to find center.
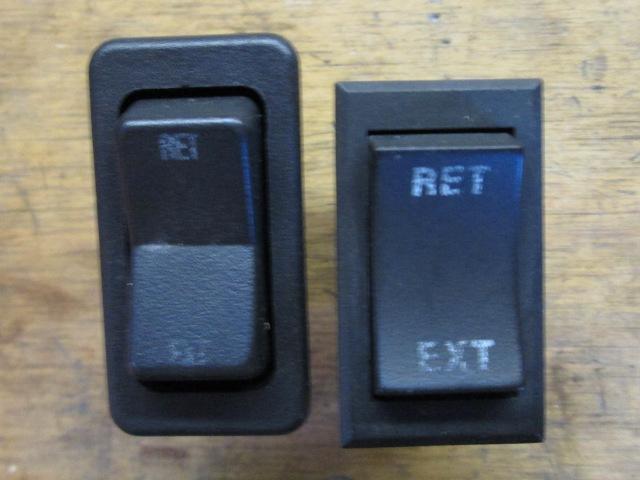
Looking on line, P/N Atwood 87570, they run avg about $20 EACH. Pictures look like mine. I was lucky enough to acquire set from a fella who had converted his jacks to remote controlled and still had his switches. However when they arrived they are a little different. Simply a 1/4" taller. As the rocker has more clearance within the bezel they should be less prone to sticking, so worth the extra few minutes to open the hole in jack housing a bit to use them. Not sure why they are different, all the pics I've seen look like mine. Curious if I had ordered new what I would have received, but mine are 14 years old.
- Just an update FYI. a little more research, the taller switches are the older style, the ones I picked up are from a 1997, mine, the shorter ones are 2001-so somewhere after 97' before 01 switch style was changed. Had me confused as mine are 14 years old I assumed the ones I picked up were newer, but all the pics I seen on line looked like my original smaller ones. So likely when you order switches they will be the correct style.
Not to get to far off track, but closer inspection of the switches, old & new, they are 2 piece. Basically the switch itself, lower small box, and the upper half with bezel housing and the rocker. The upper bezel assy and rocker snaps onto lower switch half. They are interchangeable.
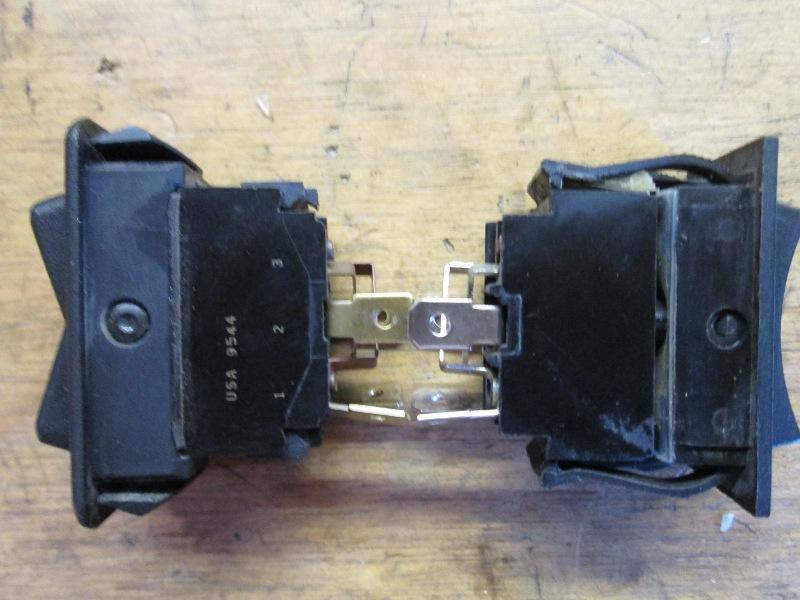
Older, taller switch on left. All mute because its the rocker sticking in the bezel on mine, BUT, if you have the older switch the new ones are too small for hole in your jack base, you could swap your larger bezel assy onto the new switch box. I tried it and works.
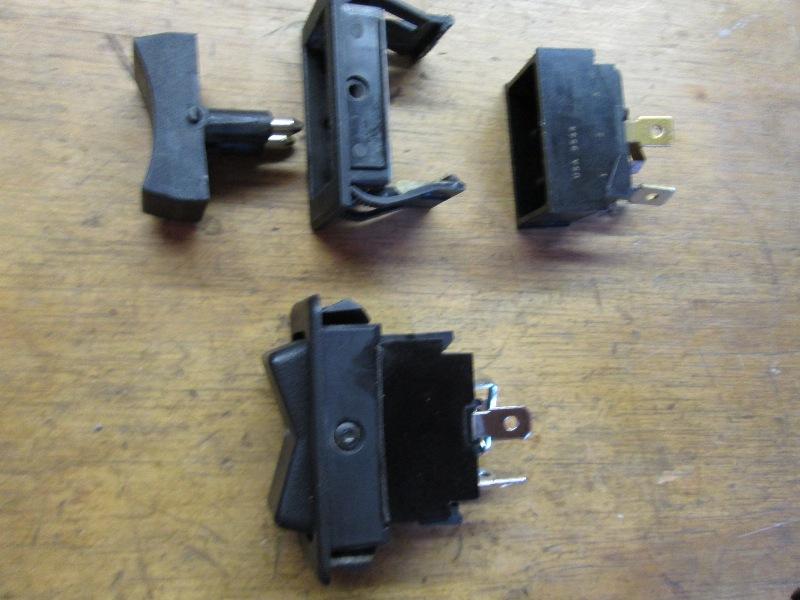
As I now have enlarged the holes to fit older switch-if I need to replace switch that's what Ill do. Switch on bottom is my switch with the larger bezel & rocker snap on. Works fine. I reassembled as they came, though older less used & the contacts are in better shape. Other option is to buy a new lower plastic jack switch base with the correct (newer) small holes.
Back to swapping switches, though most wont be enlarging holes in jack switch base, removing and replacing should be pretty much the same. I'll also add some pics of wiring.
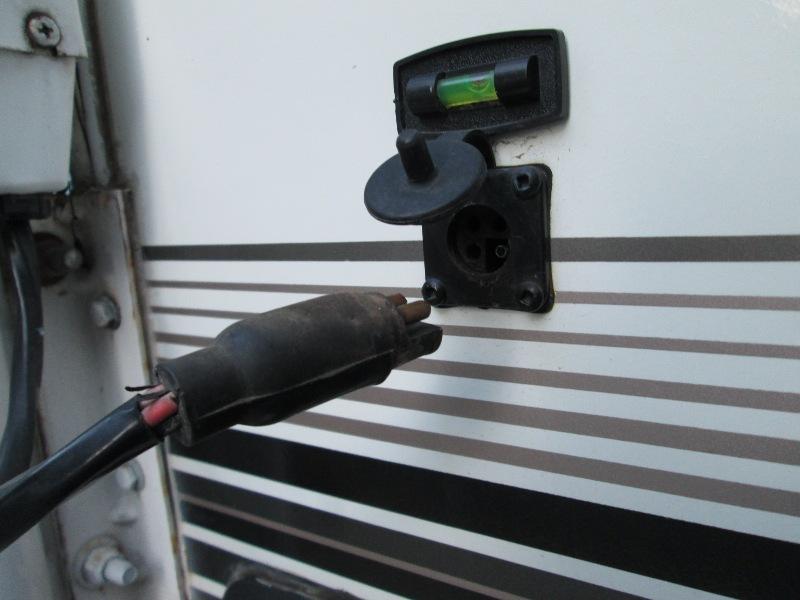
First unplug the cord from camper. These if they have not been removed in a while can be a bit stubborn, wiggle while pulling (on the housing). Its a good idea to use lube on the rubber, I use dielectric on them & pins. AS its a long ways back inside camper to master switch-these are my first line of defense it something were to go awry-yank em out will kill that pair of jacks.
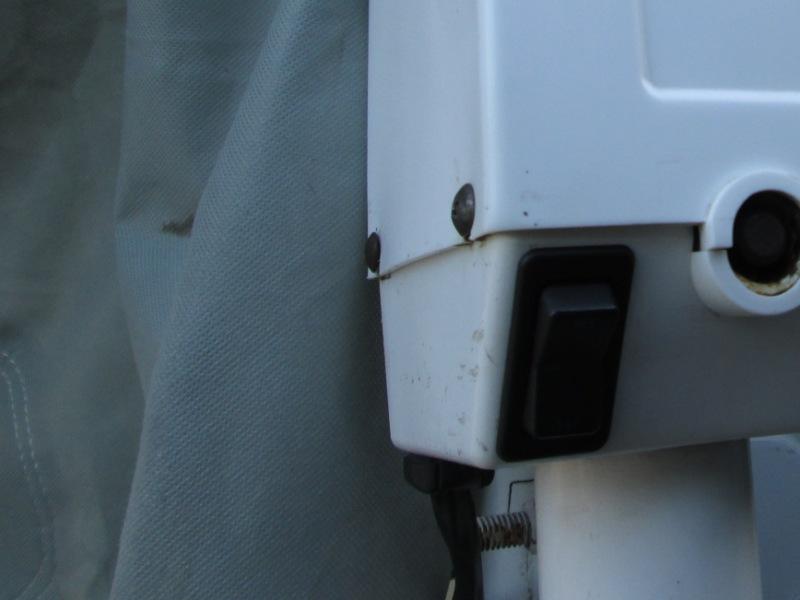
You will need to remove the lower plastic jack switch cover to easily replace switches. Well as I had to anyway to enlarge the holes, IF you can get underneath switch to release the switch snaps from housing you wouldn't need to remove housing, but even with mine off it was tight, but you could try once cover loose, see below.
Loosen the 4 screws on the top motor cover, pull off the motor cover. Note and record wire colors & locations. Unplug the motor wires noting color. Remove the remaining 2 wires on same switch, again noting colors. ON the front jacks, mine the doubled 2 feed wires attach to bottom of right switch-then go to left switch, the upper contacts feed right motor. Rear jacks is mirrored> Its simply orientation to which direction you standing facing the camper and which switch controls which jack
Once wires are unplugged from one of the switches, remove the 4 previously loosened screws. (Reason for screws still in place, depending on how old, detaching the wires make take some persuasion. I used a small screwdriver under spade connection to assist.). Gently work the plastic base down the column past jack mounts.
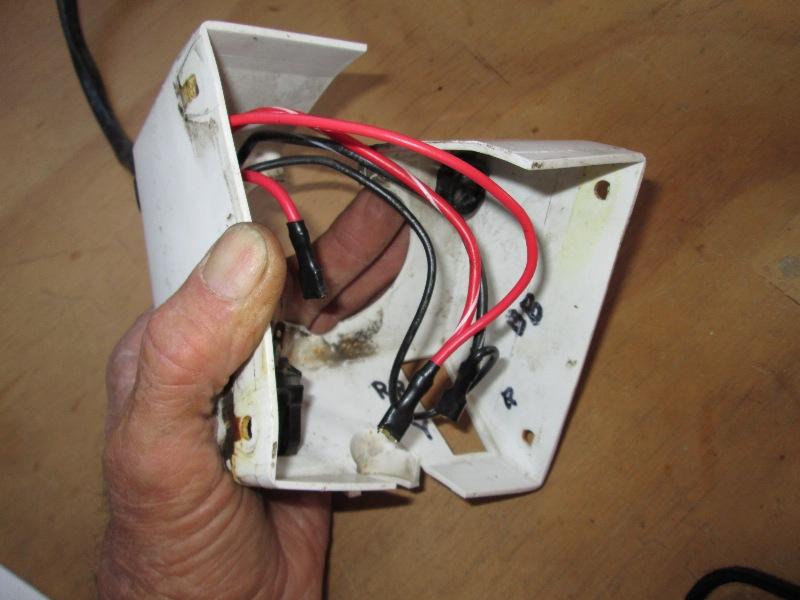
Spreading the housing
Alternately- if you are only swapping switches, with the base loose and slid down the column a bit it may be easy(er) to get to the lower switch snaps, I didnt try. If you cannot access switch release snaps continue on and remove cover. If you can access, release the snaps at bottom of switch first, tilt out bottom. While holding bottom of switch away from housing then release the top snaps and pull switch out. Even off, I couldn't get my skinny finger between bottom of switch and housing so used a screw driver. If you do the top, easier to get to, snaps first just makes releasing the bottom, harder to get to, that much more difficult.
To remove the cover if required- with cover slid down past mounts SLOWLY twist the lower housing at the rear split, feeding one half around the jack column, pushing other half in opposite direction while pulling of column. Do not try to simply spread apart, you want to minimize the spread. Picture above trying to show after the fact twisting. Its fairly malleable plastic, worse case is you'll snap but they are cheap.
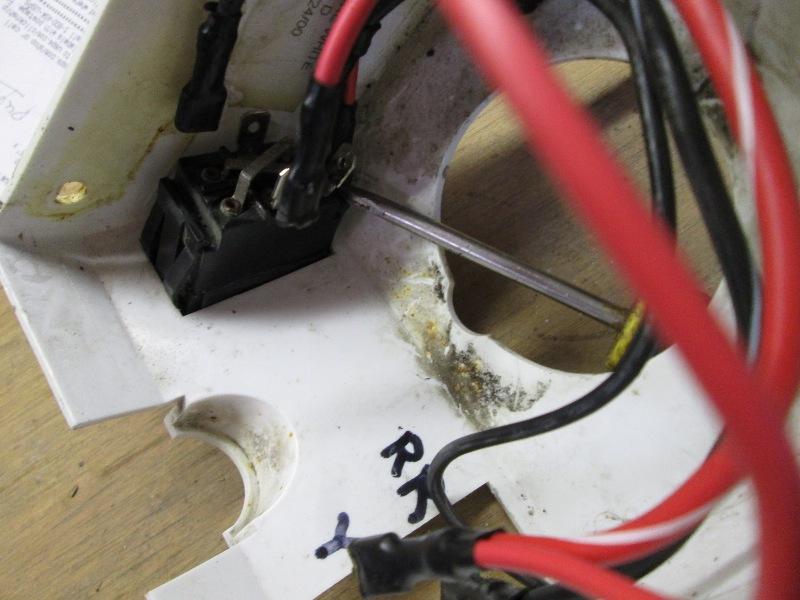
In ether case removing housing or doing on column, remove switches, insert new switches. Unless you observed otherwise, switches install with the 4 male pins toward bottom, the unpinned or 2 blank pins are at the top
.
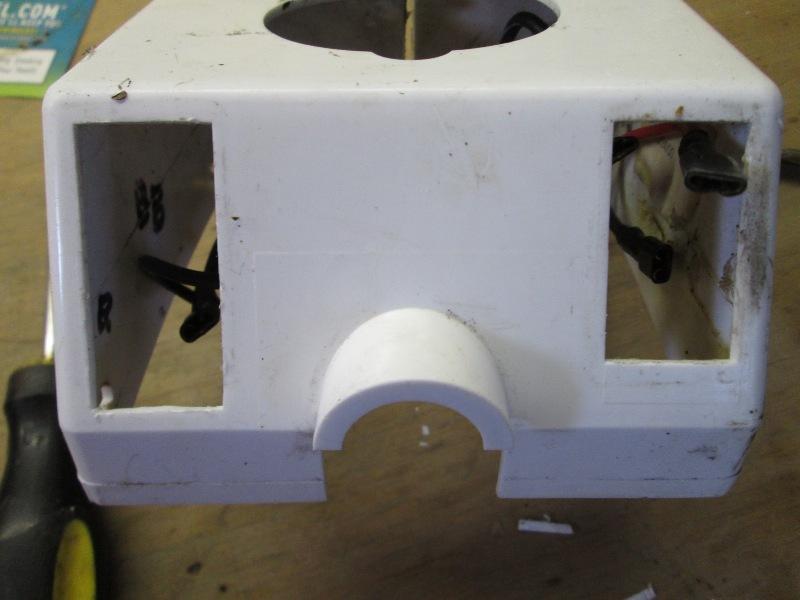
How much I had to enlarge. Oddly when I trimmed there's is a flashing line, which you might be able to see on the right side, where I needed to cut. Again after the fact, but its due to molds must have been reworked for the new smaller switches-older larger hole shows as embossed area. Interesting,sort of,
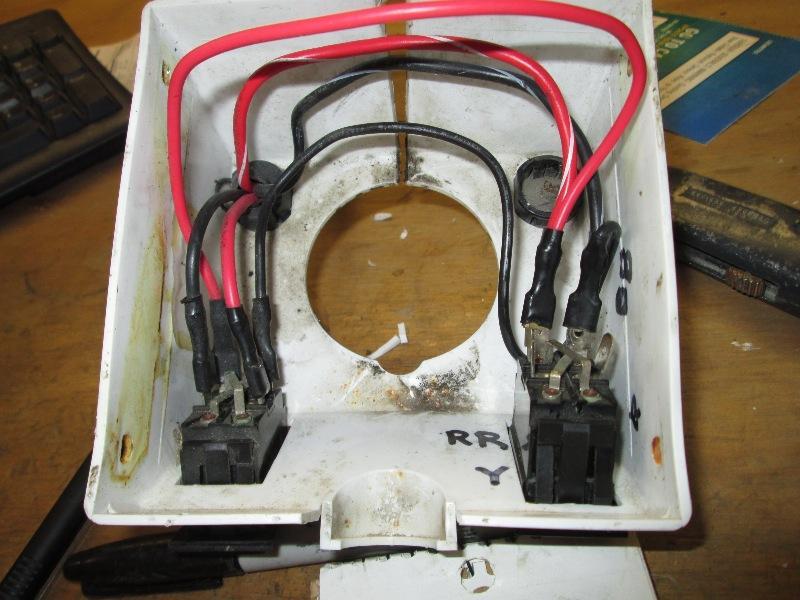
And one switch replaced
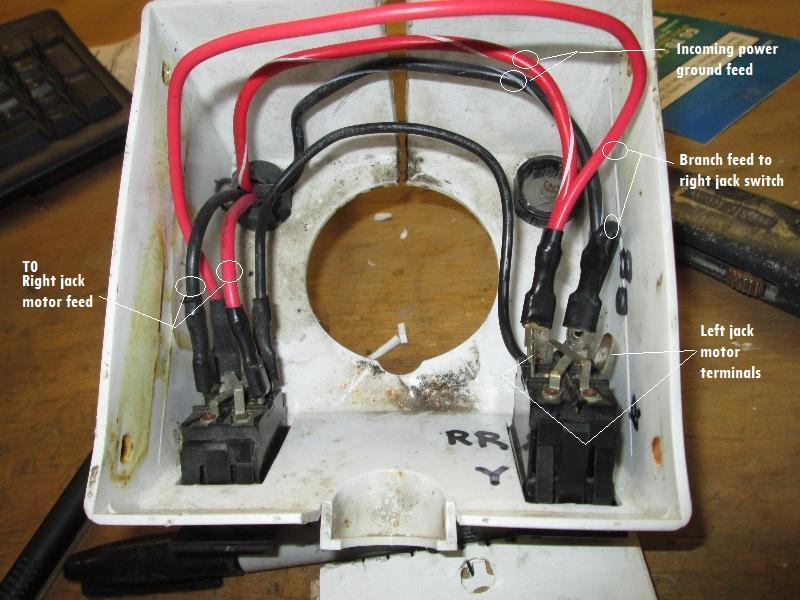
Though I wrote down wiring just a pic of wiring. Looking down into housing, motor feeds are top terminals/closet to me, input feeds are bottom terminals. The doubled wires or inputs can be connected to either switch as long as color orientation is kept and on lower terminals. If you swap colors, black for red, motors will turn in reverse of switch position, if you swap terminals ie have the pos&neg on top terminals jacks will only work in one direction.
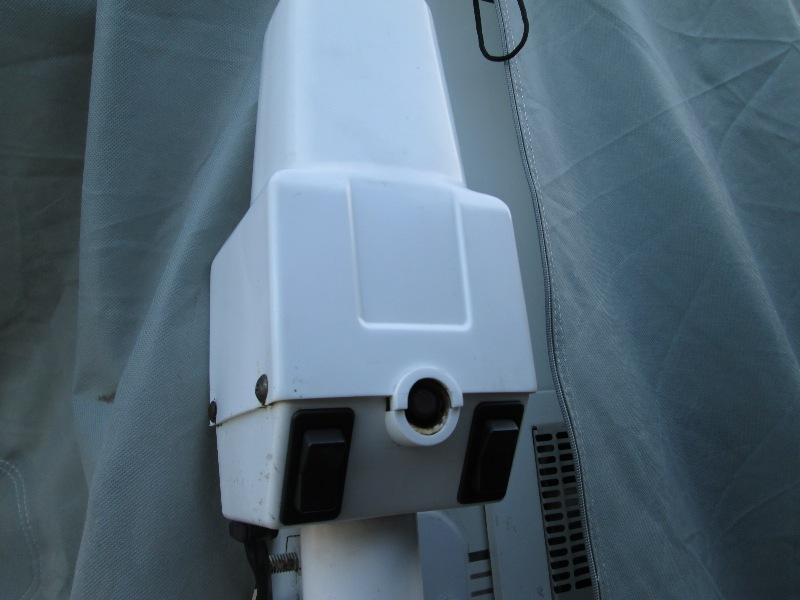
An installed. Nice & they work, not rocket sience, simple rocker switches but a bit of a pain.
Back to Ourelkhorn Camper Modifications page