Built an additional drawer & modified seat box.
Drawer addition & cabinet mod
This project was a result of installation of new catalytic heater. As much as we enjoy the new heater we are way more happy with the new found storage we've gained by removing the old furnace. After heater installation, it hit me, 'Why carry a furnace we don't use anymore"-wow! Look at all that space! Removal of the existing heater freed up a lot of space that was immediately utilized -thus the cat heater installation turned into a cabinet modification and drawer addition project....continued
We only had the one drawer for linens, I could put in another drawer where the duct work is,. Where the furnace is, half the width of the dinette seat box, it'd would hold a lot of stuff. So out the furnace came.
Now the heater. Removed the top of the seat box for access. Heater removal was pretty straight forward. I boxed the heater, outside grill all the duct work, grills & documentation that I had. It would be easy enough to reinstall if I ever decided to-however unlikely. Wiring was minor, the gas line was on a tee, which I just used a flare cap to close off. Somewhere down the line Ill access this tee and add a valve for use as outside BBQ fitting.
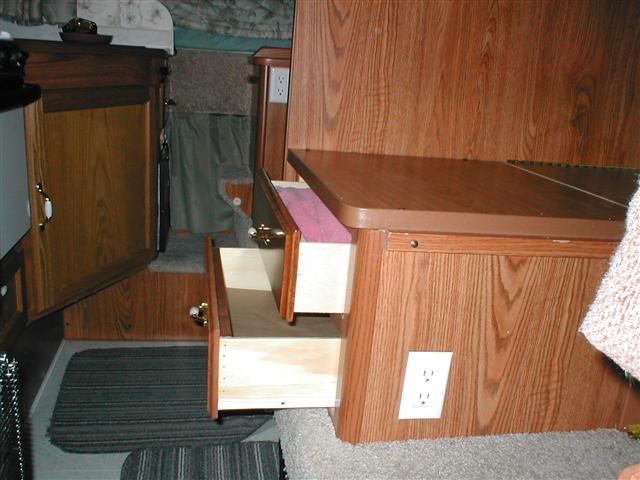 Built a nifty drawer for Margaret. I was able to route the edges of face to match others & very closely matched stain color. Local hardware store had handles that were very close to originals, so bought 2 so drawers match. The new bottom drawer is where the furnace ducts were, its a bit deeper. Margaret is stoked. [I removed table to take photos]
Now to access all the space the heater occupied. Since I had the seat box top off, I decided though I'm going to make a slide out tray in the front, getting access from the top would be good. So I cut the top in half. Screwed down half, over the drawers, the other half I reattached using a piano hinge.
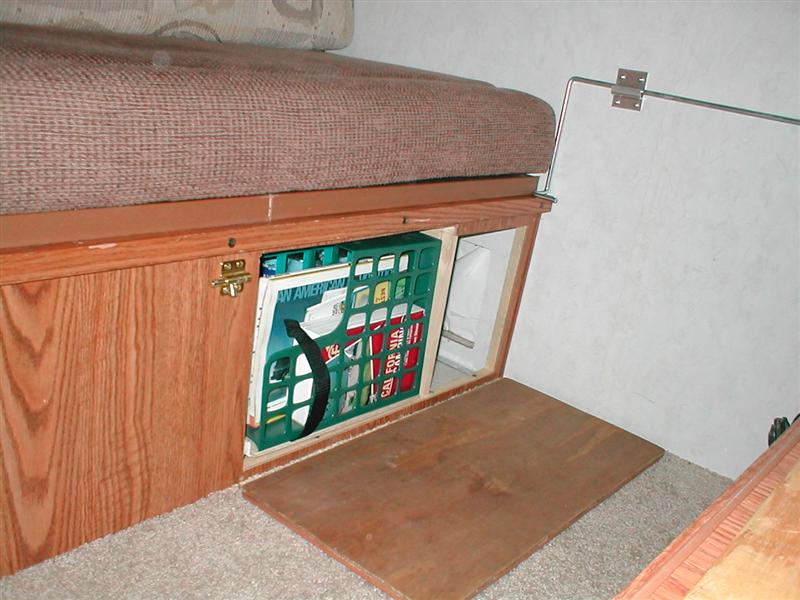
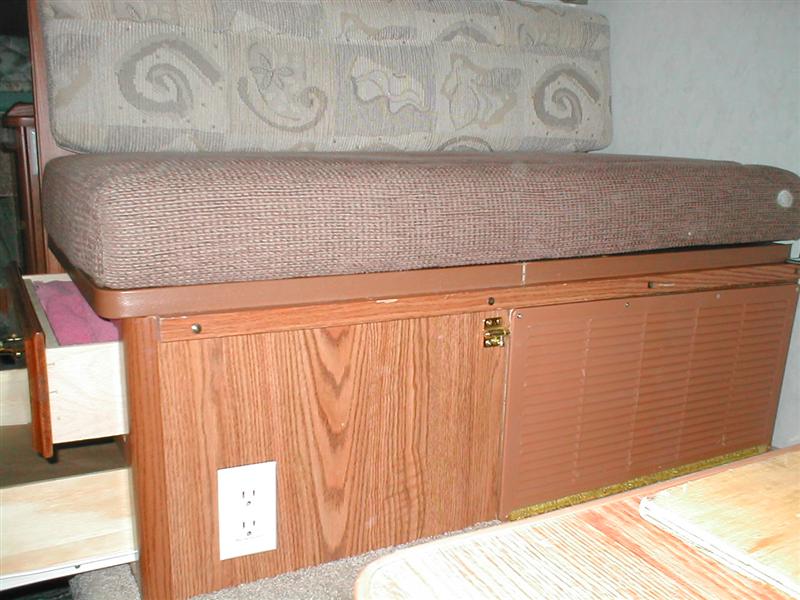 For access in the front, under dinette, I took the inside heater grill (I gather this was just for air exchange) and mounted it to a piece of plywood, the ply just a bit smaller so the 'grill' sets flush to seat box.. Attached to floor using a piano making the grill into a door to all the space the furnace occupied. This folds down flat to floor. Used small hasp to keep it closed
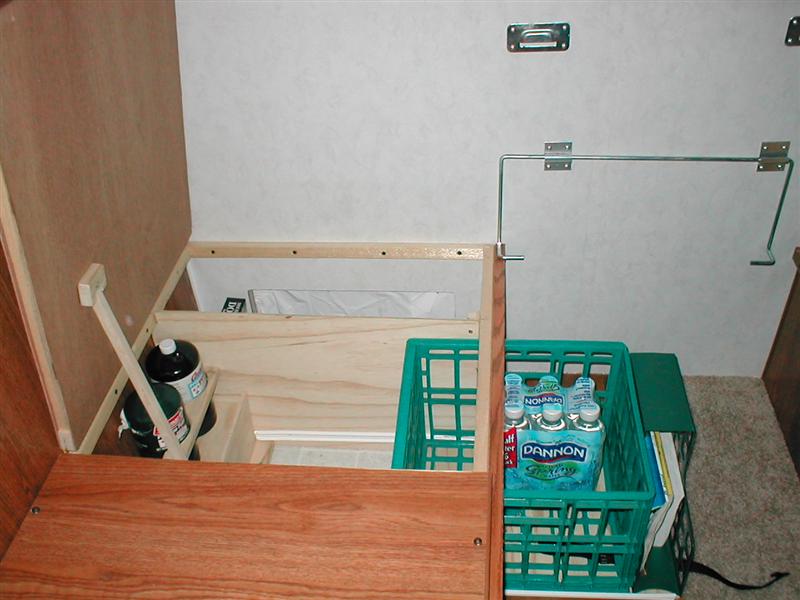
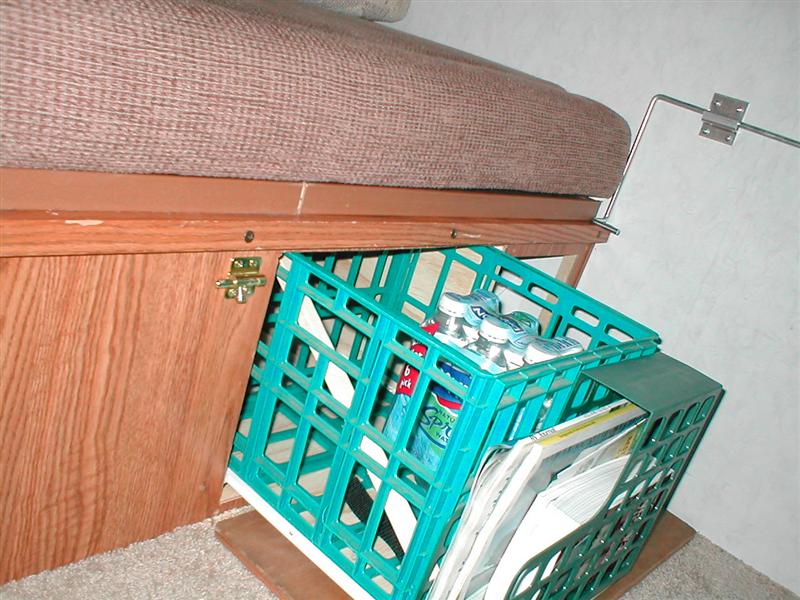 I added drawer slide brackets to a piece of 1/4" plywood for base, Mounted plastic box on top (that previously sat in floor), Placed in a magazine holder in front. Added a small pull strap. This all will slide out for access.
 Generally we have 4 gallons of bottled water in the box. Works well. Now I'm stoked.
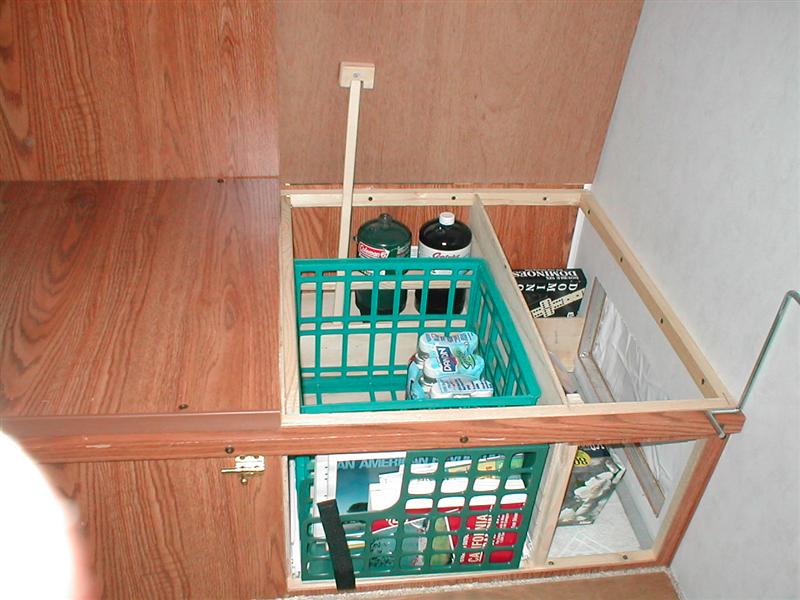 This is how I divided up remainder of the storage area. As mentioned earlier I cut the dinette box top in half for access and re-installed using piano hinge. On the floor in back of sliding box there is the gas line plumbing/wiring for the refrigerator and removed heater. I built little removable boxes/shelf to protect the lines. To utilize the area left above the boxes I cut/shaped a piece of 1x4. Now I have a place to hold 3 propane canisters. (open/partial canisters basement slide out box)
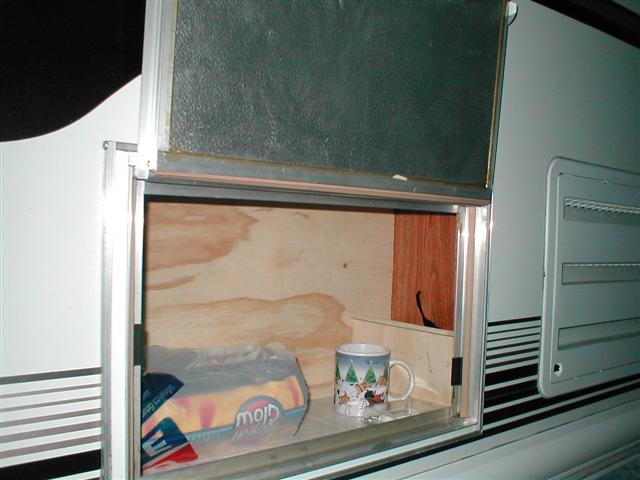
 The area beside the sliding box. I separated with a piece of 1/4" ply. The outside left over space I can either access from the top, the front door or the outside door. I've yet to pick up exterior door, this was where the heater external face was. I could put in another drawer for inside access but since I have to install an outside door (to cover the hole for the heater) I might as well make it usable. The outside opening I will cut taller to maximize access before I order a door, I don't know what will be put in here yet. All of the wood internal dividers unscrew fairly easily and will come out if I need to do any work on anything.
Oh as I was writing this, looked up and there on the shelf is the old camper door that was replaced when I did the battery addition. Looks like its the right size....the project continues.
Update: pics of installed "new" door. This was the door I replaced when I did battery addition-been lying around for 5 1/2 years-luv it. I had actually gone to 2 local RV stores, but neither had any doors the right size -I had forgotten it was up there on the shelf. DONE!
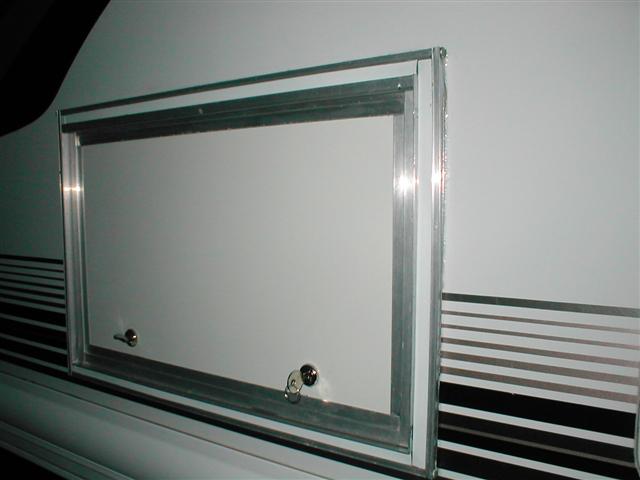
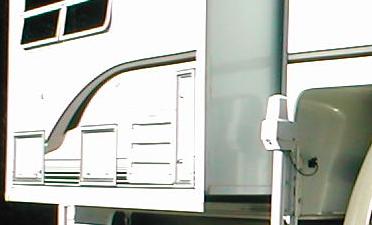 New door is identical to existing door..looks like its always been there.
Back to Ourelkhorn Camper Modifications page
|