Replace VERY small kitchen drawer in camper
Recently modified some bedroom night stands for kids. Basically moving the drawer from the bottom to the top of cabinets. Required adding a shelf at bottom to hide floor that drawer previously covered.
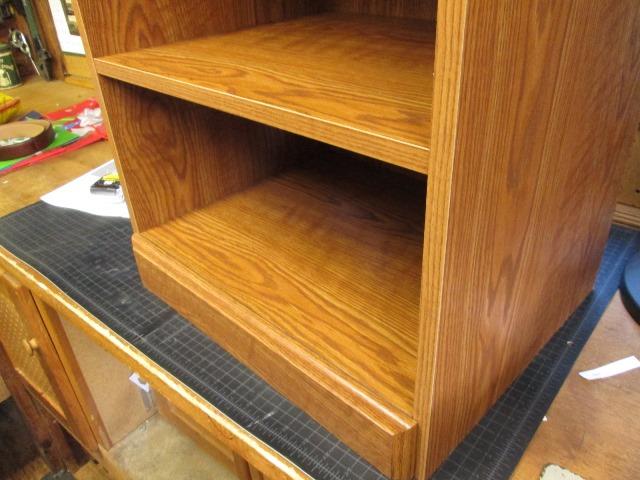
Manufacture, Sauder, wouldn't sell shelves so that I could add as that would be a 'modification' their product? Seriously? A cheap bolt together particle board cabinet cant be modified as some design standard might be compromised? Sheesh- a 12 year with a framing hatchet and an old pallet could build something stronger. Becoming Land of the lowest denominator... Enough rant.
I ended up buying a 3rd cabinet to cannibalize and use as material, robbing its shelf and cutting up side to make shelf for 2nd unit. Worked well.
More functional for intended use, stronger -just hope the PC furniture nannys don't come knocking at the door...ridicules
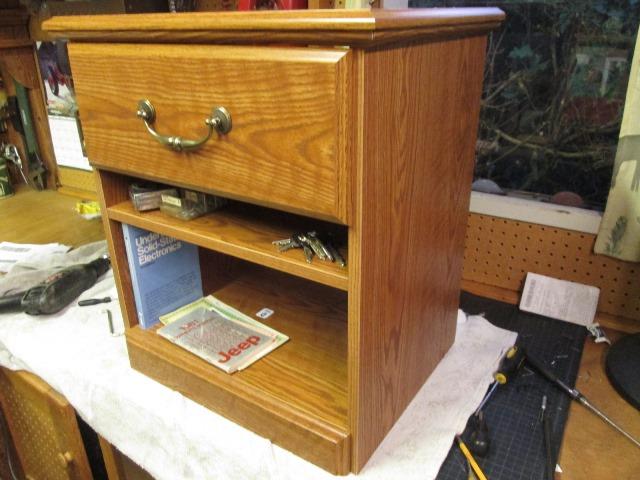
Anyway having most of the 3rd cabinet left,, specifically its drawer, I assembled it and started looking around to see if I might utilize in the shop. Not really, but I happened to take out to our truck camper. Wow, its color/grain is identical to campers wood work (the vinyl covered parts).
Much too large to install anywhere but then looked at the kitchen 'token' drawer where Margaret keeps small towels and dish clothes.
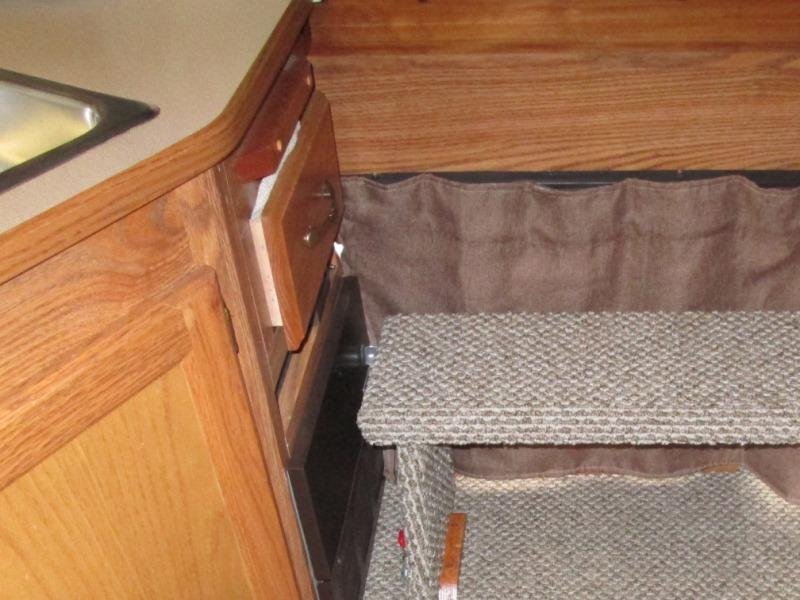
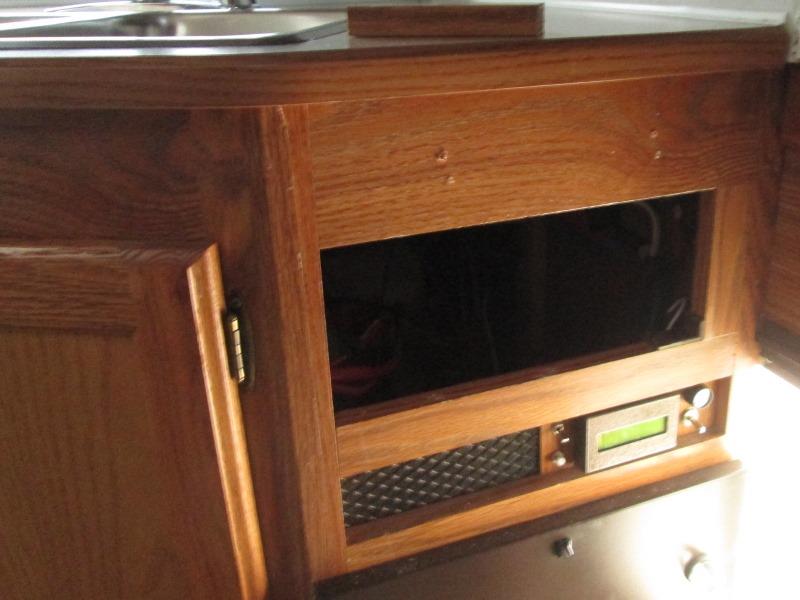
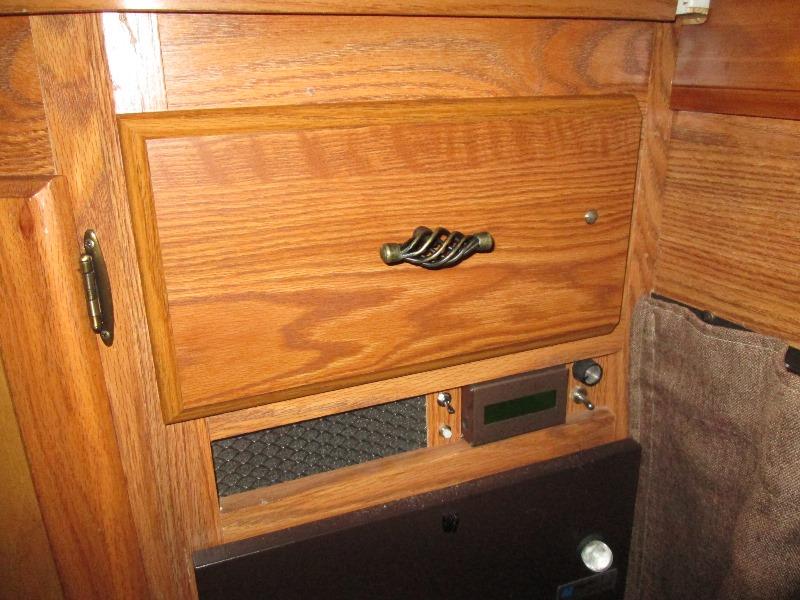
It is really a silly drawer, kind of an after thought and stuck in an odd leftover space, too small to be truly useful. Even the small towels she keeps in it have to be 'stuffed' in. Usually looks like this-partially open due to contents. The small block above drawer use to hold a drop in shelf for extra counter top, we've never used. Drawers interior is 8 3/4" wide by 10" deep. Only opens to about 6" access.
Pulled it out and its height, 4 1/4", new drawer is 4 3/8". Looking inside the cabinet hole the depth would accept the new drawers 14 1/2" depth. Also the drawer hole in cabinet has spacers added to decrease its width. Could be removed allowing wider drawer.
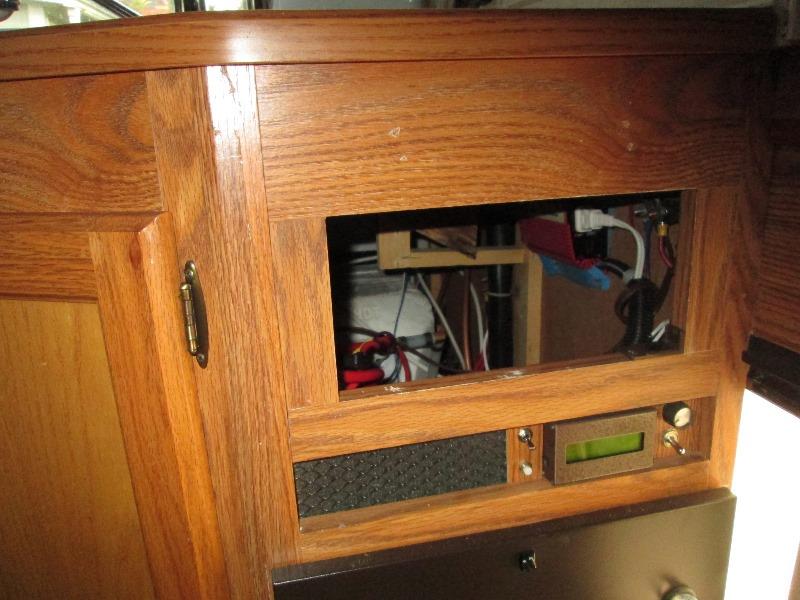
At least on the left side, On the right is where our small inverter lives. Though it could be dropped to gain another 1 1/4" drawer width- but not. Still I could increase the drawers overall depth by 3 3/4", increase the width by 1 1/4" but replacing. Not huge but enough to make a difference and worthwhile. Also the drawer would open further for easier access by 3 3/4". Even though new drawer is deeper, the rear support in cabinet for drawer rail is far enough back to work. Though Ill take the opportunity to 'fix', again.
I removed the 'block' as it needs to be raised about a 1/4" for taller new drawer face. Oddly it had already been raised once. I've run into this quite few times in our camper where stuff had been installed then moved. Once drawer install I'll replace the block just to cover holes.
Removed the left side spacer.
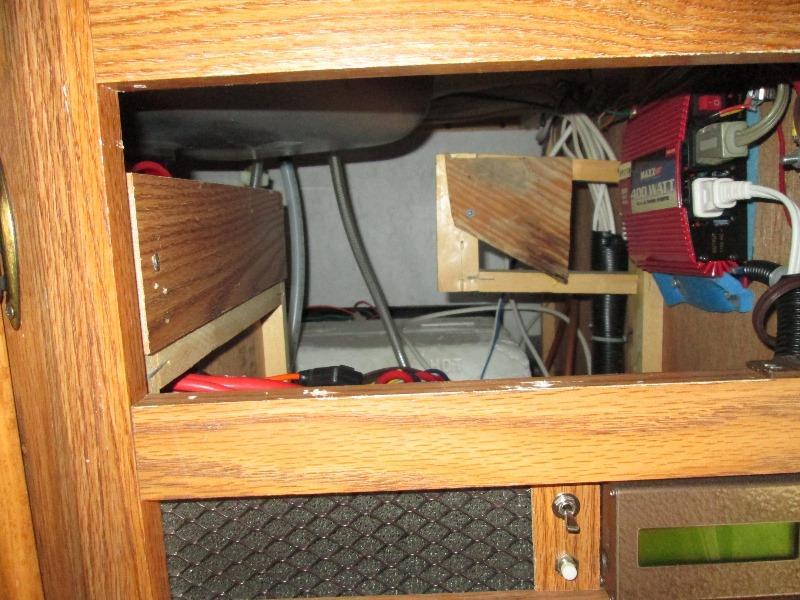
Removed the drawer rail. Eye balling the rear support. Manufacture end stapled two 1x1"s with 1x2 end block. I had glued on the scrap plywood block years ago due to this simply collapsing. Pretty sure I'll run a 1x 2 all the way across from back side of half wall to the left to side of 1x2 on the right. Abandon or remove existing support. This is the only real effort in replacing drawer, making a new rear support (that works). Actually might take 10 minuets if access were not thru the hole.
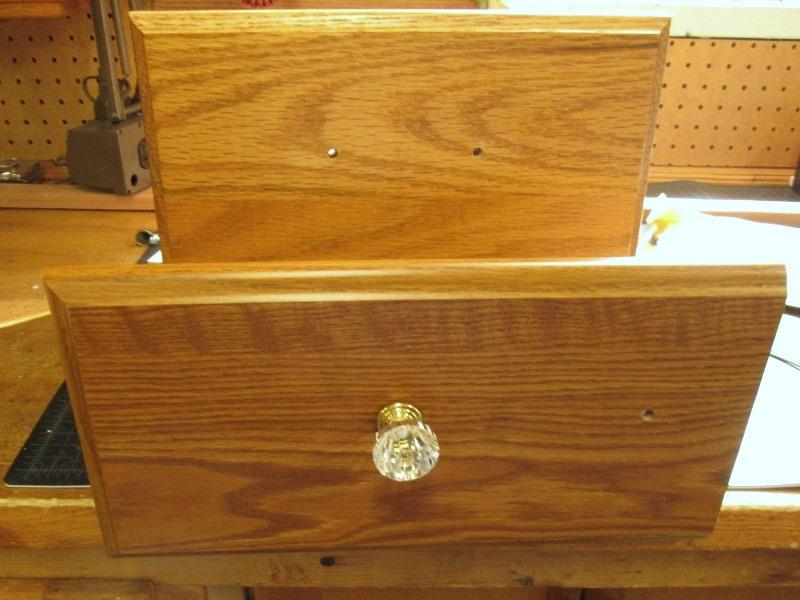
So with a plan modified new drawer. Took apart and recut the drawer face to center on cabinet face. Temporary knob, as one of the original 5" o.c. holes centered, using a knob instead of reinstalling pull. I'll need to plug original handle hole on right some how.
Recut back and bottom pieces to narrow the drawer about ~5".
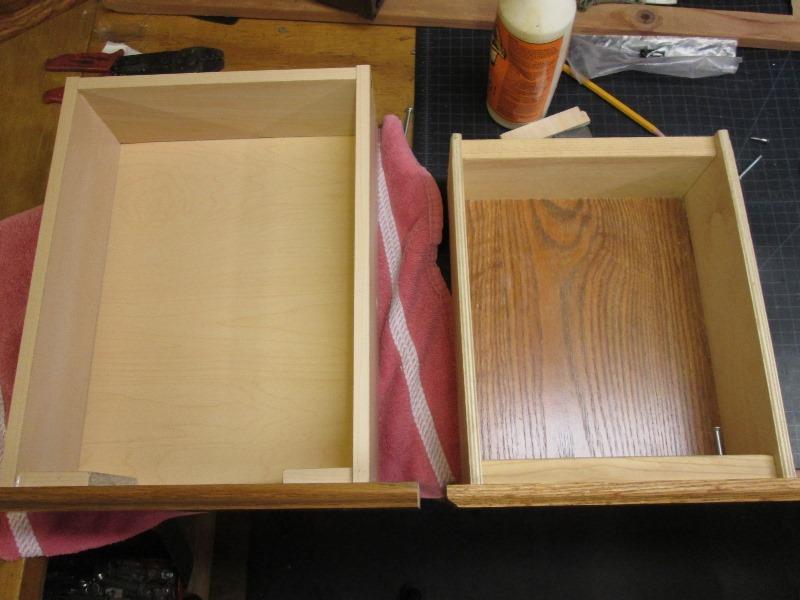
Originally drawer sides slid into grooves on the back of face board. Cut of the side piece ends that slid into grooves flush. Used partial false face blocks to reattach. Glue and staple sides, back and face. Nice. Over all new drawer inside 10" wide by 13 3/4" deep x 3 3/4" high, verse old 8 3/4" x 10" deep.
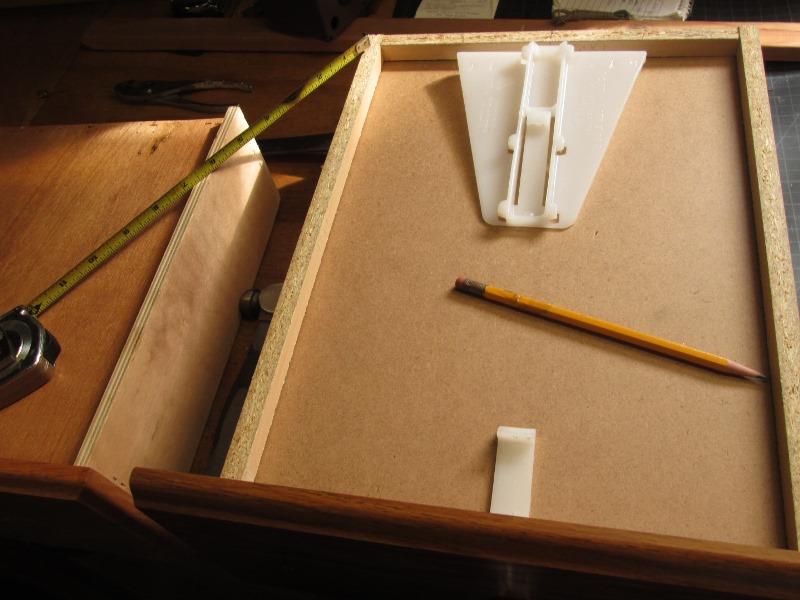
Spoke too soon. Thinking almost ready to redo the rail support in cabinet, moving over the drawer rail slides realized I need to notch the back. details. Then noted as I used partial blocks I'll need to add a block inside for the front center plastic catch.
Drawer back notched so plastic guide wraps bottom. Used a piece of 3/4" quarter round between the 2 face blocks to have staple base to install the plastic catch.
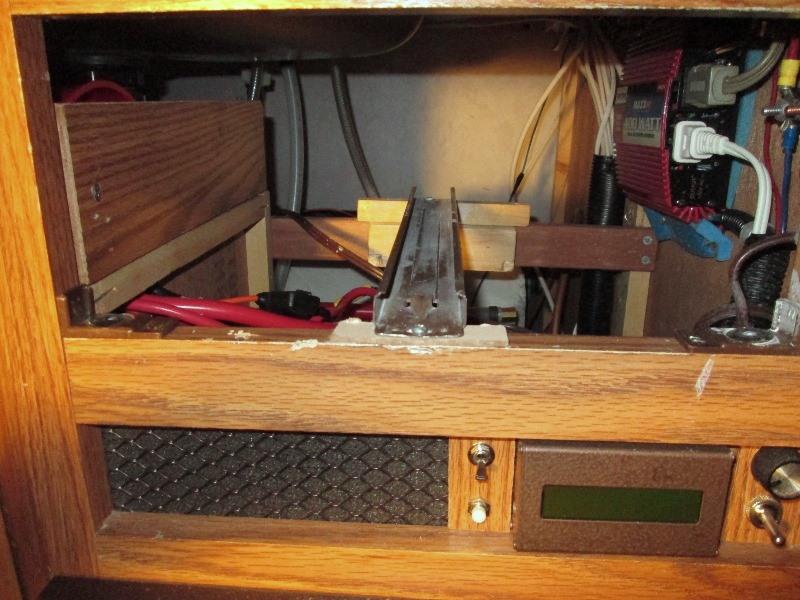
Removed old rail support, screwed on full width 1x2 with short block on front to ensure screw hole at end of rail over wood. I intentionally mounted low to shim to needed height, can raise but can't lower. I kinda was thinking about 1/4" but as shown ended up a little over 1/2". Slid the drawer in, nice. Felt the positive drawer restraint/ anti open catch engage. Ours are lift to release and open. Lifted to open but drawers catch wouldn't release. Good grief. Took half an hour. Was ready to start pulling the cabinet apart and drawer popped past catch Whew
Inspecting the new drawers sides are just a little more than 1/16"+ lower past bottom than old one. Which is why the shim in front (there was 2), rail didn't reach guide catch. What I didn't see the sides are also higher up than old drawer, in that drawer cant be lifted enough to disengage the catch. Removed one of the shims and that fixed it. I'm going back though and file a notch top of both sides so drawer can be lifted another 1/16". Also file the raised section on rail to clearance, or probably remove the catch and reposition. When latched drawer face is snug against cabinet face and latch- so when lifting its also pulling the plastic catch underneath. I checked and all other drawers there is about an 1/8" free movement in/out when catch engaged. If drawer hadn't been so tight against cabinet I could have slipped something up underneath to release the catch.
Simple lack of paying attention. Didn't think the extra 1/8" height of drawer side would be issue. Could have easily cut when I had pieces on table saw. Didn't note the L shaped plastic catch wasn't/isn't mounted tight in corner. So some minor details to address. Actually need to look. With the slide in, this drawer can only come out about half way. I may just remove the catch all together.. Drawer has to come out anyway. Need to trim another 1/2" or more off end of face- its catching and pulling the curtain. Fill handle holes install matching handle.
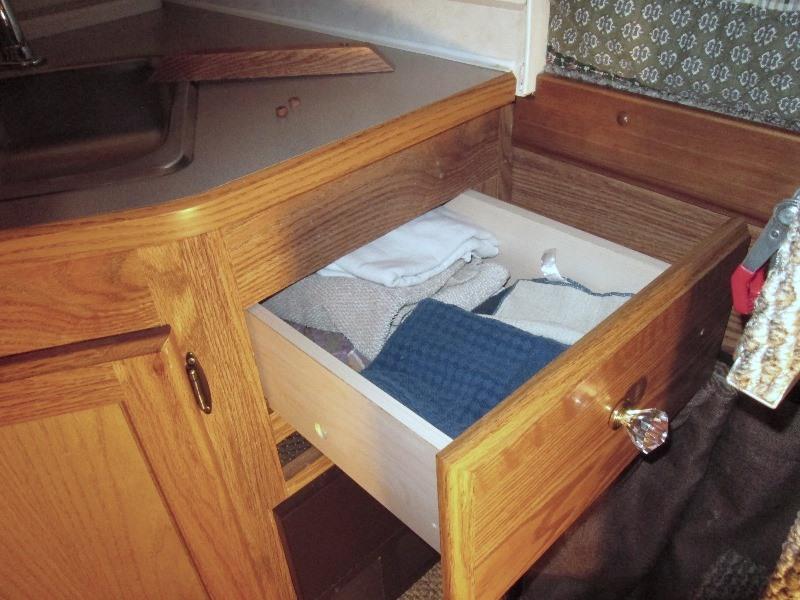
Anyway Margaret likes new drawer, a lot. Immediately refilled and played with it. As much as extra space is the fact it opens further by 3" so easier to get to items
All but free, practical and useable drawer. Spent more time than I thought but the little one always bugged me.
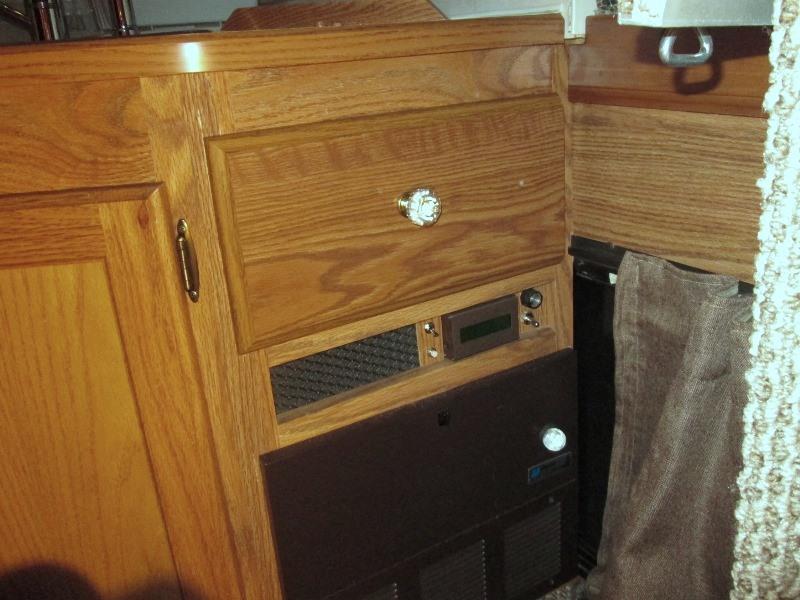
Recut 3/4" off face end so no longer grabs curtain. Bird cage knob, matches at least in color. Used a dark brass decorative dome head furniture nail to cover hole. Couldn't justify reinstalling the unused shelf block on face, looks a lot cleaner without it. Puttied holes, slightly visible but not really noticeable.
Back to Ourelkhorn Camper Modifications page