Add Jim Black 13" x 19" Boat Deck Hatch in ours campers floor
A continuation of add storage for 7' folding ladder.
Add interior deck hatch in floor to access basement.
Had added an exterior hatch to store folding ladder in our campers basement. Simply needed access to other end of 9' compartment to add bulkhead and capture ladder. It will, adding the interior deck hatch, also allow use of unused portion of basement from inside.

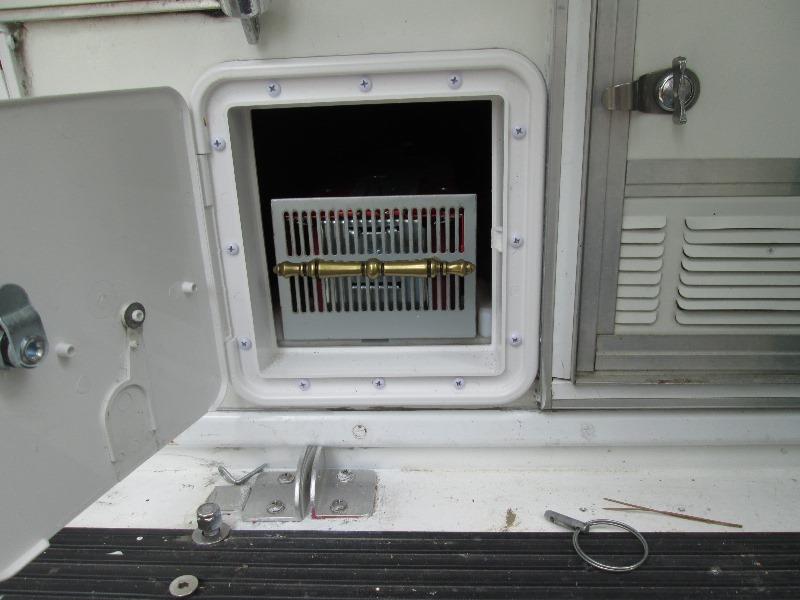
Recently added small hatch opening up access to our basement to store ladder.
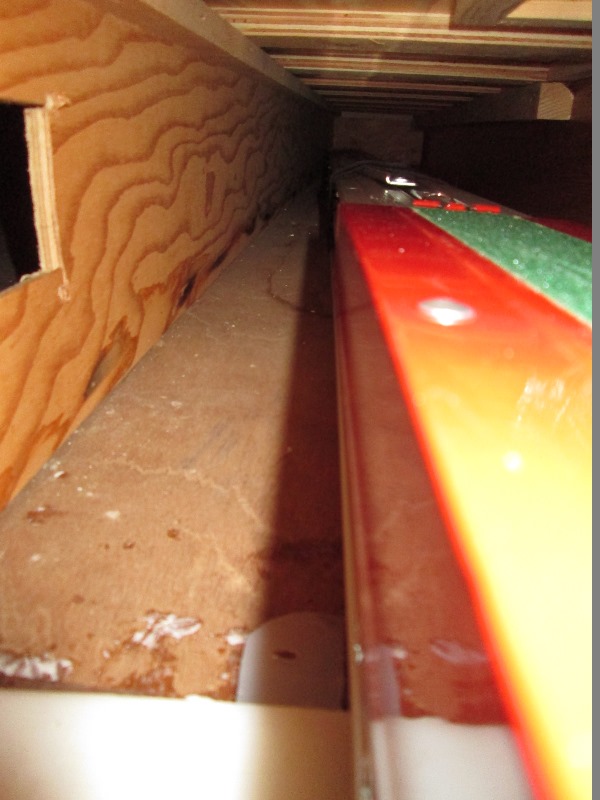
Issue is the ladder is 7', depth of compartment is ~9'. Though I can reach if all the way in, the end of compartment is a piece of plywood that separates water tank from basement area. It is not really structural in that if ladder slid back and forth or me sliding ladder in to forcefully likely knock the divider loose or worse damage water tank. Water tank drain line also runs in this floor so need to contain ladder from moving sideways.
I tried unsuccessfully to build something thru the 6" exterior hatch that would contain ladder. Really need access to other end
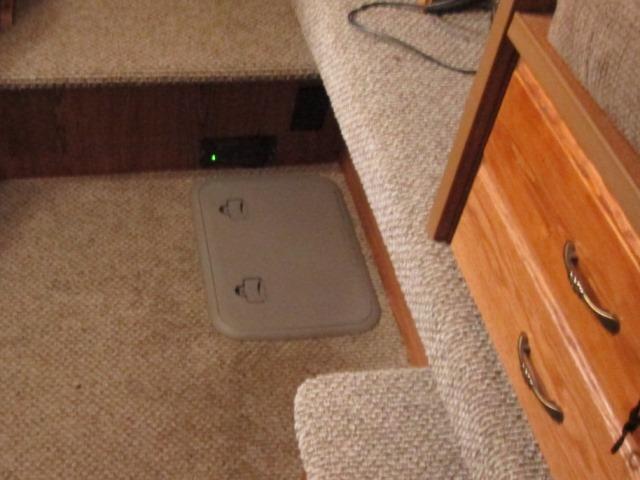
Decided to add a small hatch in the floor at front of camper. It would allow access to build effective stop for ladder. Would also allow use of basement area to store items (tool box). that normally is carried on camper floor while on road, and then moved to truck cab when camped. So with justification ordered hatch
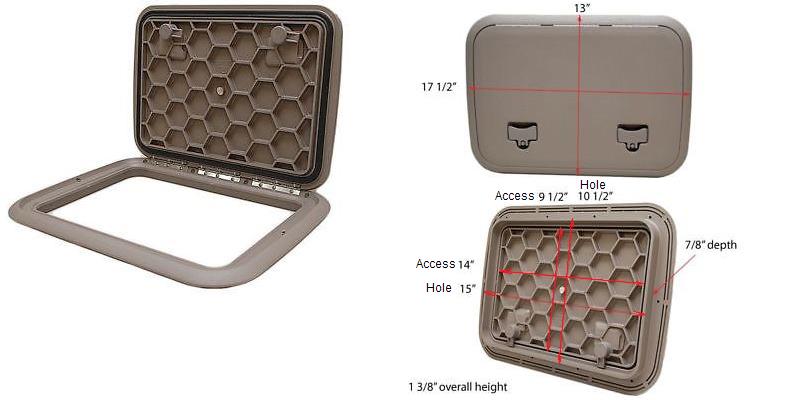
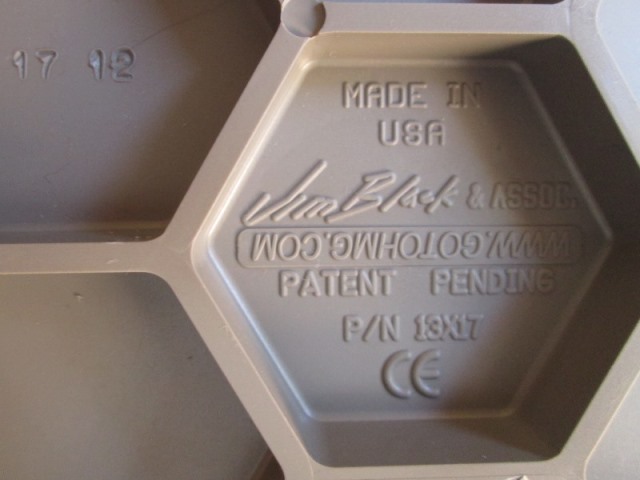
Jim Black Boat Deck Hatch 581-1317-07 Taupe 13 X 17 (sort of a brown in color). Unsure why, my pictures appear hatch is gray but it's not. A good match to our carpet. Many sizes colors available.
When I ordered, thru Ebay seller- greatlakesskipper, was the best price.
Currently though ordering direct is $20 less- https://www.greatlakesskipper.com/jim-black Price fluctuates, pays to check/shop
Now all I have to do is install.

Sure wish I could reach and drill couple of holes up thru floor to locate...
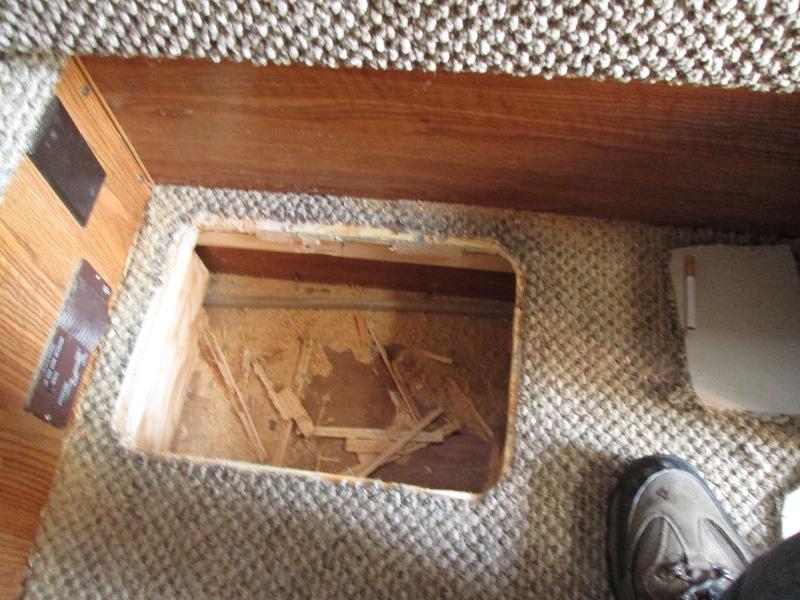
That's going to be the hard part, locating and maximizing intact structure. Need to be as far to the left as I can get without getting into edge of plywood support or right up to it with hatch flange. The plywood floor sets on the 4" wide x1" thick plywood stringers, that span width of camper. Stringers set on the vertical plywood supports. I can only guess to spread contact point, minimize the distance, 1x2s are stapled to sides & are flush to top of plywood. Outside perimeter is supported by 2x2. All there is to do is lay it out and start cutting.
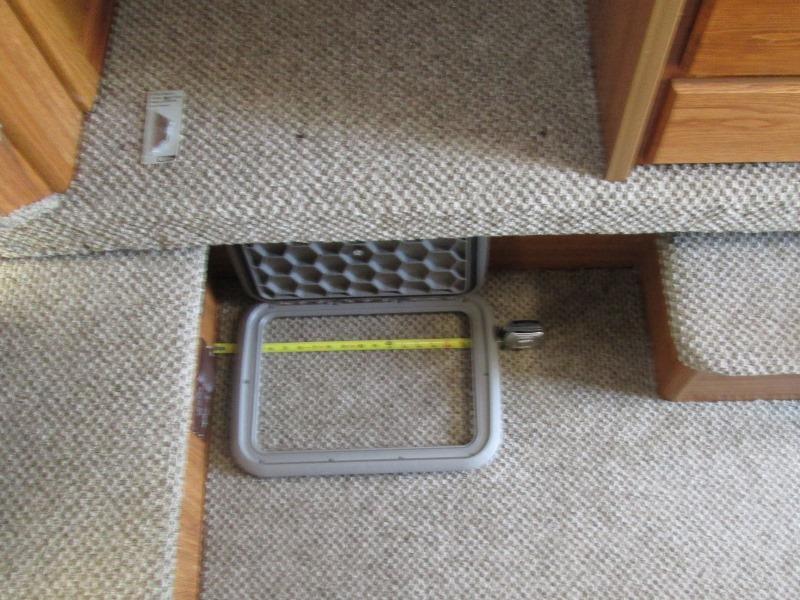
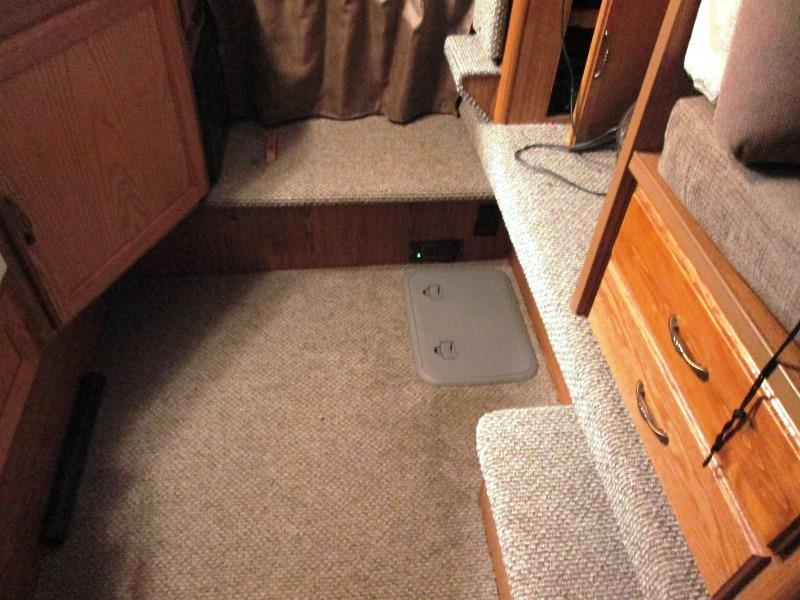
A bit further forward, hoped to be more centered in front of fridge. Tape head is approximate end of ladder. One nice thing Though is lid clears slide out skirt which I wasn't sure if it would. We also had planned on hatch lid swinging so not standing on latches, but the lid doesn't rotate 180°. Maybe 160° so in open position lid unsupported, could be a problem. Plus with slide in, lid rotating back contents can be accessed.
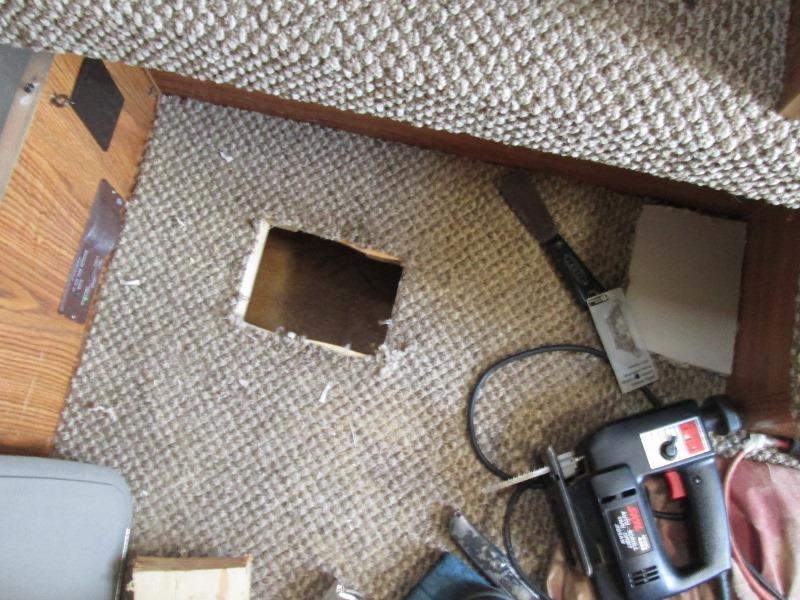
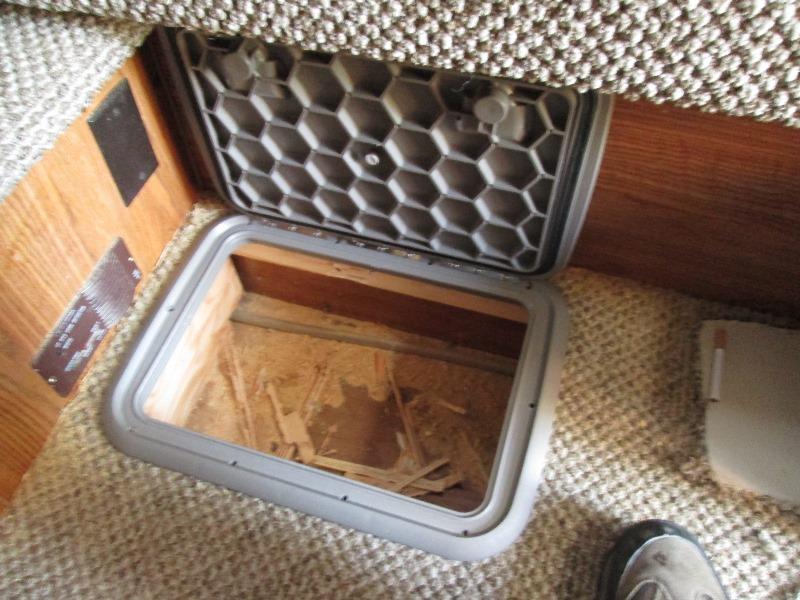
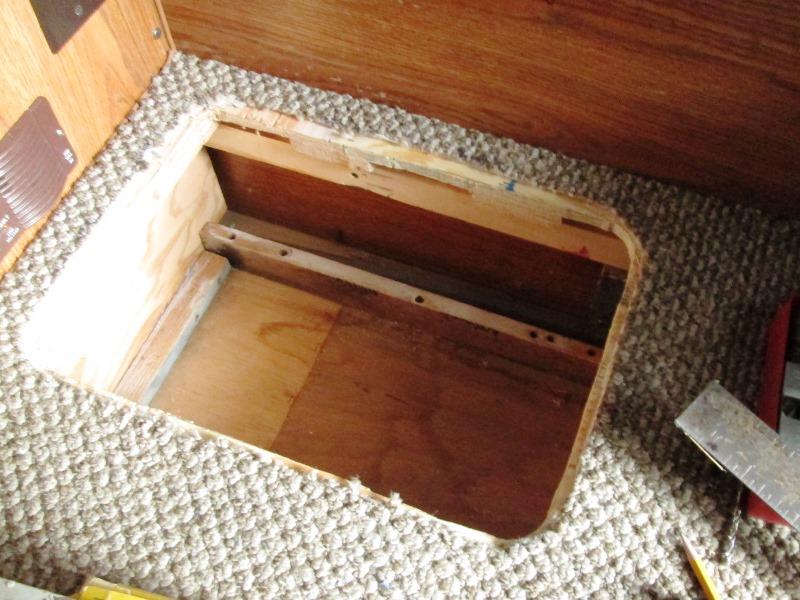
Start with centered large hole to get inside and measure and verify where I think it needs to be. Kind of a pain but carpet cut then saw inside so not unraveling carpet. Plan is carpet will be cut about 1/2" larger than hole, for cutting plywood and also so screws don't go thru it. Flange will capture edge of carpet 1/4" or so.
Discovered the 1" ply stringers that are used under floor is extremely hard?
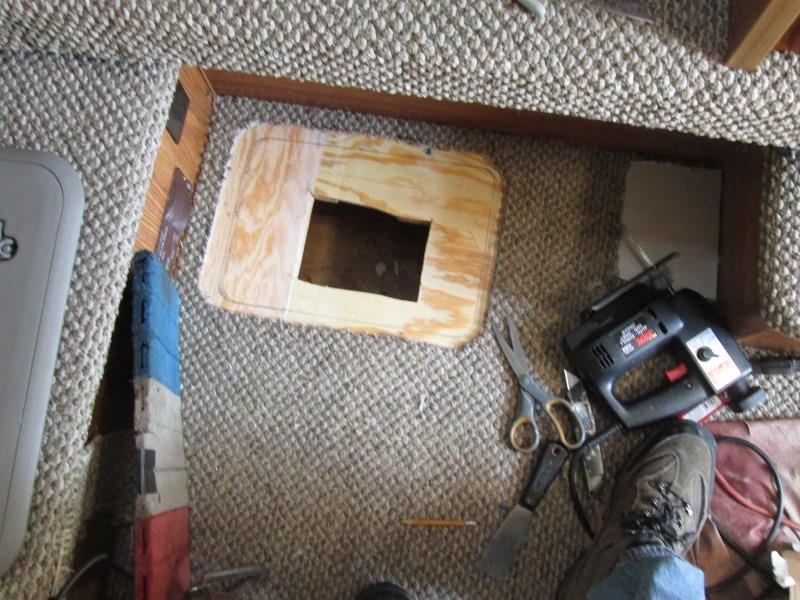
Traced pattern of hatch flange, added 1/2" and cut carpet with razor. Something shifted but shifting hole over will fix.
I dunno, scootching hole over I ended shy good 1/4", hatch wouldn't fit. Re cutting, opening up a bit not fun
Got it. Liking this already..wish the camera showed color more accurately
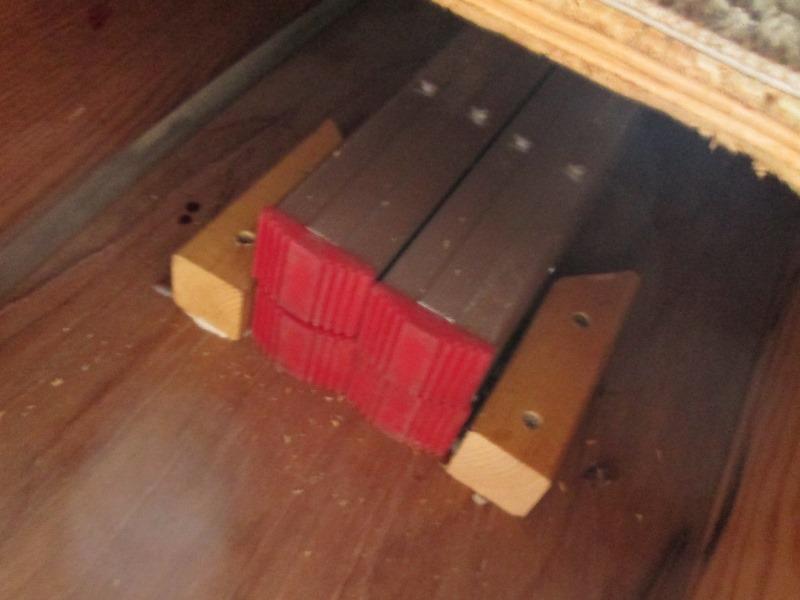
And the main motivation, access to contain ladder. 2x2 blocks cut to help guide in, capturing side to side. Glued and screwed to floor
.
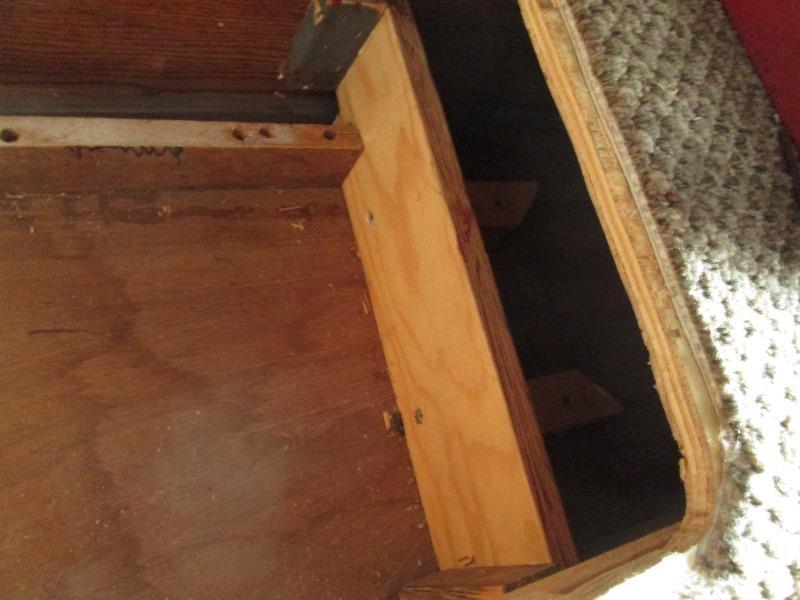
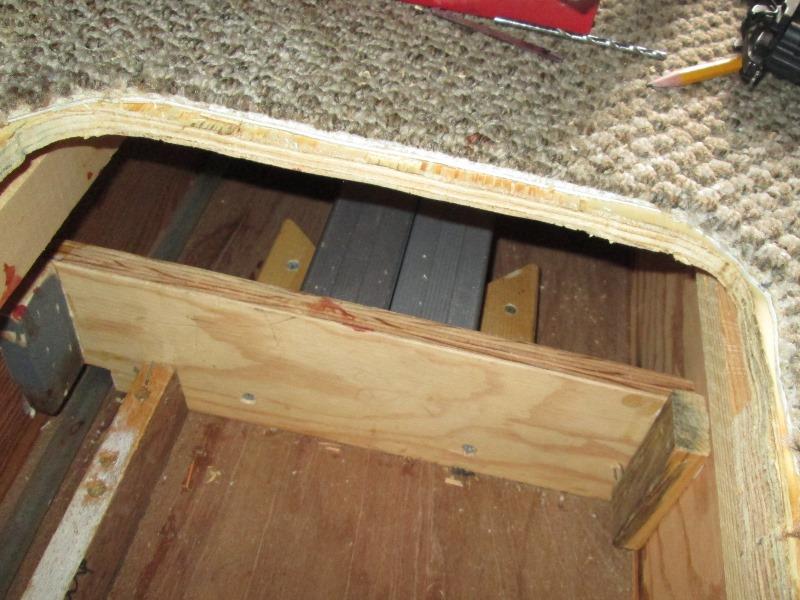
To the blocks glued and screwed 6" piece of plywood for stop. Originally was going to do full height bulkhead but there's a 1" stringer about 4" from hole so floor doesn't really need it. Mostly Though decided being able to reach into ladder box and retrieve something may prove handy. I may screw a removable length of 1x4vertically to face of bulkhead. Support the floor, just to keep floor edge from possibly flexing pulling hatch flange centered screw.
Or seeing this picture is slide a piece under floor setting on the ledges. But Ladder contained!
In the 'new' compartment added 1x2 to protect drain hose and 1 across the front to attach end of existing plywood. I didn't realize until in here the end of plywood divider isn't attached just kind of hanging out there.
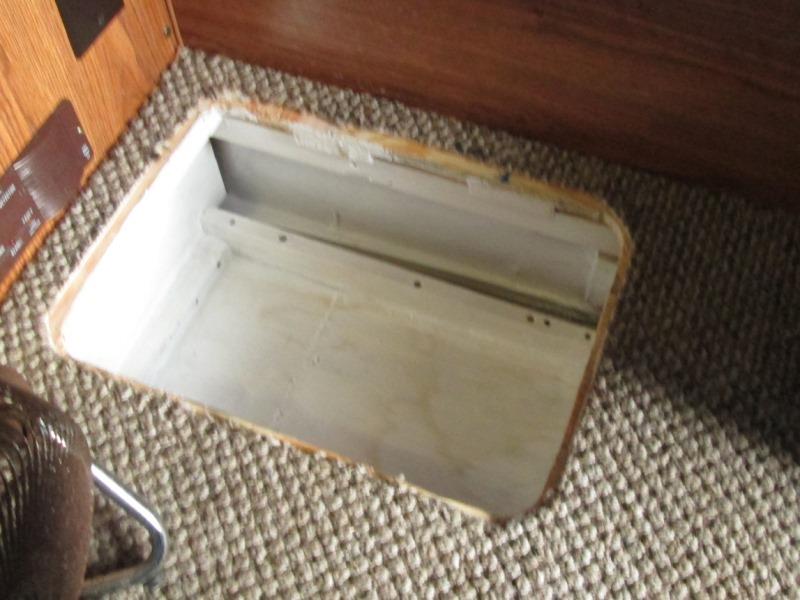
Mopped some primer inside to just to see better.

Hatch set.

Ill need to remember to close latches when removing tool box.
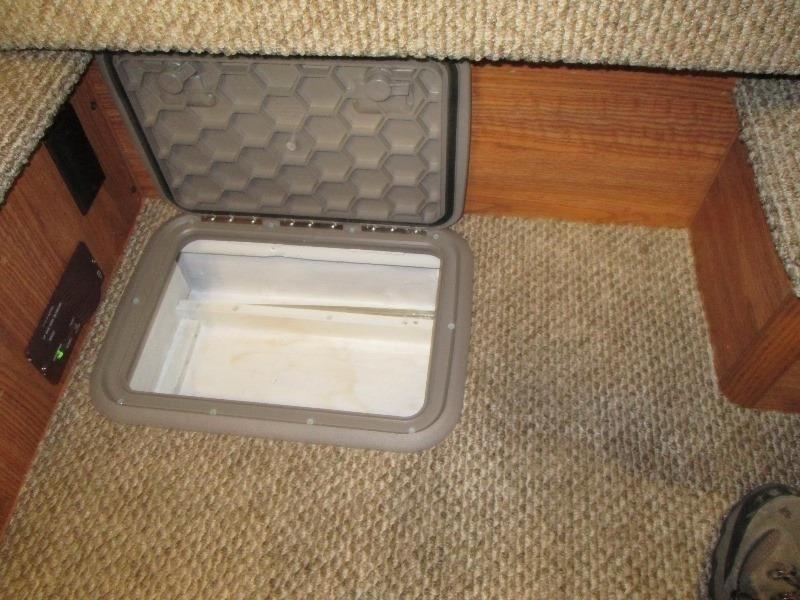
Bait well! This allowed finishing the ladder box, but not having to constantly shuffle tool box will be really nice.
Details
Couple of roundtoits. One is the ladder ended up further back toward its access door due to hatch placement. Setting on top of the plastic guide instead of behind it slides pretty easy and could slide rearward against the door. Also being that far back, fills door opening so limits getting hands on ladder to pull out. To ensure it doesn't bounce hit the plastic door needed to add something to stop.
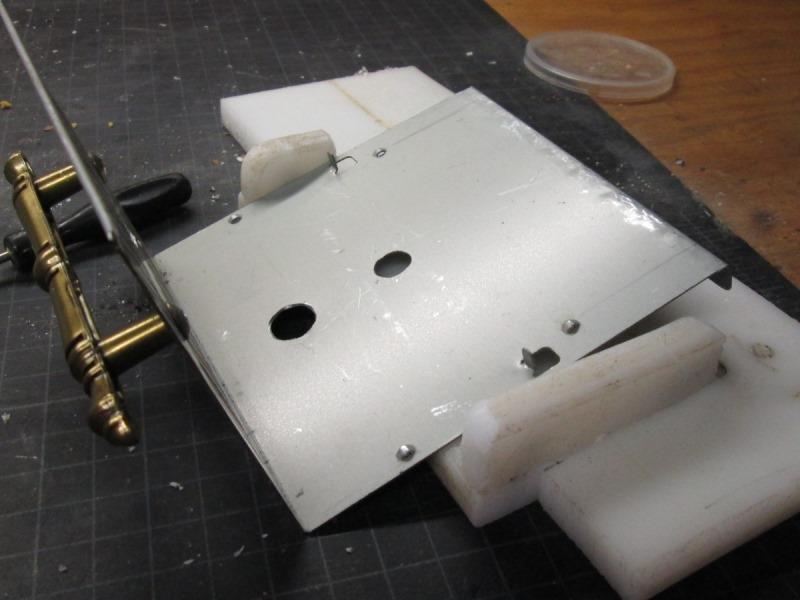
What I came up with is bending up some sheet metal (half an old CPU power supply case). It sets under ladder with a lip bent in back that grabs back of the slide plate, cant move forward. With the front edge of sheet bent up stops the ladder from moving.
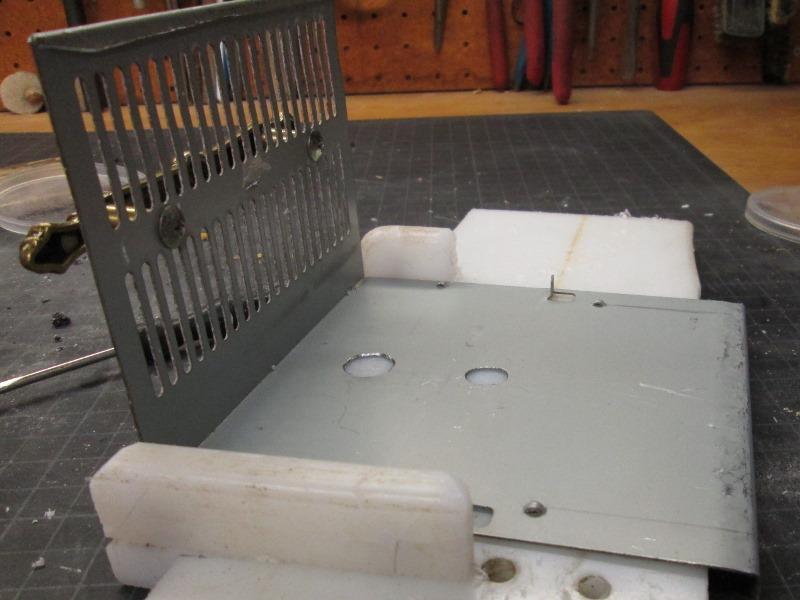
Added an old cabinet handle to lift the new bracket with ladder. So the bracket doesn't pull out from under when trying to retrieve ladder, drilled a couple of holes that bolts on ladder stick thru. Also contains ladder side to side
Makes it easy to lift and pull ladder out without scrapping my knuckles. Most of ladders weight is on this end due to setting 1/2" higher, the bent lip cutting into the slide plate so should ladder bounce up enough to clear-unlikely that it will slide out. .
The other detail is the tapered side to side blocks at front of ladder. Cut at an angel to help guide ladder between, unless the ladder is close to being centered it just hits. Angle just not steep enough. Doesn't want to slide in, ribbed rubber grab the wood. Need to try and wrap end of blocks with some something slicker. Easy if I could remove.
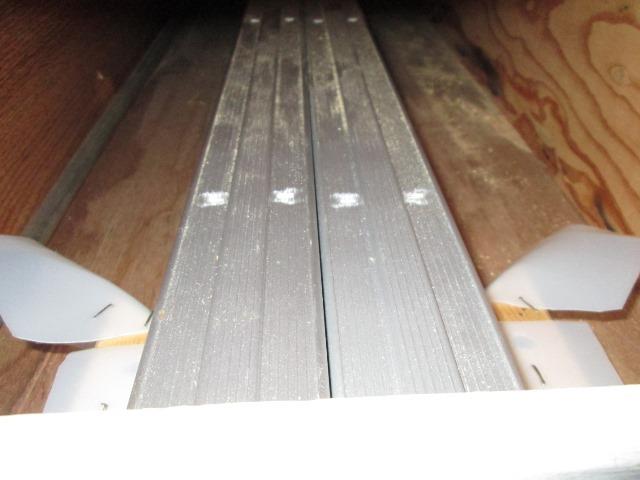
Getting back inside limited. Wrapped with 'milk' carton-helps slide but temporary. Need to add full length 1x2 or 1x1 guides from front to back. Round to it....
Back to Ladder addition and basement access
Back to Ourelkhorn Camper Modifications page