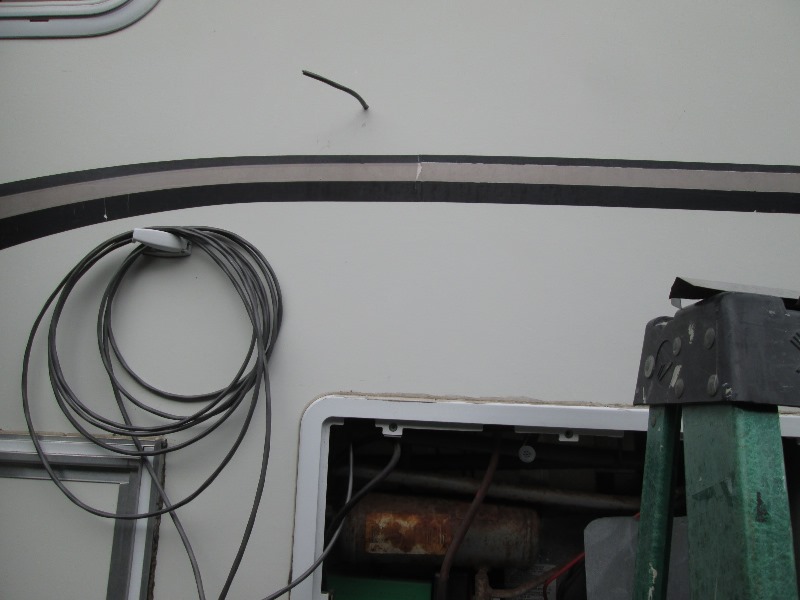
The why isn't important, what ever you desire is but wiring is problematic. Its getting 12v source to a switch inside and to a light outside and wires between. On our camper the right wall between the vents of refrigerator a light could be added, access to power, access to both back of outside wall and inside walls for switch.All wiring would be behind refer.
On the other side I could go thru closet to poke wire outside for light and thru closet wall for switch. Fairly simply.
However I don't want 2 more random switches stuck on the walls and have exterior light switches scattered thru out camper, rear porch light is at back door, unfortunately would be perfect just cant run wire. At minimum I want the 2 new switches in same location. Which this round and round is why never got done.
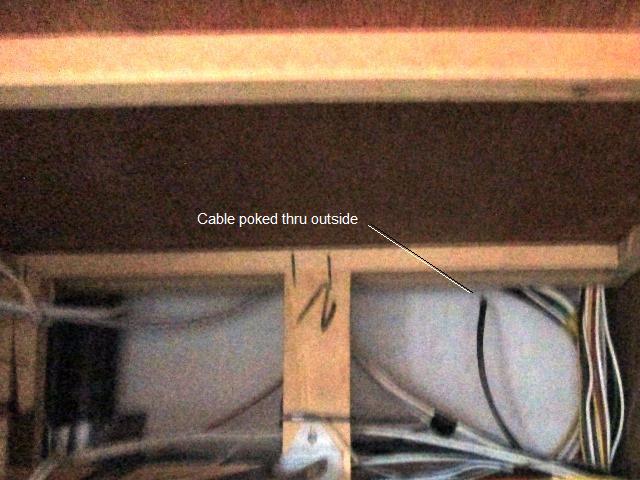
What I came up with is adding one light at refrigerator and one at closet to have lights both sides of camper which solves getting wires outside. The wiring solve to locate power/switches though is what finally motivated me. I have access from inside to space between top of refrigerator and slide roof, there is a gap between that leads to back of refrigerator. I used this previously to run switch inside and wire fans at back of refrigerator.
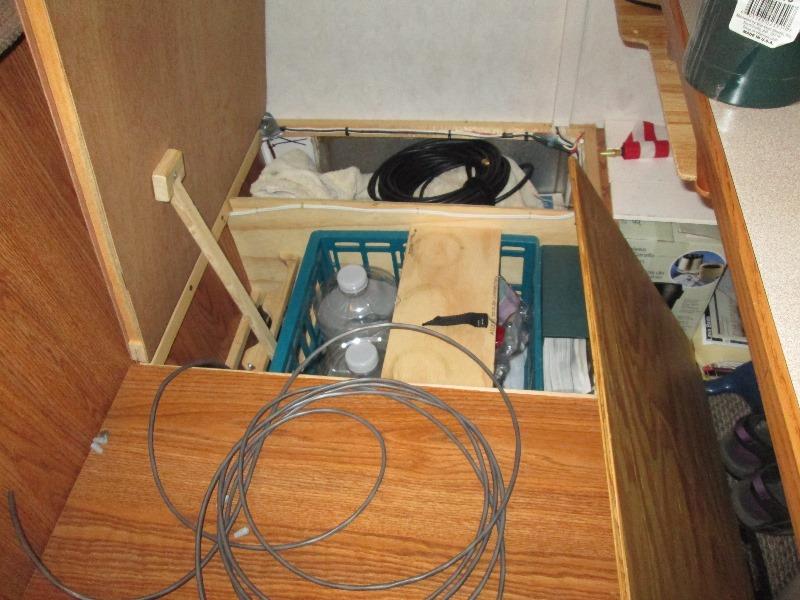
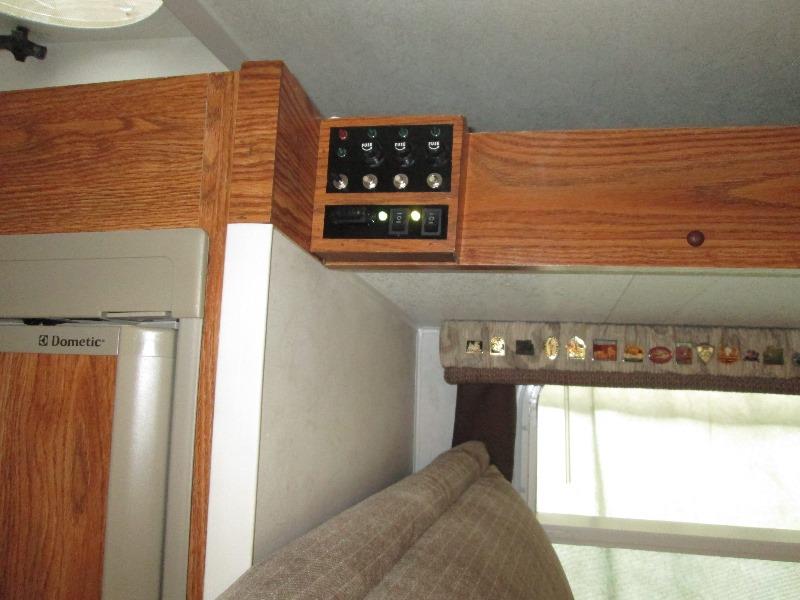
Adding switches to the existing switch panel (cant get any uglier) can access power & can run the wires up and over top of refer, one down to new light midway of refer and a second wire down to bottom of cabinet where I can poke thru dividing wall into a small cabinet next to refer which is under dinette. From there I can drop down thru slide floor, then route the wire all the way around camper to the other side (about 20') and come up in closet and then thru outside wall. Hidden wires. Switches in one location!
Only real work will be snaking the second cable thru the cabinets to other side of camper-doable just a pain. However the convoluted part is that I decided I want ability to turn on or off the lights at either the switches inside or at the lights. Not really convoluted just a bit more effort adding extra switches and wires. As these will be 3 way switches a pilot is needed to ensure they don't get turned on in the middle of day and not notice..
Ordered Led lights and a bag of SPDT switches. Cabling- I could not find my spool of 18ga 4 wire. After several hours gave up & bought 35' of stranded 4 wire cable. As long as links last -lights I used 2 pack LED, many vendors
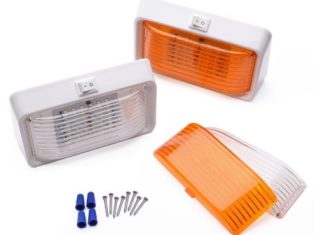
- https://www.amazon.com/ LED Porch Light
- -
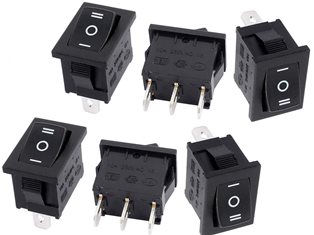
https://www.amazon.com/SPDT-Rocker-Switch
NOTE FYI: these are on/off/on-, normally on device controlled from 2 locations you would use an on/on. Only advantage of on/off/on (other than cheaper, more readily available in rocker form) is I can have no power traveling thru camper from source, but in use needs to be fully switched to one of the on positions. If one switch set to center off, the other cant turn on, defeating 3way feature.
Later:
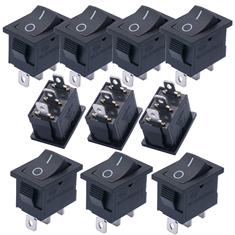
https://www.amazon.com/gp/product/B07HHVMH7D
-found 10 on/on switches for $1 each free ship. Changed out all the switches.
and wire :(
(https://www.homedepot.com/p/Southwire-By-the-Foot-16-4-Grey-Stranded-CU-In-Wall-CMR-CL3R-Speaker-Wire-56911699/204725122) thru the budget out the window.
Lights though were cheap, pair of LED for $17 and 6 SPDT switches for $6. If Id known my spool of cable had grown legs I would have put this project back on "that'd be nice" list. Copper becoming precious metal?
Obviously a lot simpler ways to do this. But using cabinets or refrigerator space allows hiding wires. If lights have no switches (no real reason to have) you can mount lights as high as you want.
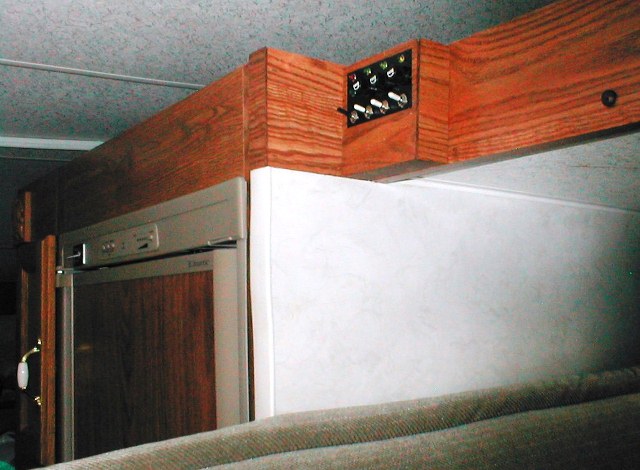
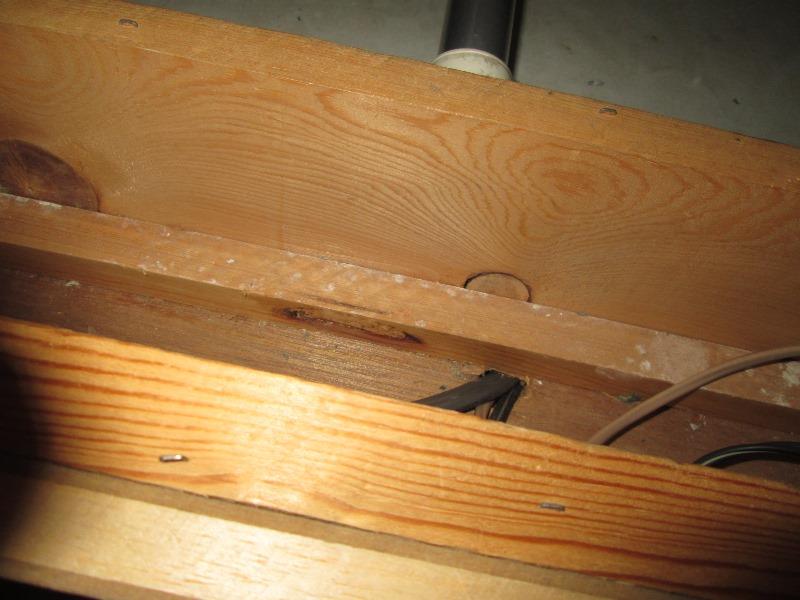
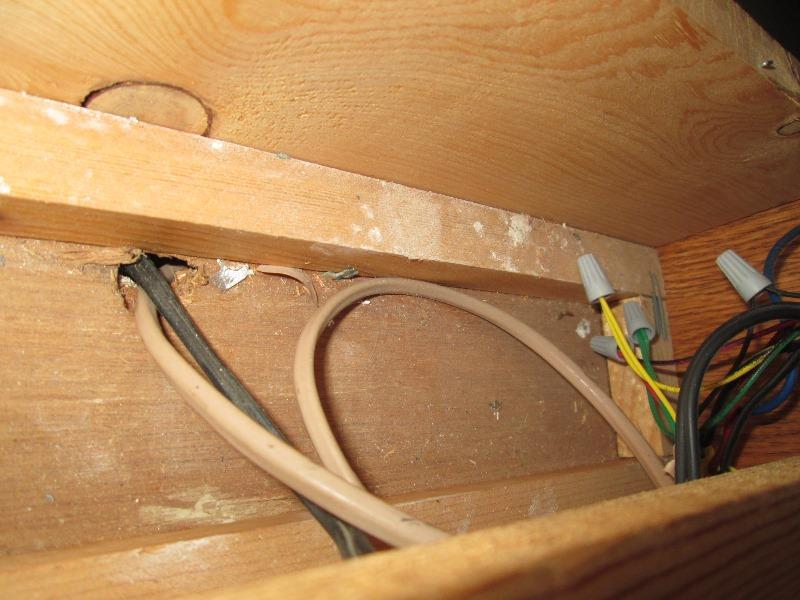
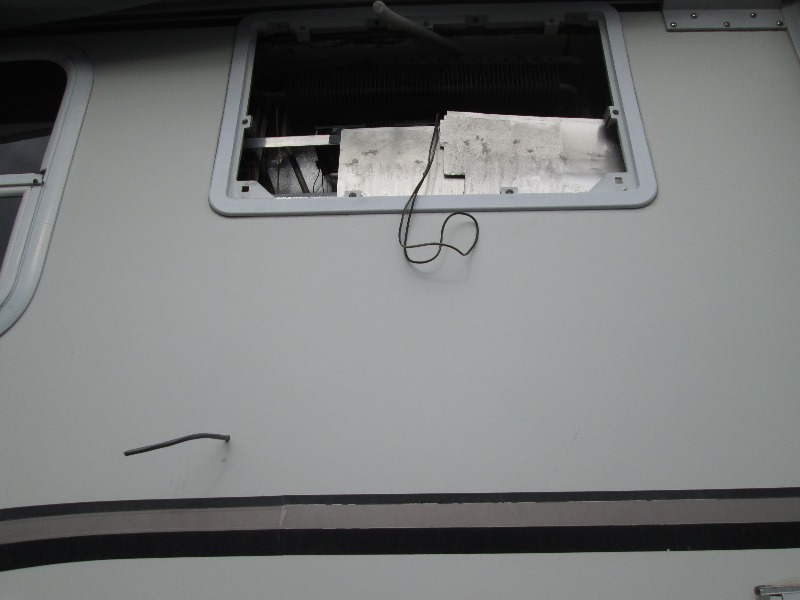
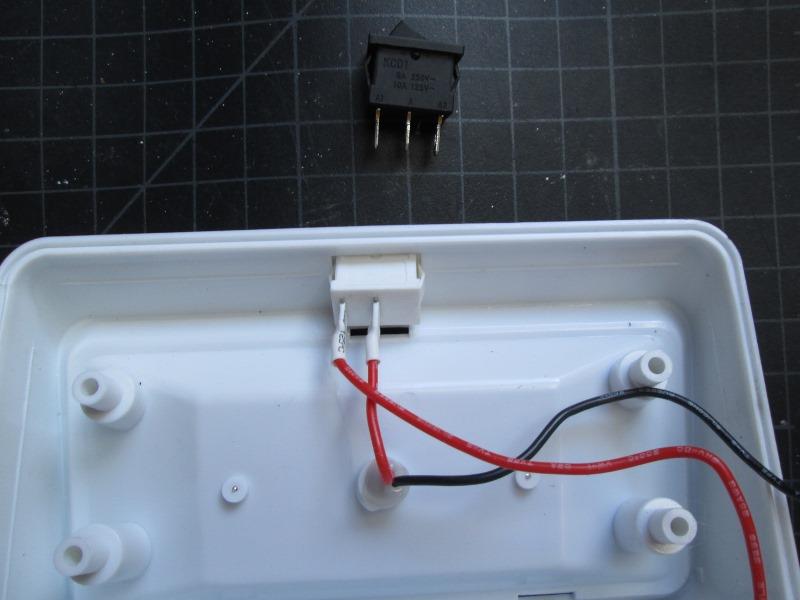
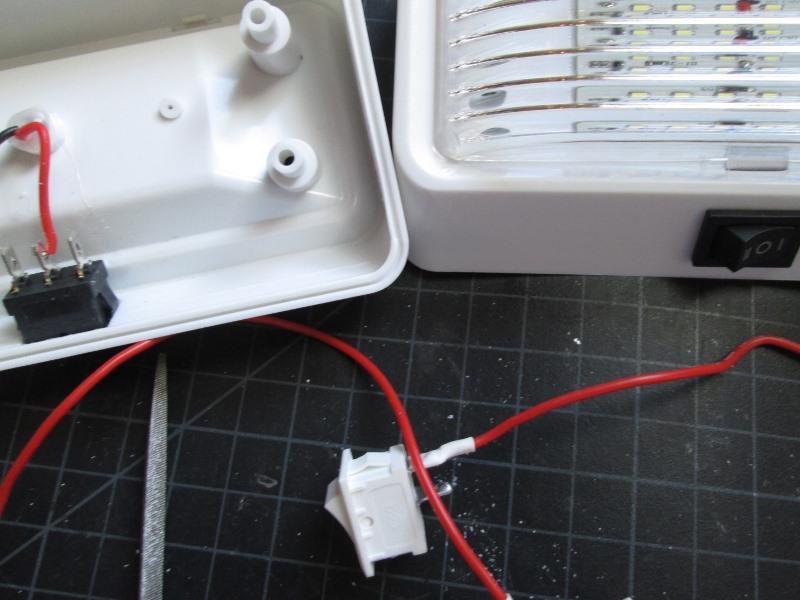
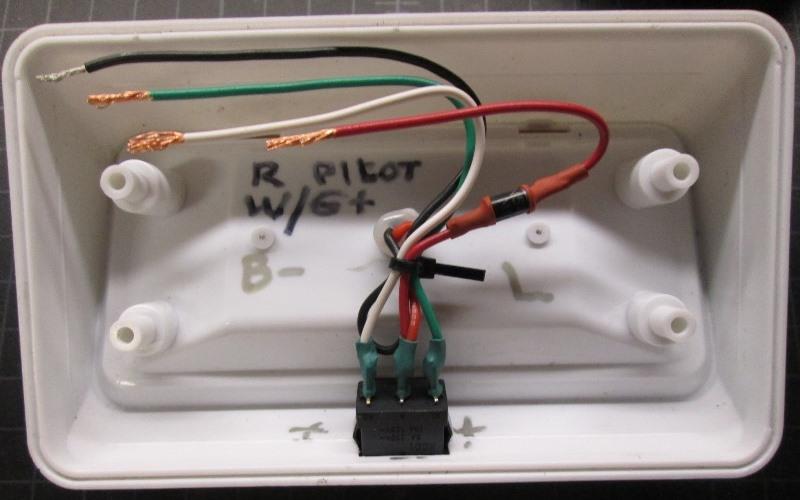
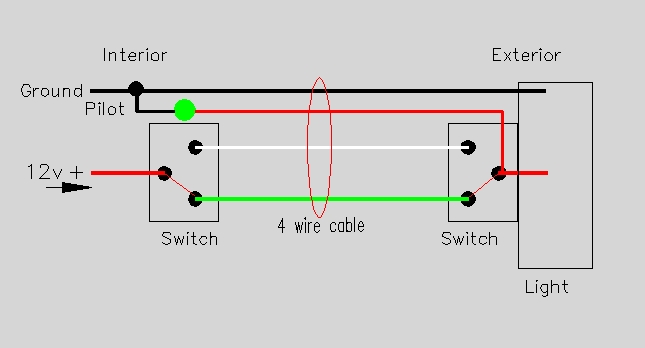
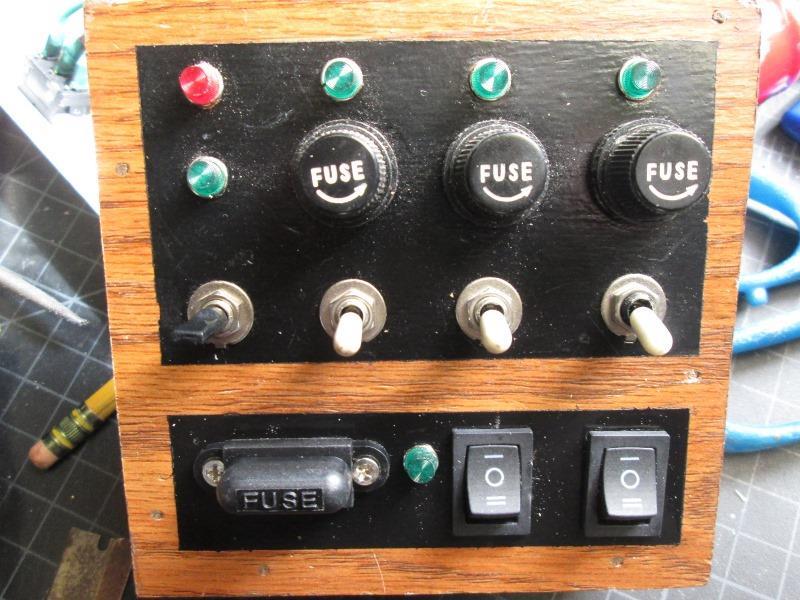
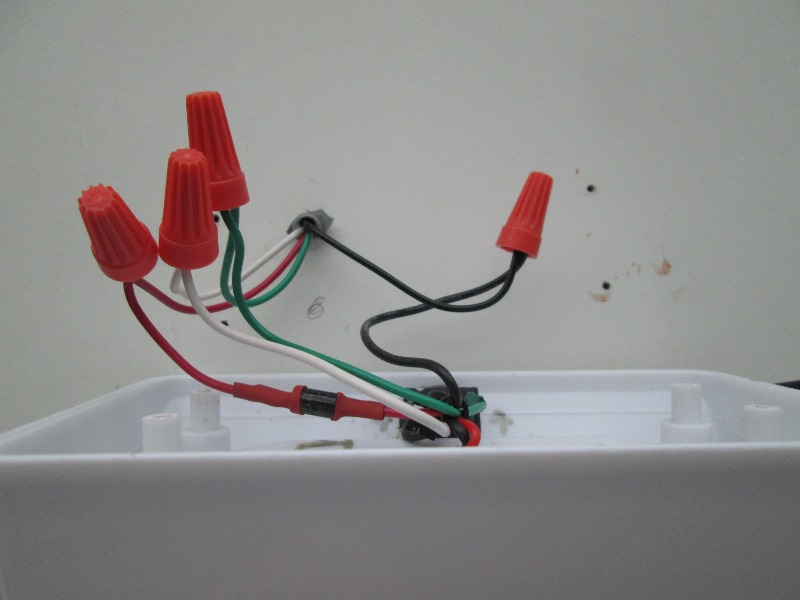
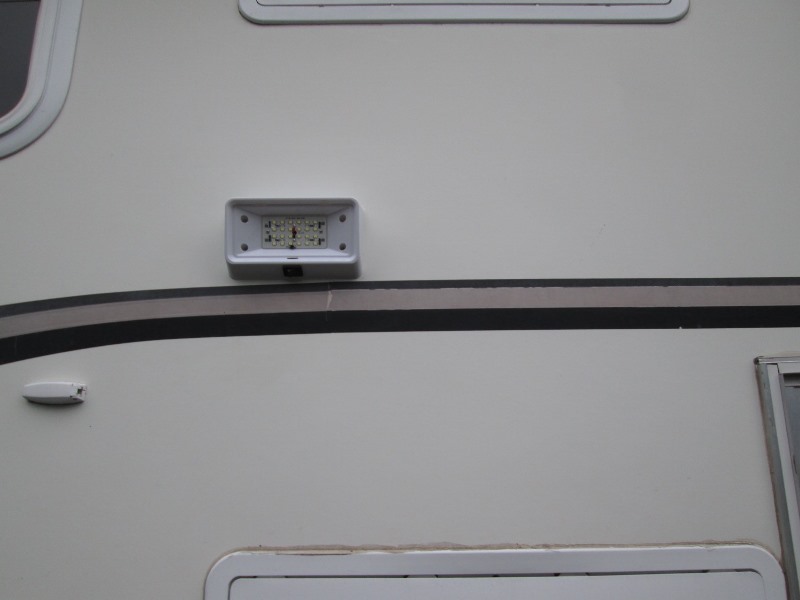
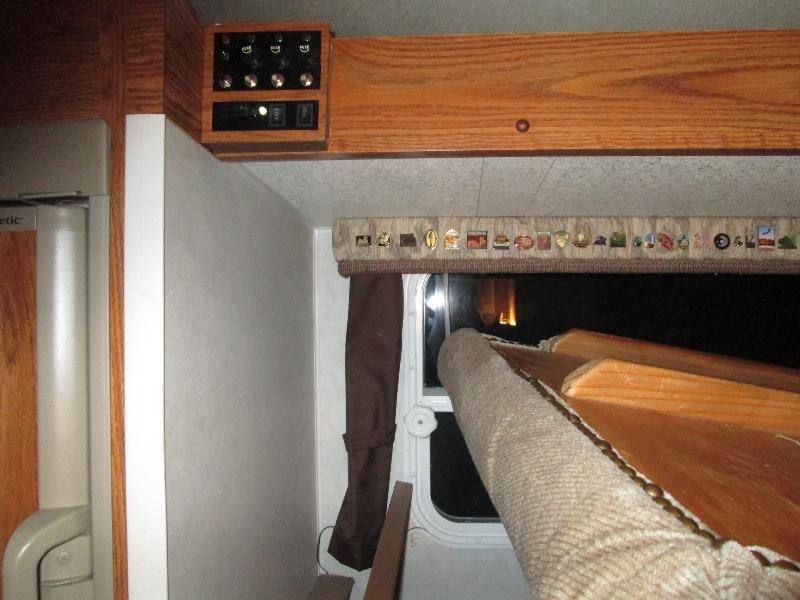
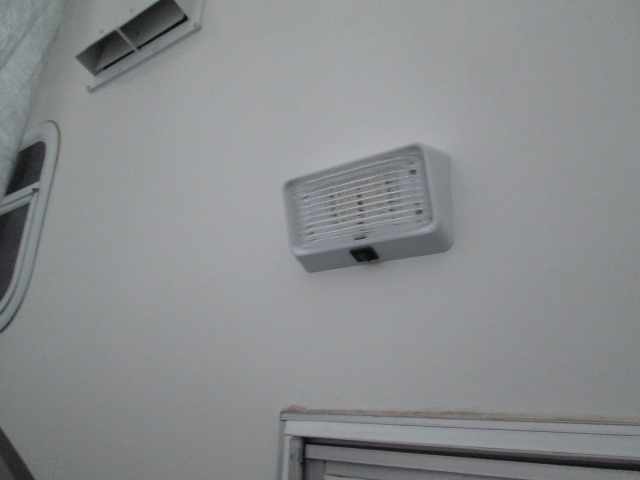
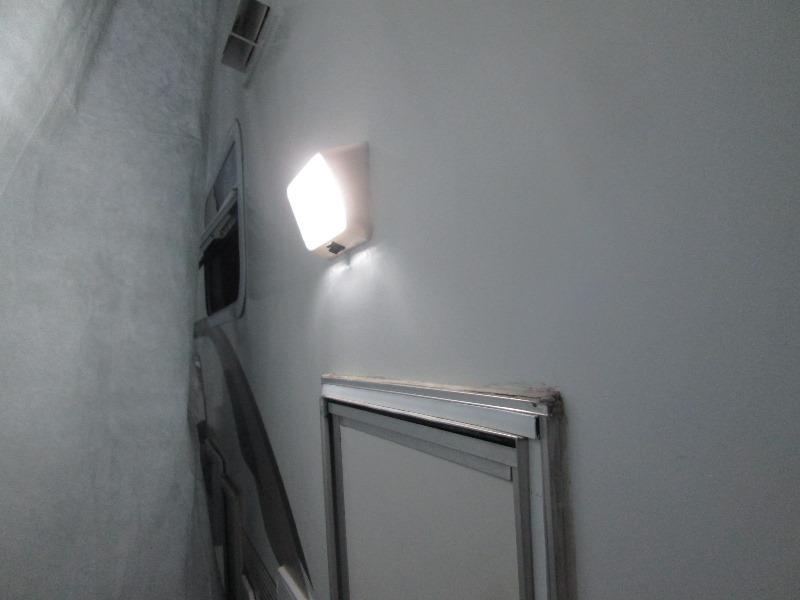
 Ended removing switch box again and adding second pilot. The single pilot worked as far as signaling a light on. However not knowing which light if pilot on was confusing due to 3 way switches. You could flick switches several times taking before getting pilot to go off.
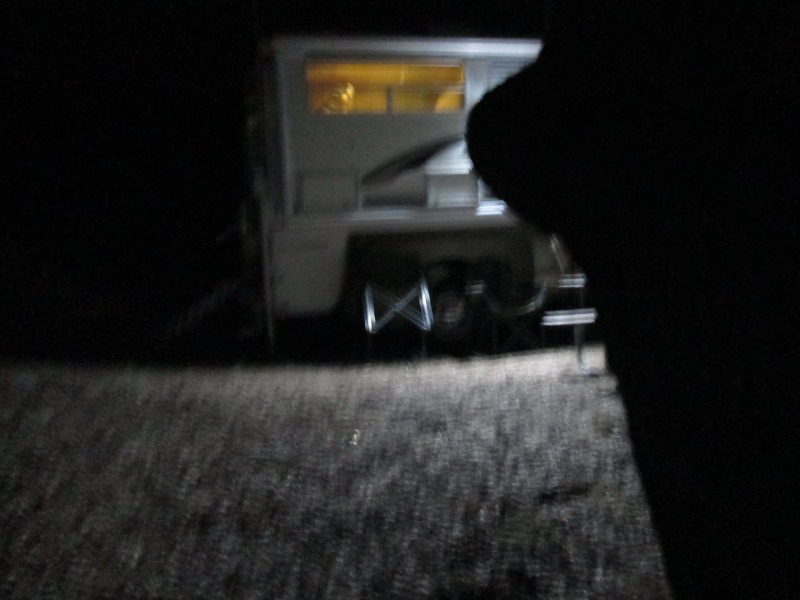
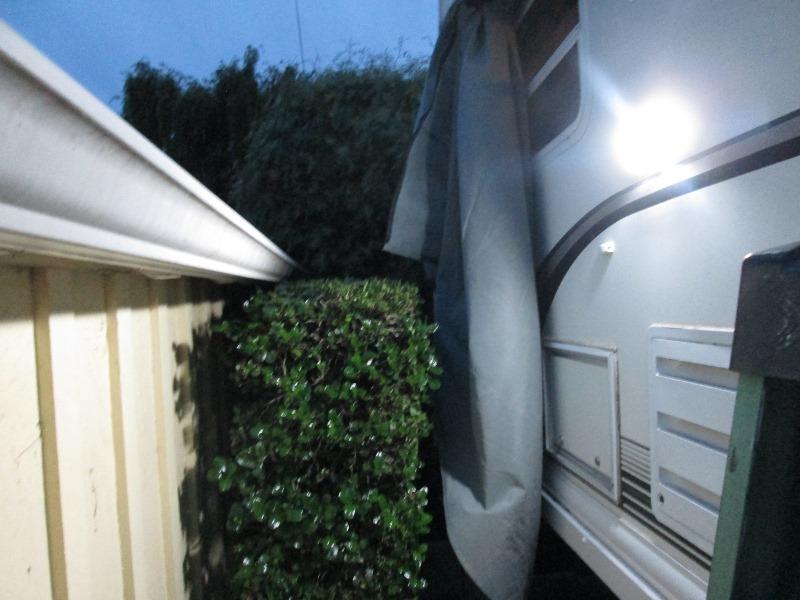
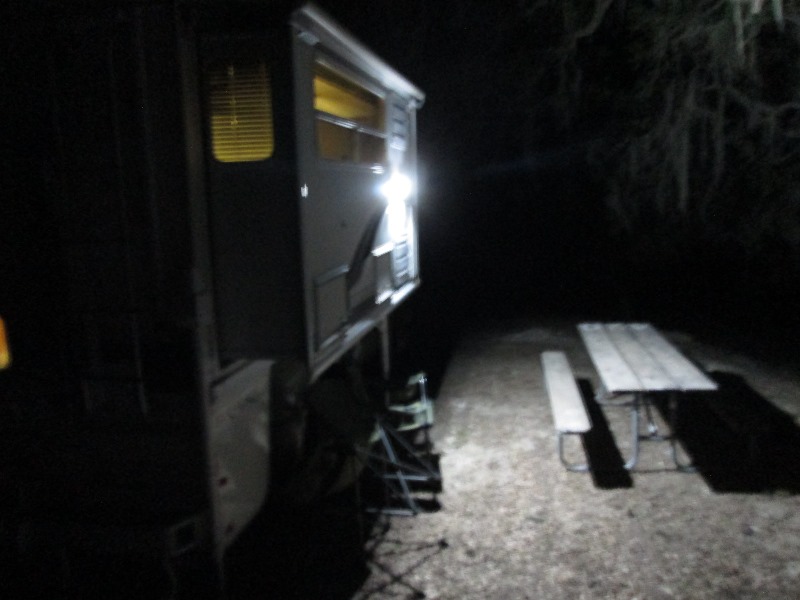 At camp, Moonless night-no flash. No stumbling around in the dark or trying to retrieve something out of cabinet one handed holding a flashlight. Nice. Likely change to amber lens.