Mounting an LED strip light under stoves vent hood:
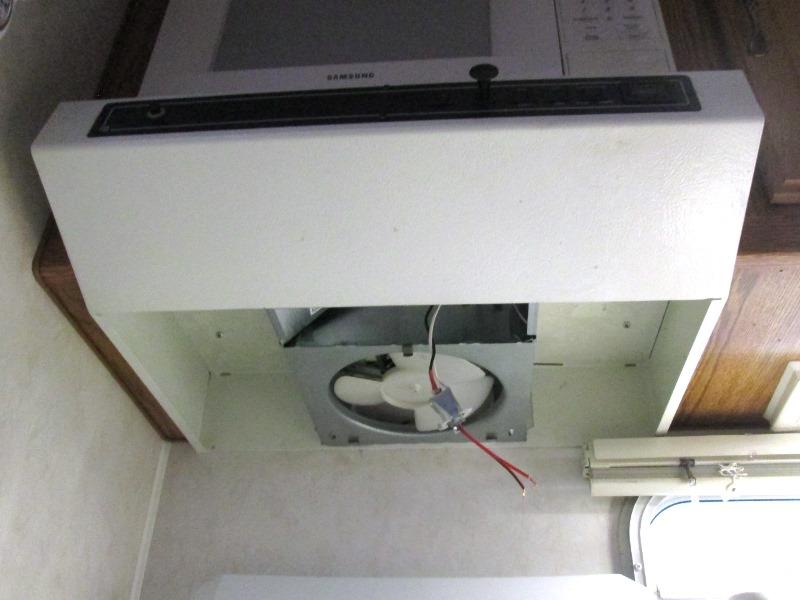
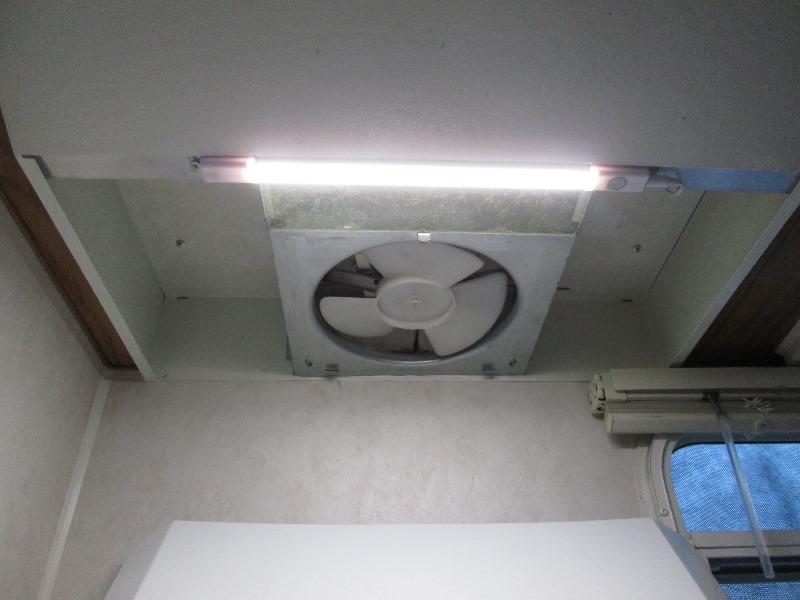
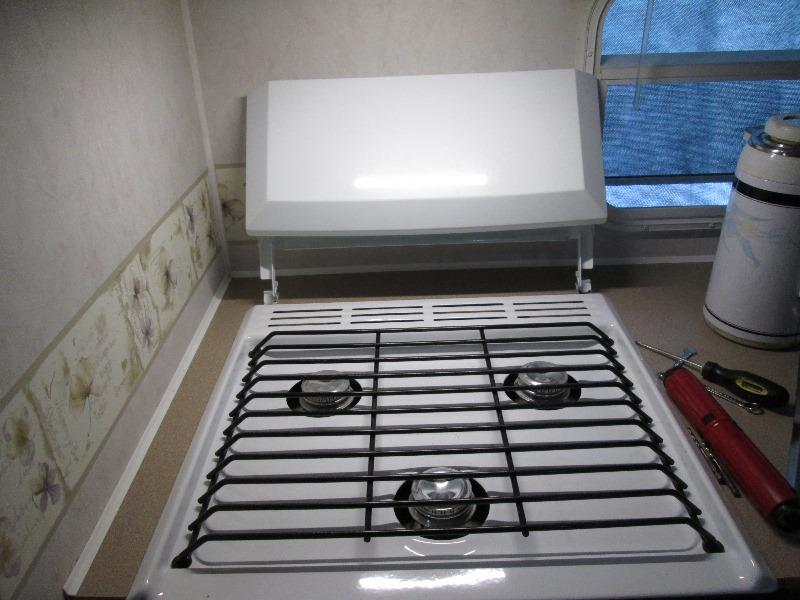
Recently swapped under cabinet fluorescent light fixture to an LED fixture. It is beside the stove. Nice but its light really made the stoves vent hood light look like a shadow in comparison. Which it is. Its also an LED but the bulb is up inside metal light box in the hood so its light output is really limited by the opening of box. Back half of stove top in shadow. Side by side with it and new fixture on makes it seem darker than it is. That and different colors. Anyway decided to try to find something to surface mount under hood that would give more uniform and larger light area and match light as far as color of new fixture over sink..
What I came up with appears it will work, 12"+ wide its only 3/4" deep and hang down is only about a 1/2", and it was 10 bucks...
Gold Stars F3528003 Natural White 12" 12V LED Under-Cabinet Track-Light Fixture. Amazon link as long as it lasts
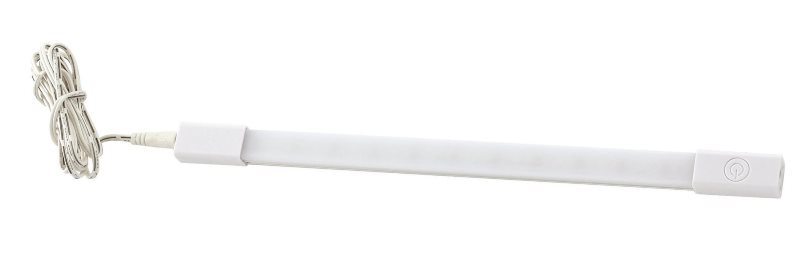
Small enough once I figure out how to mount to not be in the way. Flush to bottom of vent hood so all its light is downward, the spread of 12" should make for nice stove top lighting and at 0.2 amp draw!
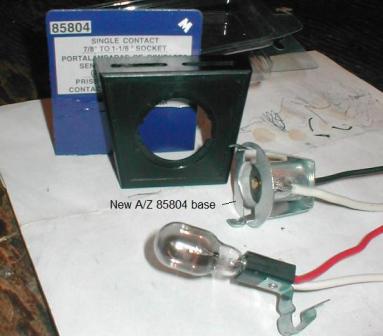
One issue is wiring. Simple enough but I don't want to open hood and wire inside. Decided to use existing light socket. When we converted camper lights to LEDS a few years ago I had modified the stoves vent hood light to accept a 1141/BA15s style. It had a wedge style base and at the time wedge base LEDs weren't available.
Options are cutting the socket off and wiring directly, tapping the wires where they exit socket- or what I'm doing making an 1141/BA15s adapter.
Mostly to keep the existing socket intact, easier to wire as wires already short, easier light removal if needed for vent hood removal (need access to inside light box and wiring cover). Makes the light a plug-in. Its cord plugs in but I'm sure cordage outside will be tucked away to be unseen.
I searched but could not find BA15s adapters separately, everything but, festoons, BA9, wedge. Come with some LED bulb for simple plug n pIay to existing sockets.
(search GENSSI 1156 7506 BA15S Socket Wires Connector Base Adapter (Pack of 2) found later, just search terms. T10 wedge easy to find)
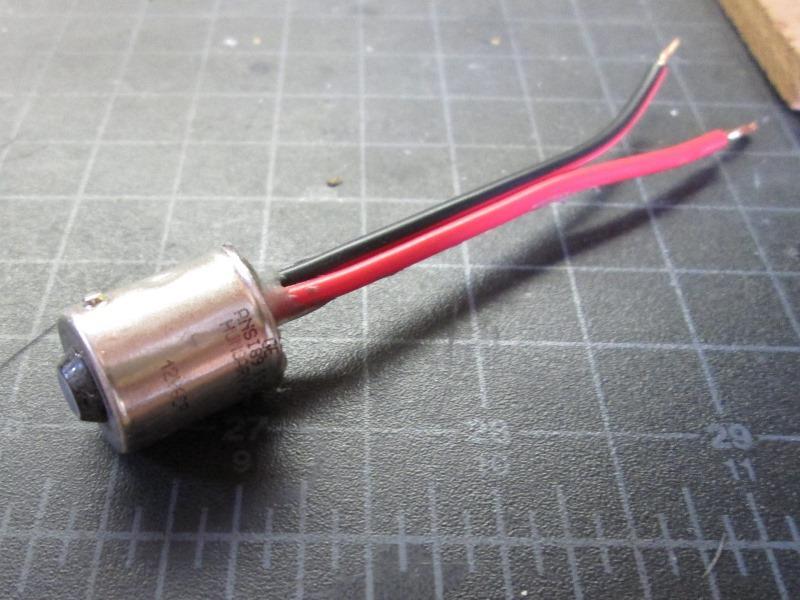
So grabbed an old 1141 bulb, crushed the glass, and solder in 2 16 ga leads. Easier said than done. Filled with hot glue. (if enough heat generated to melt glue we have larger problems). Once glue cool reshaped the end tip.
If wiring thru existing panel switch will work. Lamp has its own on/off dimmer switch, shouldn't be too difficult to use but rather the switch we're use to on panel face works. Lamps switch, once power removed, may default to off. Some don't, some do (no one knew answer to using remote switch?). If that's the case though we could use existing switch to turn off, to turn on would be having to use both switches. So I may get to open the panel anyway- remove leads on switch and bypass.
Doodling....
Old pic of vent removed because from here on out they will be upside down.
Switch will determine position, I'd like to place across just in front, against the nose.
Looking at picture pondering, thinking would be better for lighting, but requires a way to mount. There's a 1/4" lip but don't think that can used....
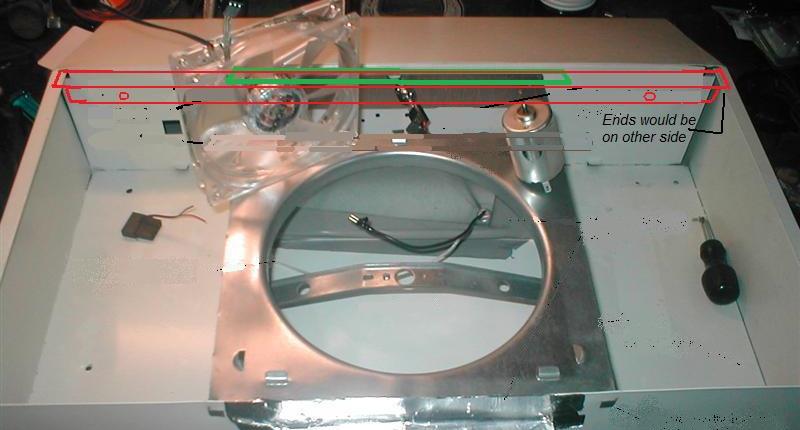
Mounting: Taking a scrap piece of 1/16" angle to see what might be done noted there is a 1/16" gap between nose internal face and the fan box where light is going. It could be inserted between!
Cutting a full length piece of 1/16" x 3/4" angle short enough when slid all the way to one side it can be inserted (or pulled down), then center both ends resting on external box lips (not how drawn). One screw to keep in position, behind switch end of light. As the angle would be up against the inside box, ends against outside lips it cant move. For one end to go up the other end would need to go down and it cant. The one screw is all that's needed, though if not to difficult to drill I'll add at other end but simply not needed.
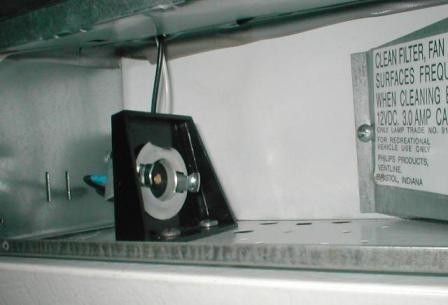
Cool, had no clue how I was going to mount light. Other than drilling for sheet metal screw, easy. Original plastic light diffuser can go back in, there's a premade mushroomed wiring hole on the right side. Reason back of stove was in shadow was because the previous bulb was recessed, light was blocked by the box. Surface mounted its perfect. Doodling and talking to ones self is highly underrated.
Wiring ready.
And light mount installed
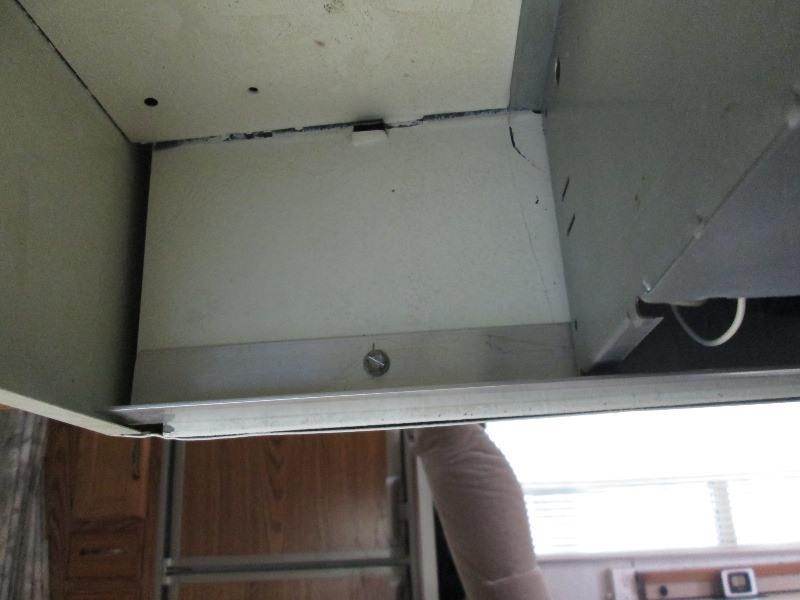
Used full length piece of 1/16"x1x1 angle, larger mount surface, minus width of one bent lip of hood. Slide up between hood and fan box, attach with sheet metal screws both ends.
 That was easy. Flat surface to mount light.
Light arrived tested. Nope, when power removed from light it defaults to off so cant use remote (the existing switch on front of hood) because still need to touch lights switch. Oh well. Does mean my groovy 1141 adapter wont be used. Powering from existing switch often as not it would get turned off, be playing with both switches. So pulled another wire from hot side of switch so new light can be independently switched regardless of switch on hood. Also can reinstall a bulb back in hood- so either light can be used.
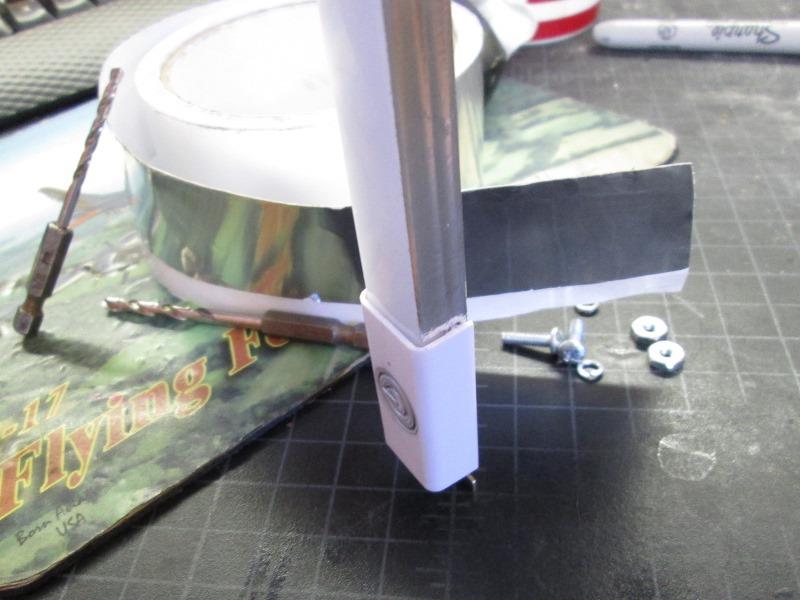
New light, the lens your looking right into side, so covered with a strip of aluminum tape.
Mounted! Light has 2 mount option, clips to snap light up or 'L' brackets that attach to ends. Used the L brackets, just easer, tucks it up a tad more. Drilled aluminum and mounted with 6-32 screw and nuts.
Nice white light, matches output of recently installed under cabinet light.
No shadows!

The test, can actually see inside coffee pot.
Pretty happy with the light-Margarets stoked. Glad I rewired back where either light can be used (need another LED 1141 bulb. Though the light is perfect as far as output, the dimmer switch is a bit wonky. Sometimes when turning on it self dims, sometimes wont shut off...jury still out. Usually works fine but...could lead to an unhappy cook if it acts up, so the backup light could be a meal saver :). Try it for a while, if needed get another before Amazon return window closes.
Didn't last long...switch was just annoying-Didn't know what it was going to do or half the time wouldn't respond, Then on at least 4 occasions I open up camper and the light is on, enough of that. Contacted Amazon , they sent out a replacement. It works like a charm! Tap it on, tap it off, hold and it dims or brightens. Remembers level next time turned on? Cool
Went out for a week- the other florescent to LED nice but this one over the stove is Really nice.
You Tube video just playing with light
Previous florescent to LED that led to this addition
Back to Ourelkhorn Camper Modifications page