Move magazine rack
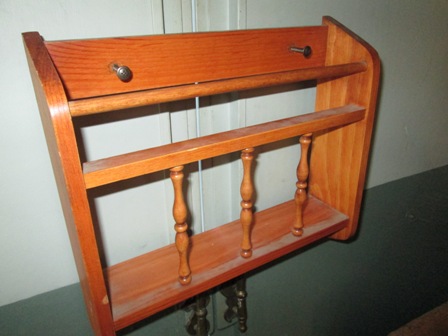
Recent addition of portable 'suitcase' solar panel absorbed area that small magazine rack lived. Rack was mounted to back side of dinette seat.

While it worked out great for storing the panel. Margaret was a bit um- lets say she really would like the little rack reinstalled. I thought it was a good trade off for practical storage of panel- but we just think different.
Honestly didn't think it would take any effort to remount somewhere but there proved to be no location that was useable. No free walls to speak off. We (she) decided next to the dinette would be nice.
That'll work. In looking at wall only issue I see is swing up seat bottom. I decided easy fix was to slot the mounting holes in rack. When I need to access the compartment just lift ack out of the way. First I had to make a back for the rack, otherwise all the stuff will fall out when removing rack as it uses wall for back. Just happen to have the piece of interior paneling that I removed to install ceiling vent. Perfect-white so will match the wall. Attached and slotted the holes in rack. No pictures- I mean I was just hanging a rack on the wall.
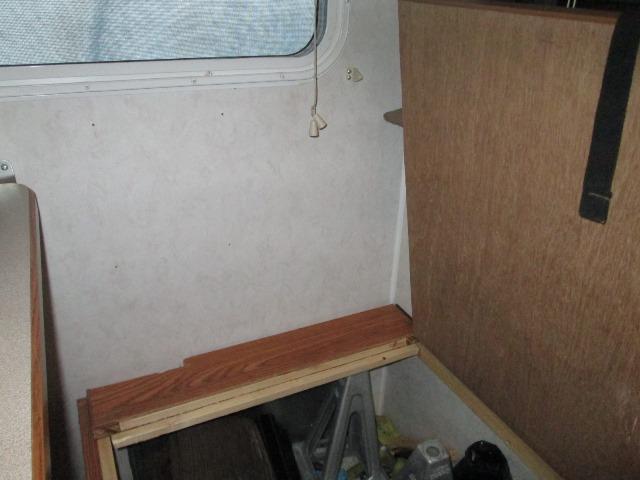
Installed the screws, slipped on rack. That was easy. Removed the rack, then went to test open the dinette box... it hits the screws..err. Its close to wall but measuring (in closed position) thought would clear the screws. Apparently box isn't square to wall, as it swings open gap gets smaller. Id do recall when we first got our camper this lid would not open- it hit the window so had to access from under table-fixed that as shown below-notched the lid so it would fully open and added the buckle strap to hold it open.
First thought was to notch some more. I'd need to remove and cut outside (easier than cleaning camper). Since I'm removing to notch it occurred to me I could notch so it would clear rack with out having to remove it. But then Id end up with huge hole in lid...good grief. Plus losing support. If it hadn't been for already putting screws in the wall this would have gone on the back burner...
Then an alien space ship cruised by- saw my feeble thought process and zapped me with the Green Ray. Just cut the lid...
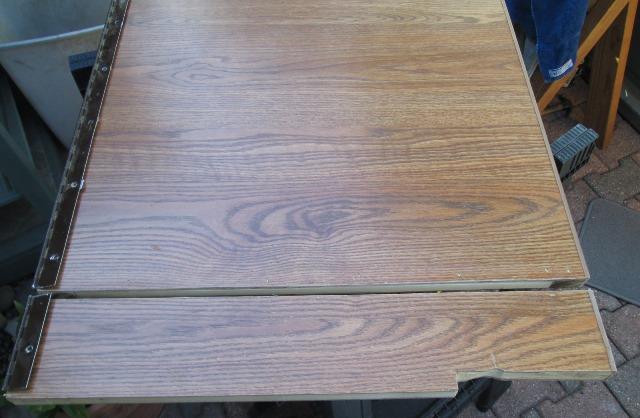
Simple-cut the lid and hinge a little more 4" from end centering between hinge screws. The seat box lids are hollow 1x2 frame with 1/8" paneling both side. For the cut ends cut 2 pieces of 1x2 and inserted between the paneling gluing and stapling.
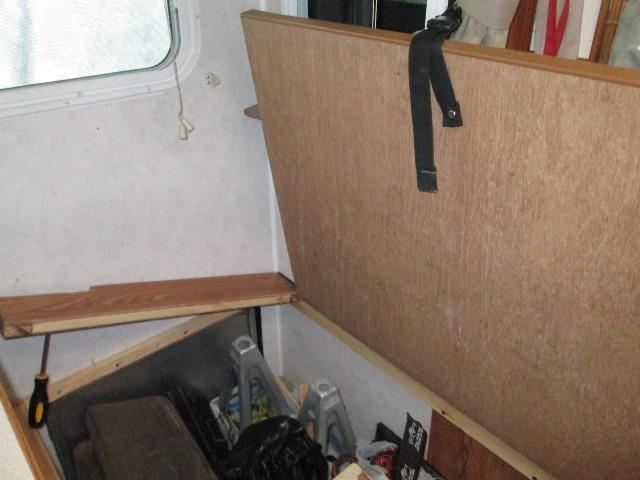
Sat both pieces back in camper. Rematching but the short side will get couple of finish nails- too much leverage for the short pieces of hinge. Checked the cut end of unsupported end sat on lid, bouncing it flexes just a bit, maybe 1/8". Structurally I think ok but the difference in movement of the 2 pieces might wear thru final bottom of seat cushions. More support would be better, since I'm here.

Glued and stapled another piece of 1x2 to under side of short piece to catch main piece.
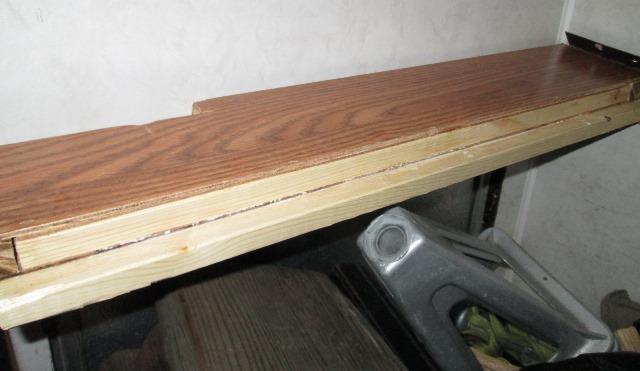
That works.
Reattached the hinges. Nailed front of short picese, removable but fixed. Not considering the clearance for rack this will be easier. Even though I had notched to clear window frame had to pull blinds up.
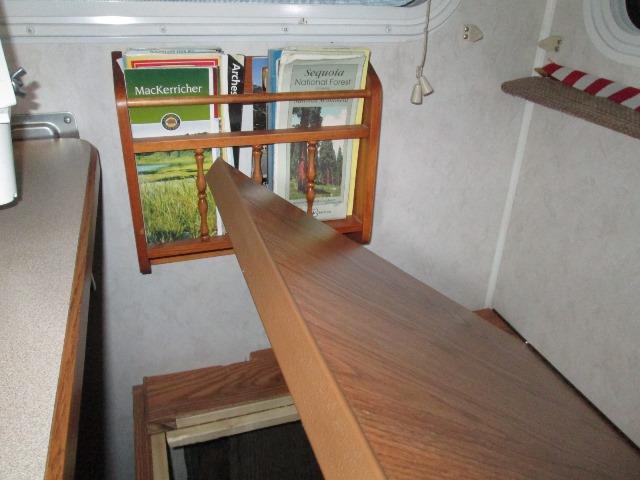
Hung the rack. Found some larger trim washers to cover unneeded slots. Certainly wasn't the plan but now that its done-nice. Gained a little easier access to storage box, wont have to move the rack to open lid.
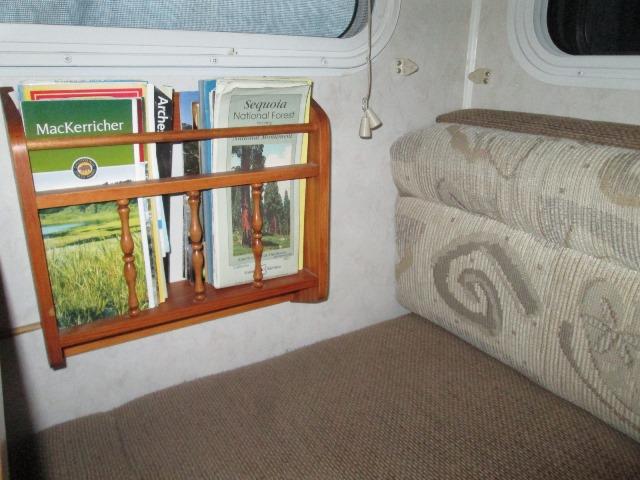
But more importantly Margaret really likes the lil rack in its new location. It was a bit awkward on backside of dinnet seat back. Alls well that ends well? just sometimes the simplest things...
Back to Ourelkhorn Camper Modifications page
762