Cut new replacement 2"x 8" ramp blocks
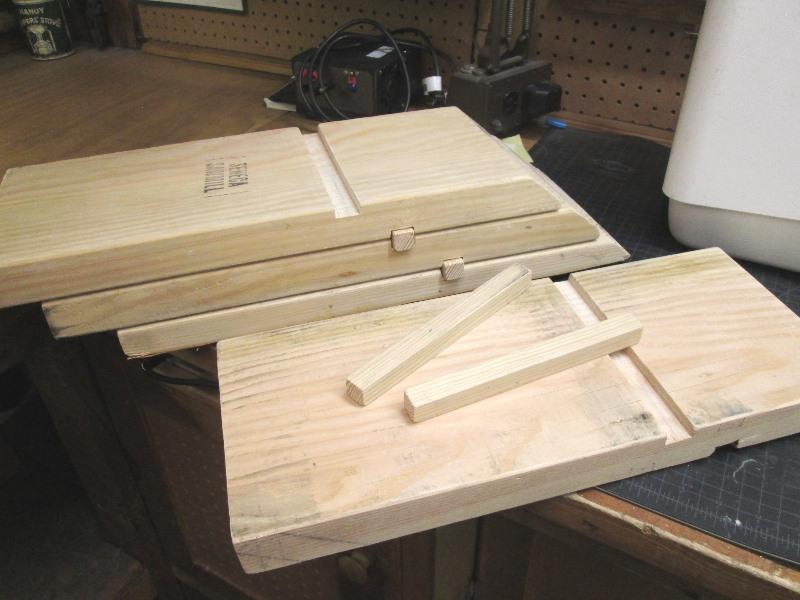
Simply cutting new replacement 2 x 8 ramp blocks for leveling truck & camper...how hard could it be? First set probably spent 30 minuets cutting some old barn wood 10 years ago. Last outing split the last remaining intact 2x8 block leveling. Makes it kind of hard when stacking, pieces usually spit out. Deciding to make new ones and address a couple of issues. Original ones I cut at 45°, thinking cut at shallower 30° would be easier to climb. Second is means to pin when stacking, often top blocks will just slide out.Decided a cleat would work to contain blocks. Drew out to get dimensions, laying out so any block can be any position. With 30° blocks can be stacked with continuous ramp instead of staggering for more tire contact IF 4 blocks stacked, rare. Looked like will work. Cleat will keep from spitting out and rotating. Also alternating every other one will keep from sliding around in storage. I also decided to drill thru blocks and use 3/16 rod to keep pieces together if/when they crack. With a perfect plan set up table saw
Welp- not enough blade to cut 30°. Modified plan on the fly (I know better but sometimes works), best I could get is 41°, figured I'd just move the top slots for cleat to allow moving stacked blacks apart to compensate for steeper angle (like old ones). Cut the angle ends, and then without further thought or checking, cut the slots where I previously laid out. DOH!
Setting in the shop I realized my error-burned an inch, slots are at 7 1/4" supposed to be 8 1/4". Puts faces flush. That ain't gonna work. To confirm, stacked 3 blocks out in drive way, backed up, truck will climb but not easily, just too steep. Tried staggering back each successive stacked block 2" and truck just rolled up.
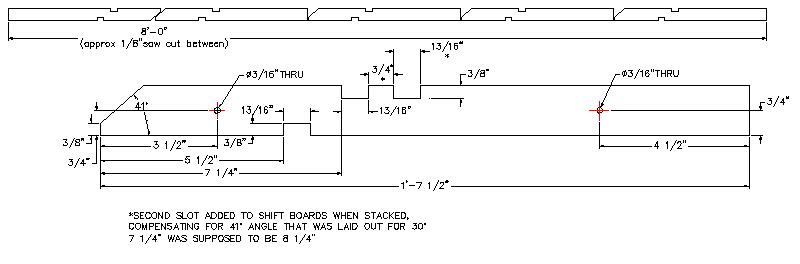
Back to the drawing board, adding another slot to each board. Resultant dimensions
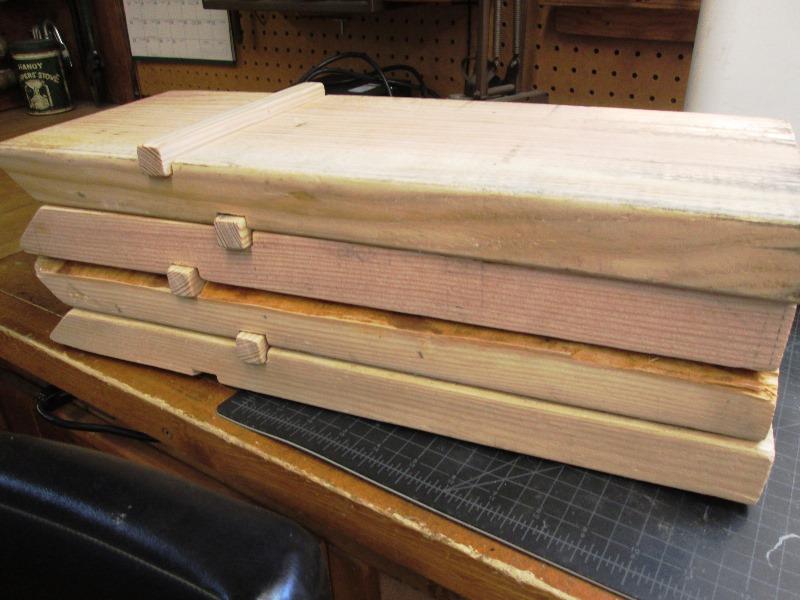
The first slot does work for storage stacking.
Cut new slots. Then using a 12" long 3/16" drill bit drilled 2 holes thru each board for the 3/16" rods. Used the drill press to ensure holes parallel to surface. Required drilling 3", raising table twice to get thru. For each board...where do I come up with this stuff...
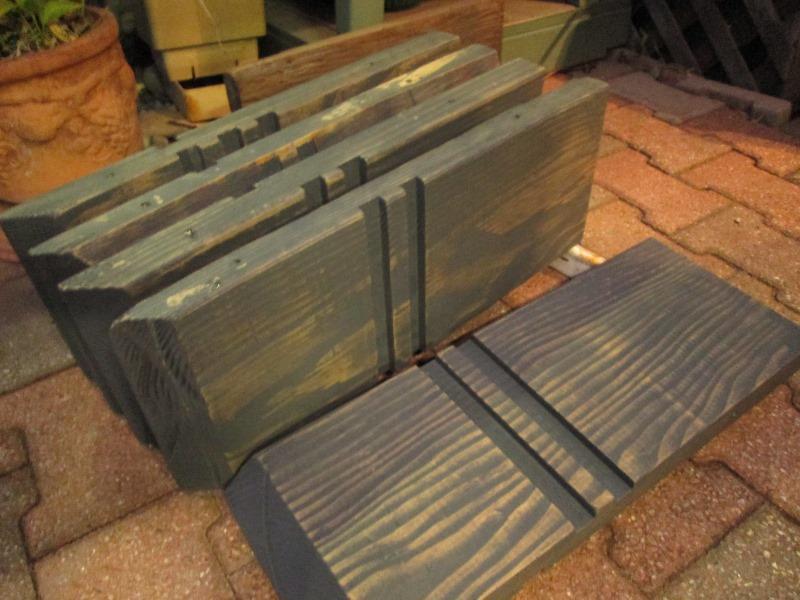
Slotted, drilled and stained the pretty white fir with some old charcoal stain.
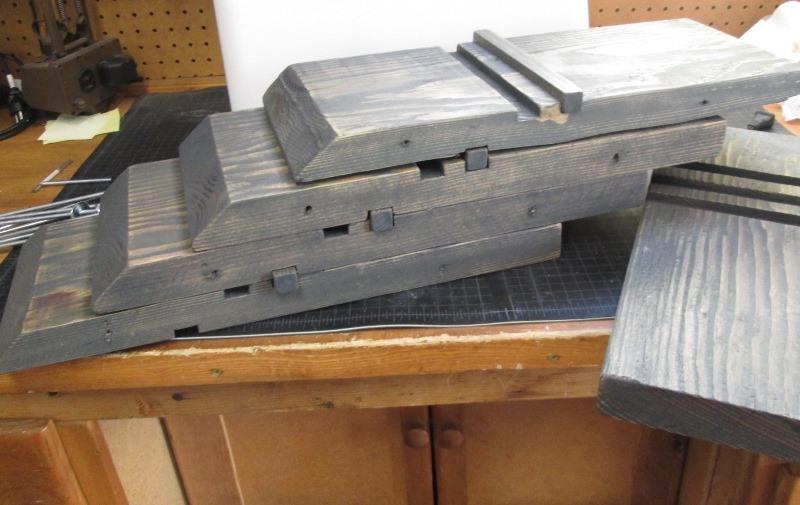
Cut 10 pieces of 3/16" round bar 8 1/4" long (boards are 7 1/2 " wide). Threading with 10-24 thread.
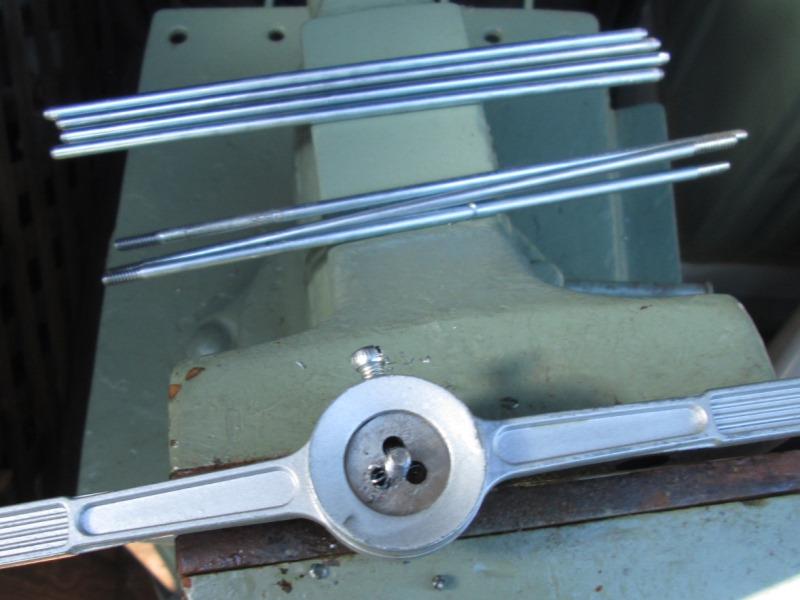
Had to add a slight taper to end allowing die to start but cut fairly easy. Reason for round bar verses 10-24 all thread which would have been easier- just a lot more rigid using 3/16" bar.
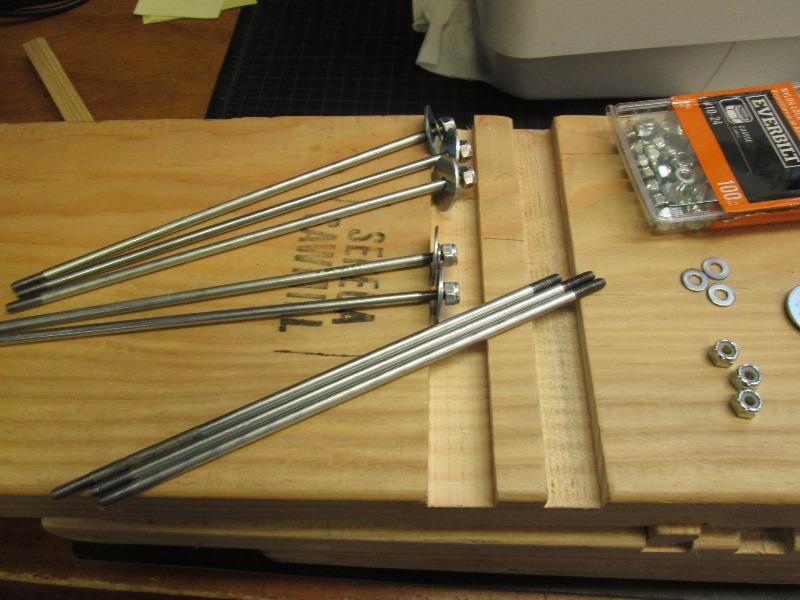
Slide on a 3/16" x 1" fender washer, 10-24 flat washer and 10-24 nylock nut. Once stain dry drive studs thru boards. Snug nuts-done.
Well, think I might add some straps to ends, make retrieving off ground easier.
Mentioned to Margaret and her eyes lit up. "Mean we won't have to stick our hand in the dirt?" and proceeded to remind me at the local lake few years back, she picked up one of the blocks and out scuttled a small tarantula"
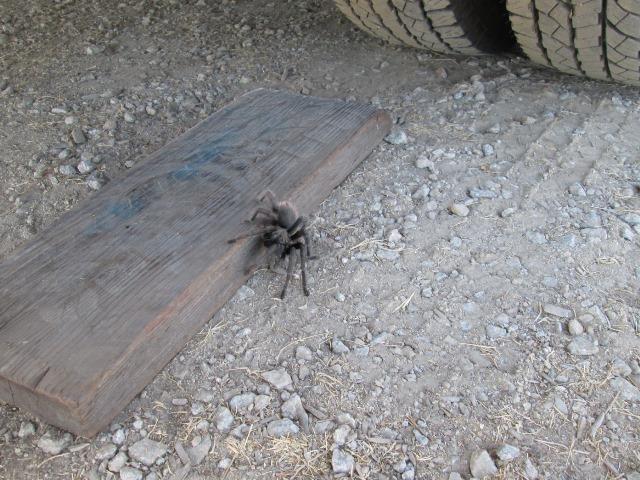
So straps are on the list
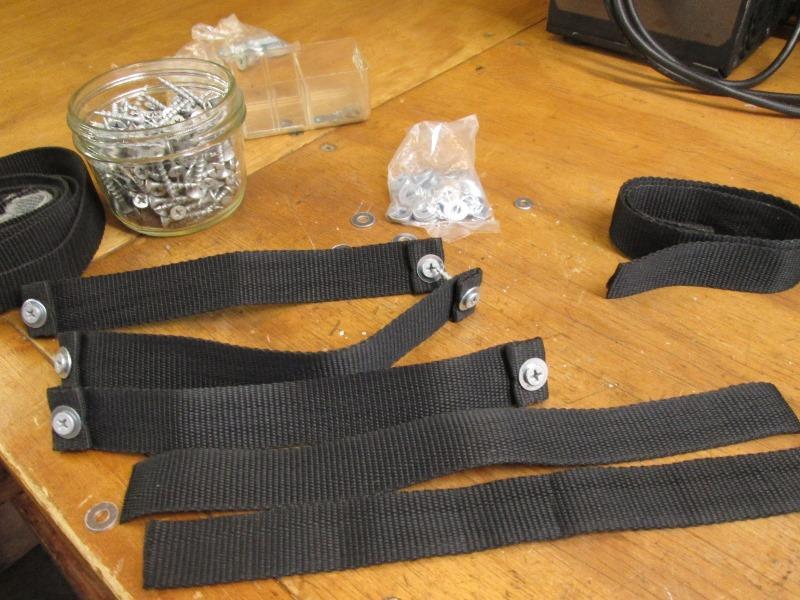
Cut 10" lengths from old nylon straps from previous camper cover, few screws and washers..
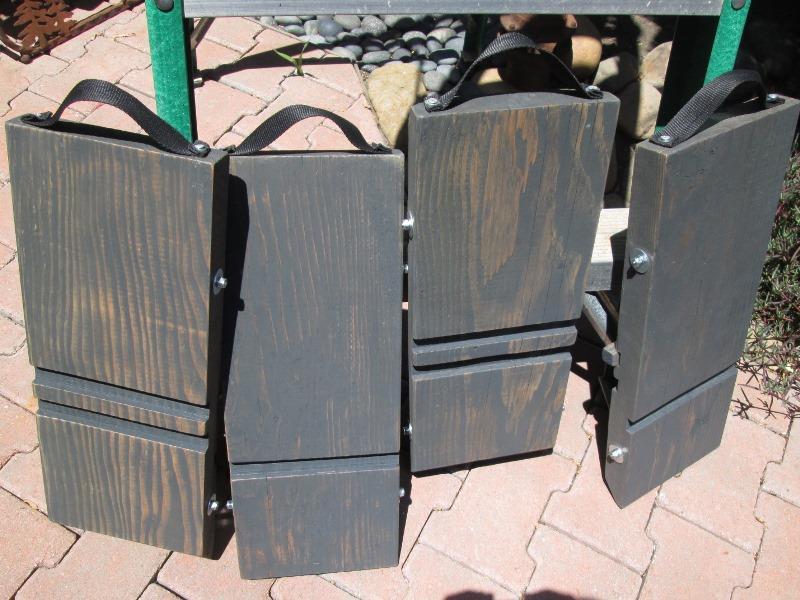
Slotted, drilled, stained, reenforced rods added and new 'anti critter" handles.
Spent good part of the day piddling around but got 5 stackable ramps, should be last I make. Well, one more so I'll have 6.
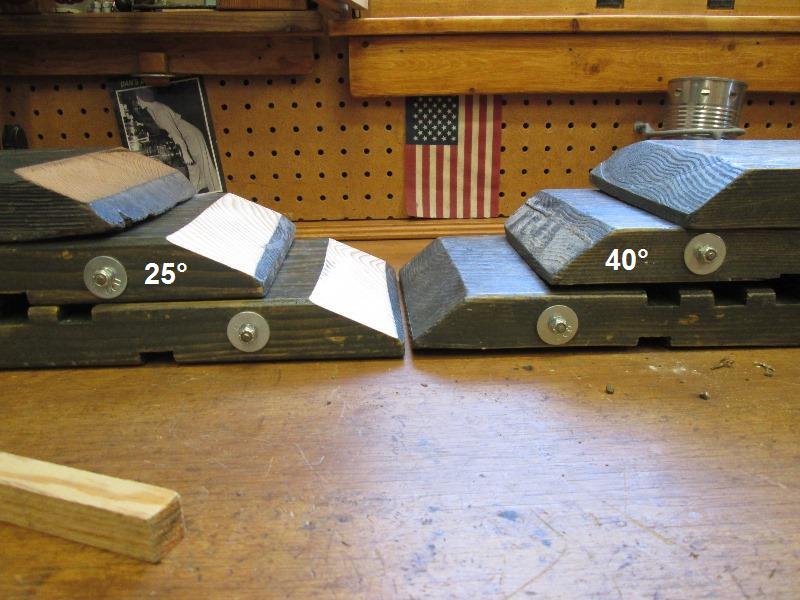
Update 3 yr later 2020 Made crude vertical jig for my table saw and recut these at a steeper angle
/shop/tenion jig
Back to Ourelkhorn Camper Modifications page