AC/DC laptop charger at camper dinette table
Part 4 of dinette mods, Added AC/DC charger for laptop to utilize options of direct 12v source, 110v running inverter or shore power.
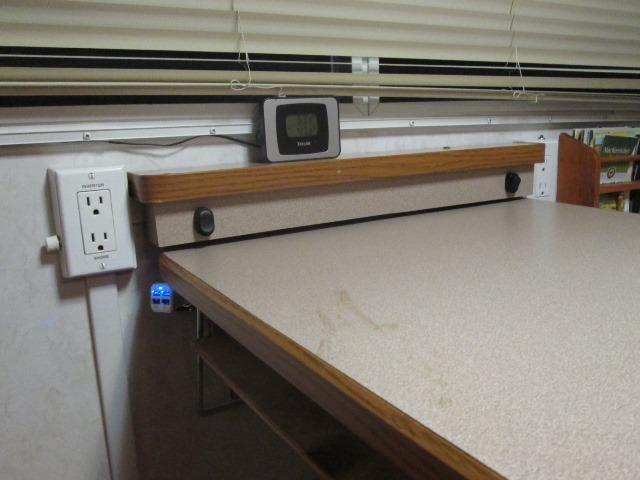
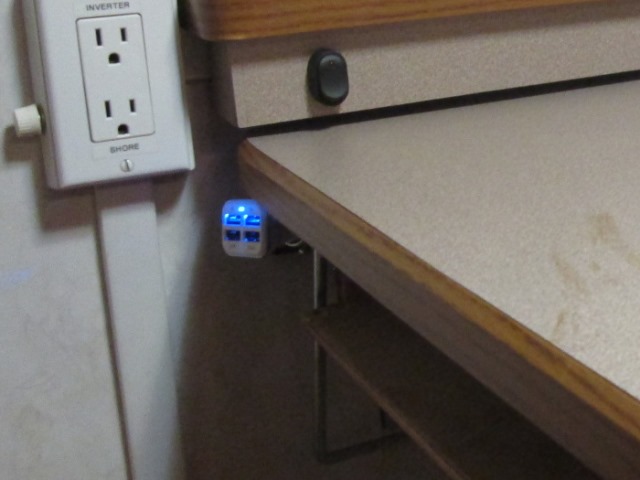
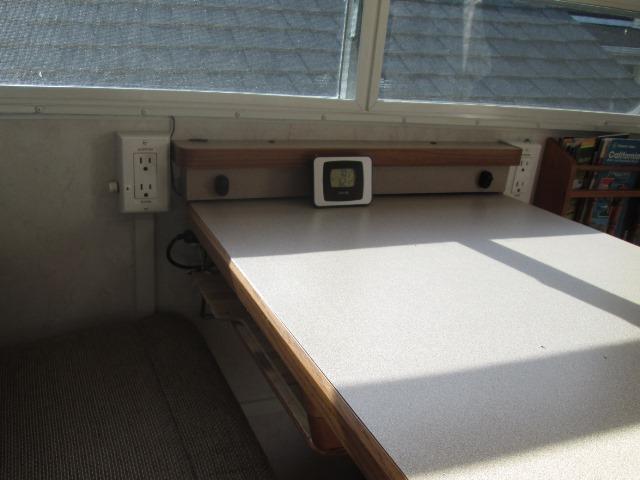
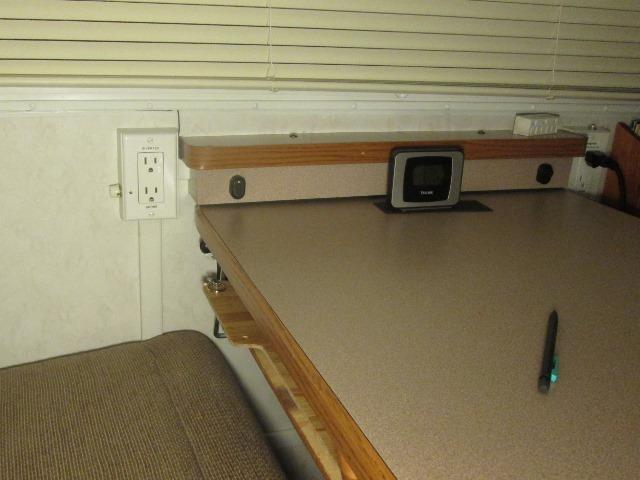
With the addition of under table shelf we now have a place to store laptops etc. The added 110v shore/inverter split receptacle and inverter remote switches to right side of table allows AC access from either side of table, and now 12v outlets and/or 5v USB ports for charging without using inverter.
Well except my laptop. It requires 110V for its charger. I've located a charger that will charge at the needed 19v/4.7 amp and uses either 110v or 12v. It also has a 2.1a USB port. I don't know (doubtful) that bucking up 12v to charge at 19v will be more efficient than running the inverter but it will give me the option to charge off 110v or direct off the 12v.
There are some 12v only chargers that would work, and I do have factory 110v charger. However having both in one unit, 12v or 110v option seemed more flexible. New AC/DC charger could live in the camper, on less thing.
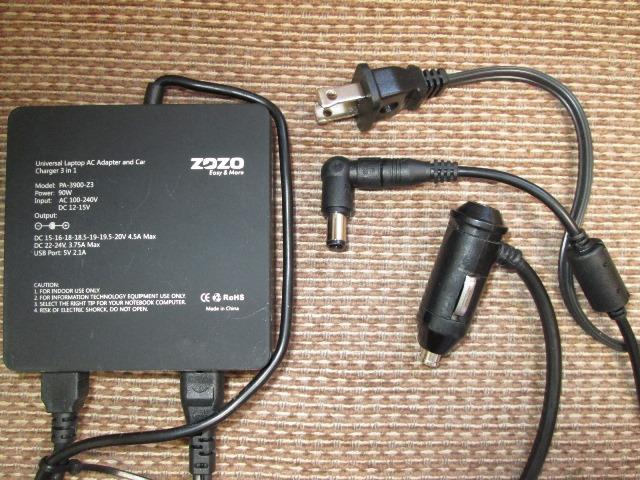
Its a ZoZo unit, 90watt max, model PA-3900-Z3. Comes with 10 ends that plug onto charger output cord for different computers/laptops etc. Also has a 5v-2.1 amp USB port. Link to amazon seller for as long as it lasts, Zozo AC/DC charger One reason I chose this one is higher input rating of 12-15 DC volts. The 'brick' is more of a box compared to most. Will add to challenge of mounting. It is 3 5/8" square x 1 1/4" thick. Removable DC input cord is 25" long, removeable AC input cord 48". Hard mounted out put cord is 48" long.
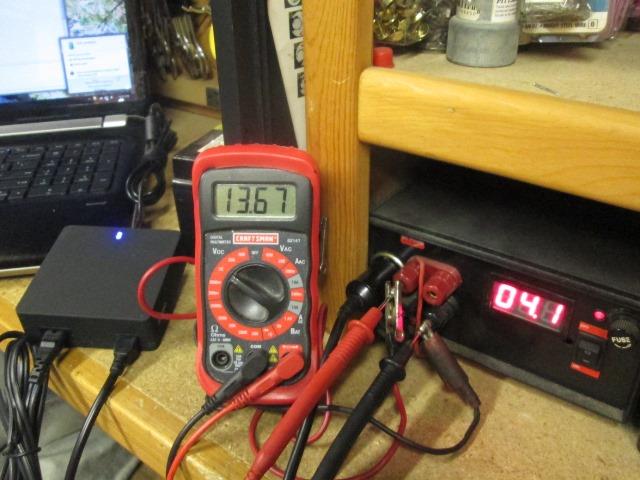
First thing I did was to hook up to 12v power supply to verify my laptop would charge from new charger. That and to see its draw. Laptop battery is at ~90%, charger drawing 13.7 v @4 amps but more importantly its charging. Good enough.
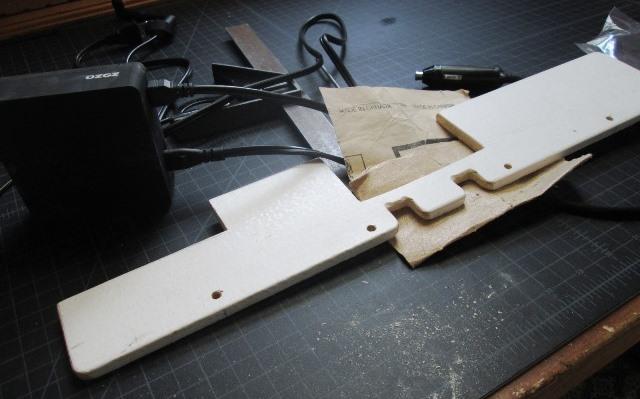
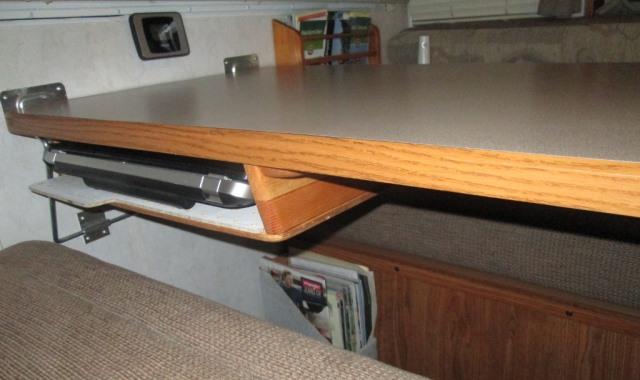
I'm going to semi hard mount charger as it will stay in camper. The cut up white 1/4"x4" piece of lattice had been previously added to underside of table. The larger cut out in center was to slide in the factory laptop charger and cords so it sat on the 'shelf' . New one will not fit on the 'shelf', plus be nice since it has one to access the USB port.
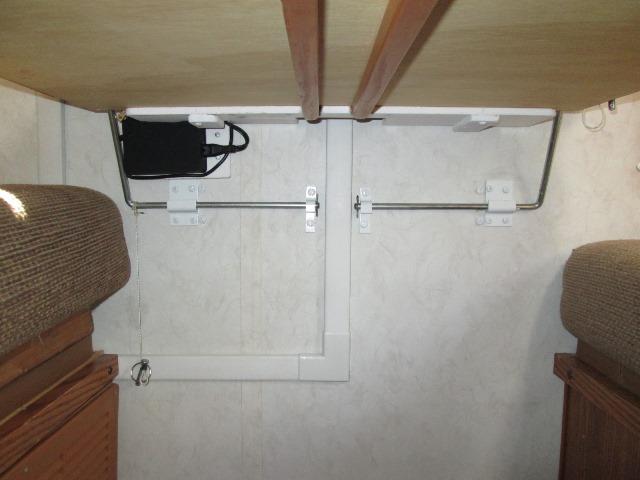
Several ways could mount but decided to put on the wall, under the new 12v receptacle. The plug in USB charger will be used elsewhere. On the wall will be captured at front by tables support leg, along the top against the wire mold channel. Cut a small piece of lattice for it to set on and against at back. That will restrain on wall, cut the shelf yet again to sandwich the charger against wall using foam tape. That will leave chargers USB and charger output cord facing toward dinette seat.
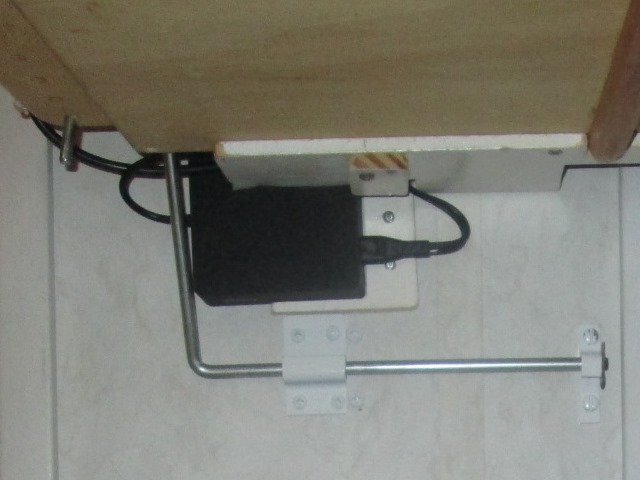
Clear as mud. But it does work. Charger can move a bit and cushioned by the foam tape
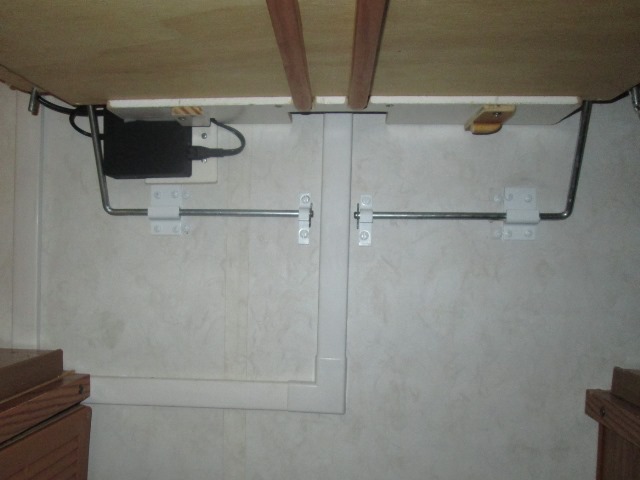
Kinda wish I ignored the USB port. Just makes the charger a bit 'visible' mounting where its accessible. Though certainly an improvement over cords draped all over the place. Or like is been for years, charger on table or laying on the seat. I wanted to see this before finishing. One, in case not obvious is when table dropped the charger will fall out. The other is being against the table support arm. Ill cut another small block as stop at front then bend a small wire or flat bar to hold charger against the wall when table dropped.That and some touch up painting.
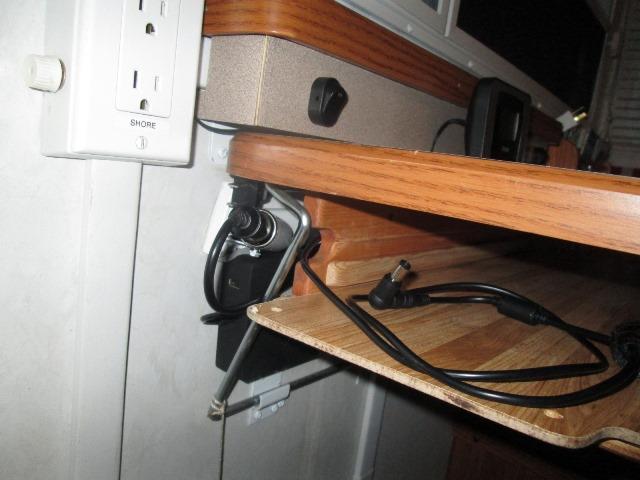
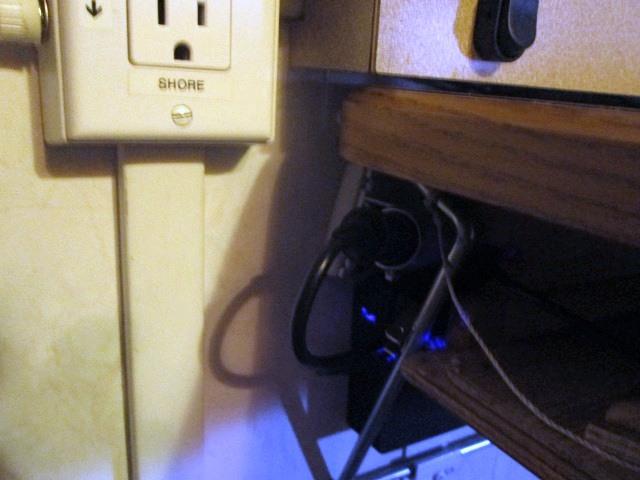
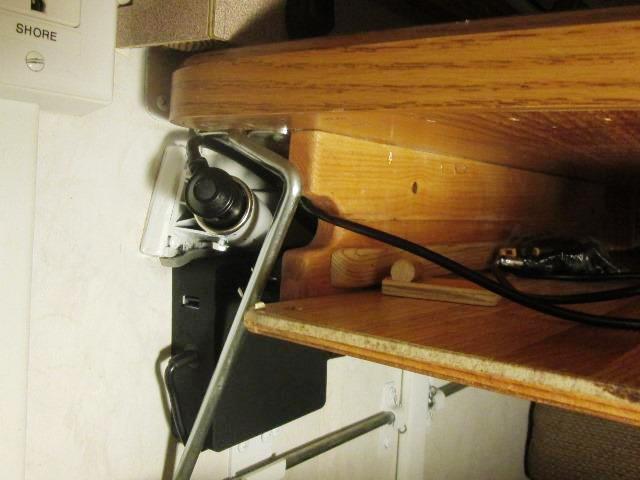
Not as sanitary as hoped but didn't spend a lot of effort. The 48" AC cord is pushed back inside laying on shelf out of sight, its end can just be seen. Easily pulled out enough to plug in. The DC input cord also is on shelf and seen here plugged into the 12v receptacle. Output cord can reach top of table while using laptop or when stored on the under table shelf lap top can be charged. Though it can be stuffed out of sight I imagine for practicality of access not. It is functional, normally cant be easily seen as shown in picture, but be nice to clean it up some how. I could, as 95% of the time the 12v will be source, is add another receptacle under table above the shelf. But that 5% I need to access easily to unplug. When plugged into 110v there is about 2+volts showing on the 12 plug so only one source cord an be plugged in at time.
All in all, have sort of a "built in " charger for laptop. Can use 110v shore/inverter or direct 12v source. Charger (for the most) part no longer laying in sight as are the cords and either occupying table or seat space. Just wish I was a bit more thrilled with appearance.
I had checked power consumption. Factory 110v and new charger both draw same on 110v thru inverter about 4-4.3 amps. Running new charger directly off 12v using 3.6 amps. Surprised me. I expected over head of charger bumping 12v to 19v to be at least equal to overhead of inverter use. That's a good thing so I guess I can live with its cord hanging out. Though we will only be charging from the 12v when the suns out on the solar panel the blue LED nice.
-
Cords hanging out bugged me to no end, plus using the USB had to fiddle with them to get access to the port. Just looks like crap. Got on line and found you can get right angle power plugs. Without hesitation decided to try to modify mine, if I fail just order one. But reworking this one I can minimize its overall length, cord at right angle instead of coming out end will allow it to be unseen and not looping out inches.
First I used a electric hair drier to reform the chargers outlet cord. Warmed it, till then formed to go down and wrap the charger box. Got rid of its large loop and need to go over top of charger.
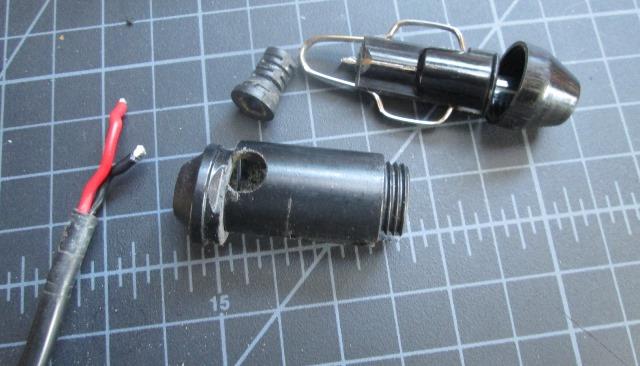
The power plug isn't designed like some to come apart. Tip unscrews but the ground springs and wire needs to come out front of housing and cant once assembled. I cant imagine anyone doing this but...
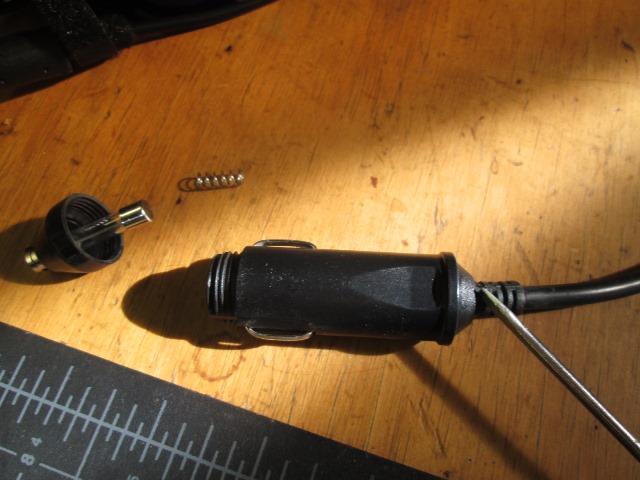
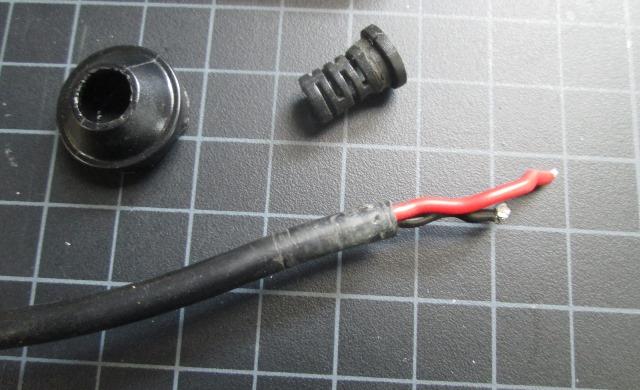
Unscrew tip, remove it, fuse and the spring-put the spring somewhere it wont roll off & get lost-PUT THE SPRING SOMEWHERE. I only searched for mine 3 times. Gently push the strain relief into end hosing hole, going around to get started, once slightly larger end is in hole, push it and the wire into housing.

The entire internal assembly should come out leaving housing on cord
Here I'm just looking at how long it is and what I can save or worth the effort. At this point could put back together. Easily 2" in the cord loop from end of strain relief but also from end of ground springs to strain relief is an inch.
Soldering leads at right angle, shortening housing to end at spring clips, will go from 4" plus, counting the cord loop, to 2" protrusion and no cord loop.
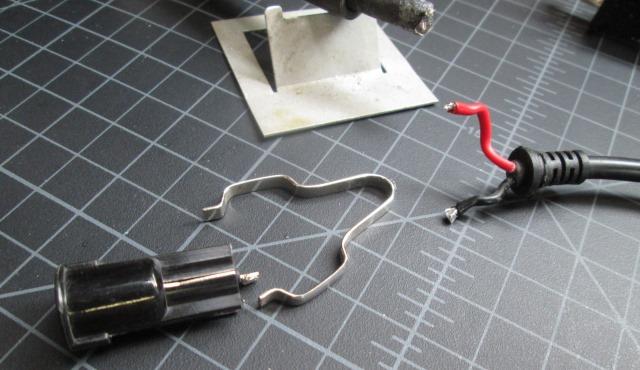
Remove spring clip, un solder wires. I need to get the housing off.
I was going to trim strain relief diameter to slide housing off cord but was abel, by inserting small screwdriver work it off cord. Never done that before..cool means I can reuse. Then slide housing off
Missing a couple of pictures but once housing off I drilled a hole thru one side to be in line with loop of spring clip. Then I cut off the end of housing about 1/8" from end. Then cut the housing, removing about 1/2". I just clipped the hole so when end is glued back on it will compress the strain relief. Though the larger OD will not allow it to come out just don't want it moving at all.
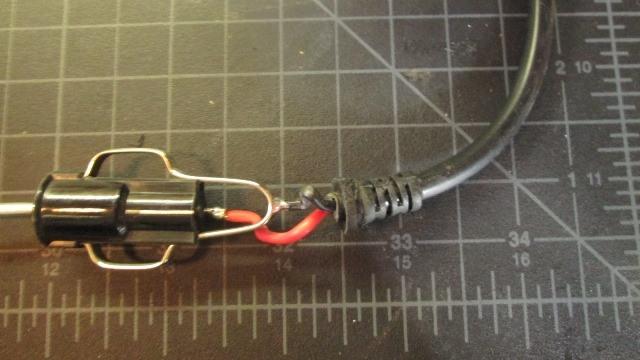
Slide end up cord, then the housing. A little effort got the strain relief slid back on cord. Cut maybe 3/16" of leads. Plan is to solder the red power to center lug, then slide housing back over internal assembly while folding cord/strain relief into open side of hole. Last is solder on ground wire then glue on end

Like that. Because the side of housing is thicker (almost 1/8" wall) than end and the edge of hole opening less the OD of strain relief had to help it in, a lot. Finally got it worked in but strain relief is captured. Soldered on ground lead.
As the strain relief bulging a bit because some of the fatter od is in hole carefully filled a slight radius in end cap so it contacts housing surface while still clamping strain relief but without to much pressure. Don't want it forcing end off.
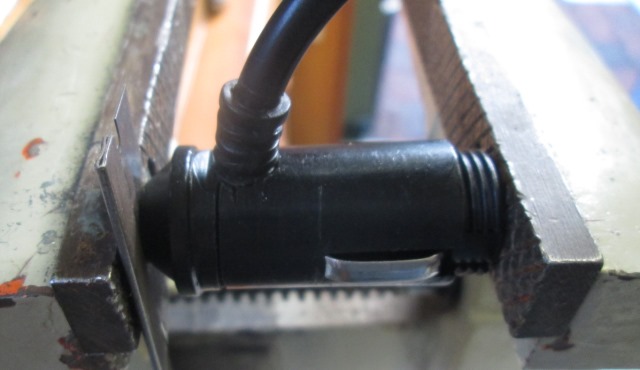
Super glued and clamped in vise. Once the tip is screwed back on, at this point all the end does is allow easily pulling plug out of receptacle. If end came loose plug wont come apart nor will the strain relief easily come out of hole. Would take intentionally effort. Inconvenient if end comes off but still function. Fortunately wont be removing often.
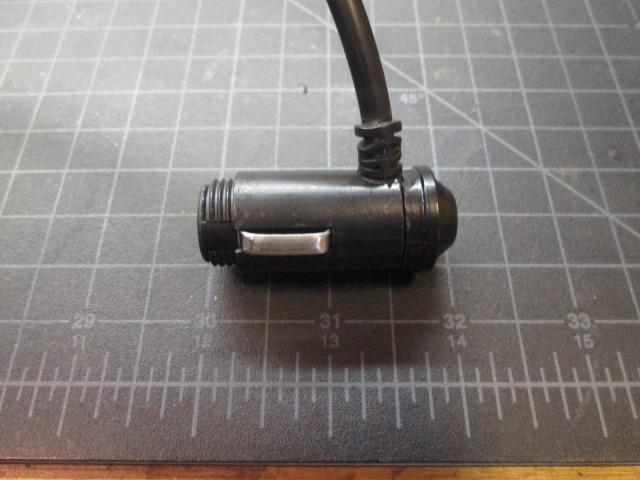
Whoo-woo. Wasn't sure, save a whole 3 bucks. But very compact.
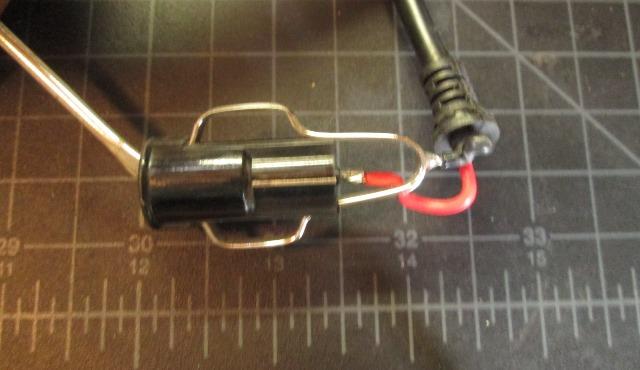
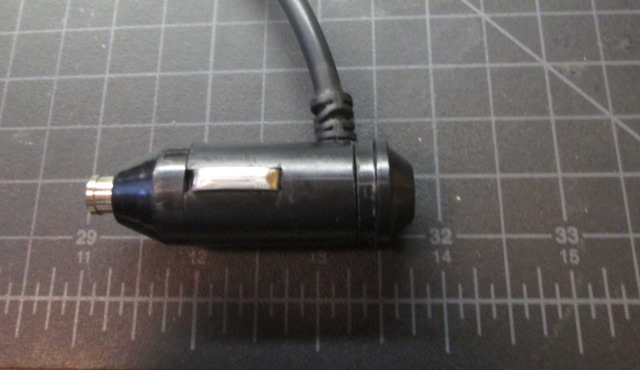
Tip off for comparative to earlier pictures. Plug inserts to just past the spring clips. Means reworked plug will now protrude from receptacle less than an inch. Before was almost 2". Cord will exit almost flush to receptacles straight up instead of the 4"+ loop it had to make.
Charger with 'new' modified 12v plug and the right angle adapter for my laptop
And installed.
Now were happy. No cords. Before the power cord looped way out and was still to tight trying to minimize how much showed. That and reforming the charge cord out of the way so its loop also gone. Both cords now more relaxed getting back to shelf.
USB port now easily accessed and visible. Pictures don't justify but really looks a lot better.
Tidied up under the table.
back to part 3, Adding the 12v receptacles for USB ports and wiring circuit
back Part 2, Add 110v Receptacle/Inverter remote switch
back Part 1, addition of under table shelf that started all this
Back to Ourelkhorn Camper Modifications page