Added a light switch for Bath

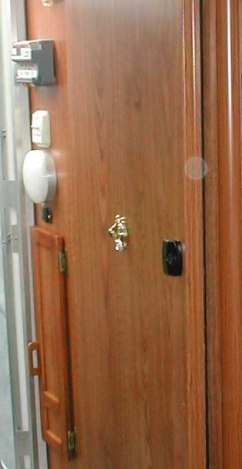
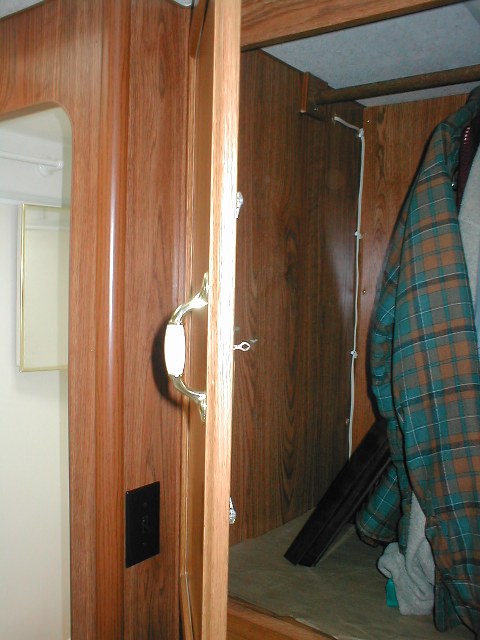
Our camper came with the bathroom light switch mounted at rear main door. I kinda understand, the power in and feeding the duplex switch , 1 for porch and 1 for bath. However it was really awkward, having the light switch behind the bath door, plain inconvenient. I had some time ago disconnected the bath light from switch and ran hot to bath light-adding a rocker switch to ceiling light. The original switch outside now controls an light I added as entrance light.

This worked fairly well, (better than outside behind door) as were fairly tall. At night though, finding it when dark wasn't always easy plus no one else could figure out switch was on ceiling "wheres the switch" and the grand kids couldn't reach it. Always wanted to run a switch on inside wall but couldn't figure how to snake the wire down.

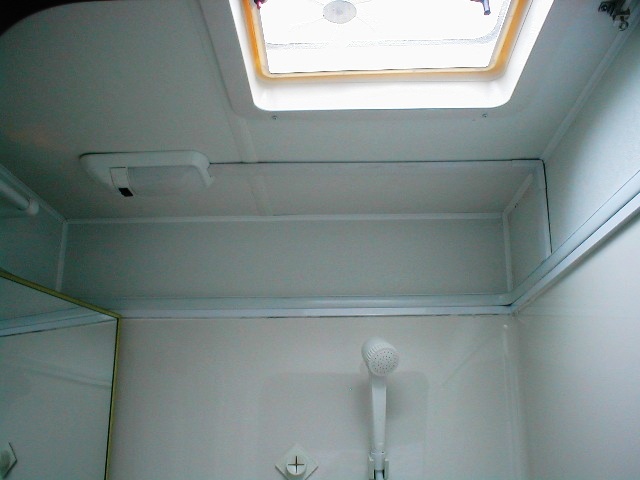
While I was in the hollow shower wall doing the extinguisher cabinet I realized how easy it would be, or would have been, to run a wire across for switch on the opening side of door and wondered why this hadn't been done in the 1st place. But decided to puzzle over it after completing fire extinguisher cabinet.

Old switch
After some serious eye balling I gave up idea of running wire across inside the outer wall, involved having to pull the paneling, too much effort. I finally came up with a simple way to route wire for switch. The main closet is next to the bath so I decided I could run a wire across the ceiling into closet, then to switch on outside wall. I have some left over wire cover from dinette receptacle addition so it'll not look to bad in the shower.

As the light power wire is always hot I disconnected from previously installed rocker switch & connected directly to light. I disconnected the lights ground wire. I'm making this a switched ground instead of running 16' of hot wire. Generally a switched ground isn't a good idea-but this is 12v on a 5amp fuse with light amp load 0.3 (LED)-no worries. I used simple 16ga lamp cord, tied one line to camper ground wire, the other line to light.

Drilled a small hole at ceiling to access the closet. Ran wire across from light into the closet. I ran down the wall in corner. Was going to enter behind false closet back but I may do something later with 'hidden' area that's currently unused behind the entire closet back. Left some extra wire so I can reroute later if needed/desired. Removed closet false bottom board then ran wire over to door. Drilled a hole where new switch would go and one behind the closet door under bottom. Snaked the wire into wall, behind door then back out switch hole.

Oops
pic of wire run
Note, this does look a bit hokey running down the wall but just too much easier. There's is only 1 cross brace inside the hollow wall- If Id spent couple of hours I could have fished completely inside- but not worth the effort IMO nor expense of more loom cover. When clothes are in -its not visible, and as mentioned I may reroute or cover though.

The shower stall has a curved inside so there was enough space between it and the exterior paneling for a elect box. Wired up switch, installed and put on the face plate.

Oops
pic of ceiling wire run

Wire run was easy. Back in the bath, now to make it pretty..
I carved the light base a bit to accept the wire cover. Ran the cover down to the shower wall with an ell for appearance but the wire exits bout 2" down from ceiling. Would have been nice to run under cieling panle (I tried) but there is rafter between light & wall, I can live with it.

Oops

This is SO much more convenient to use...using the rocker switch on the light was one of those little things you get use to doing that still is awkward, not realizing how much so until its gone.

Back to Ourelkhorn Camper Modifications page