Replace bathroom cabinet
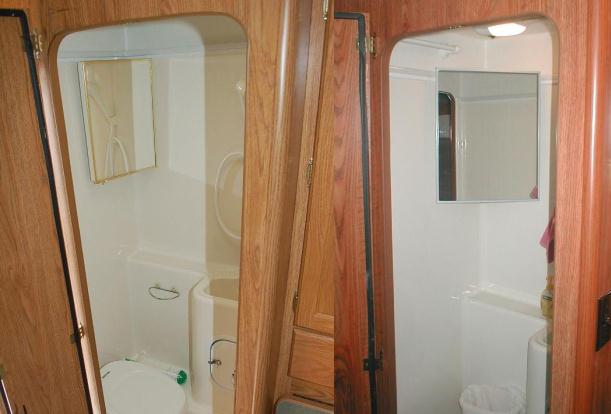
Our bathroom cabinet is a funny lil thing as shown below. Never thought about replacing but itís always been a bit inconvenient to use. Itís a tapered box ( one side only lil over an inch deep) that sets in corner against wall, allowing it to angle toward center of bath, but you still have to lean over the toilet while bending a bit over sink to actually see in the mirror. Also quite small but it worked. Had the opportunity to upgrade for free-sorta...
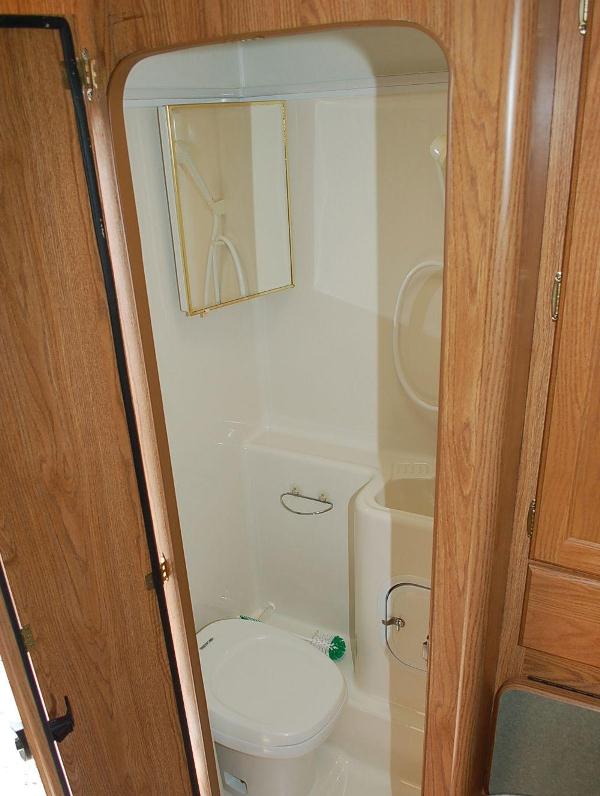 Long story short- We recently replaced the kitchen sink in our home-It was mandated I was never to use the new kitchen sink for washing machined parts-cleaning brushes etc. Actually using solvents and boraxo etc. was also taboo so it was decided I need a service sink outside. So I finally ended up with my own shop sink. Actually nice-extremely convenient, but really need a cabinet to put my cleaning stuff in.
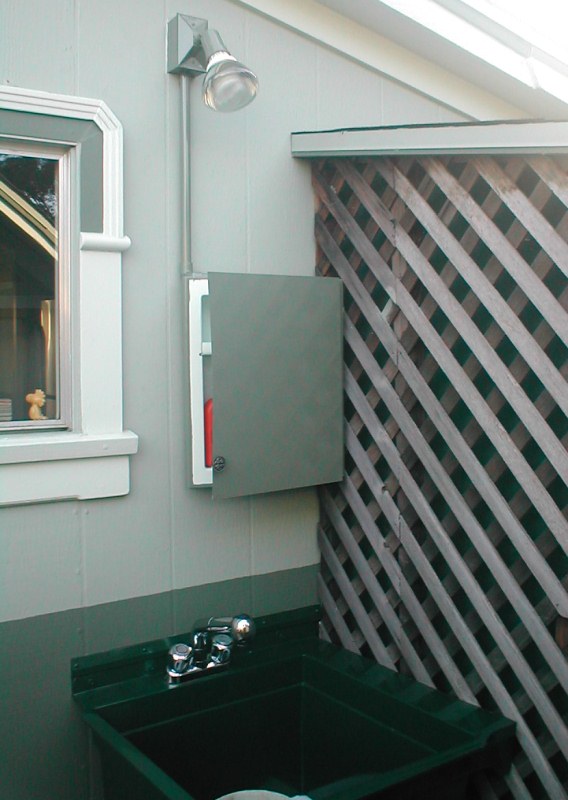
Picked up a cheap bathroom cabinet to put over MY new sink. When I got it home it struck me that as itís a bit larger than whatís in the camper-has stainless instead of brass trim, 3 shelves instead of 2. Decided to put it in the camper and recycle old one to new outside sink. Removed old camper cabinet and holding up figured out the new cabinet will set at a better angle so no more leaning to see in it, more storage-larger mirror. cool. But first I need to button up my outside sink. Then tackle the new cabinet, it will require some sort of mods as the shelves have no lip-rods etc. to keep stuff from falling out like the old one. Took the old one to shop-removed the mirror and painted to match house. Hereís my 'new' outside cabinet installed above new sink. This is just outside my shop, a few feet away is where I generally weld and grind-canít tell you how much this will be used-Iím stoked, really glad I remodeled the kitchen:).
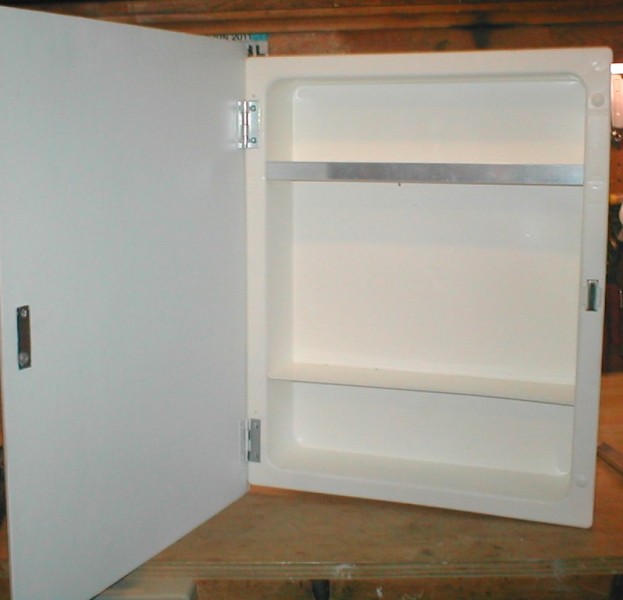
 Now for the campers new cabinet. In looking at the new cabinet all I could come up with was some 1/2" x 3/4" aluminum angle to make lips so stuff doesnít roll off shelves. Removed the mirror. Cut a piece of angle to check, Iíll use rivets to attach. They'll need to up thru bottom so end of rivet doesnít protrude and is behind angle.
 And 'lipped'. Nice also stiffens the very thin plastic shelves. Cut angle to fit, drilled 1/8" rivet holes, marked the shelves and match drilled. Getting rivet gun behind angle only was doable because I had an old pop rivet gun with bent/offset handle. My better gun wouldnít fit between shelves. Otherwise some small screws and nuts would be an option.
I then drilled the sides so I could insert some 7/32" tube to keep stuff from falling over. The center shelf I added extra holes for some adjustability in height, want it high enough tall stuff cant tip over yet can easily be taken out. I drilled the tube ends inside of cabinet, drop a clip (literally paper clips) thru the holes to fix in place. Remove clip slide tube over 3/8" and it comes out. Should work. Once center area height is chosen doubt tube will be moved, the upper one though not sure we may not use.
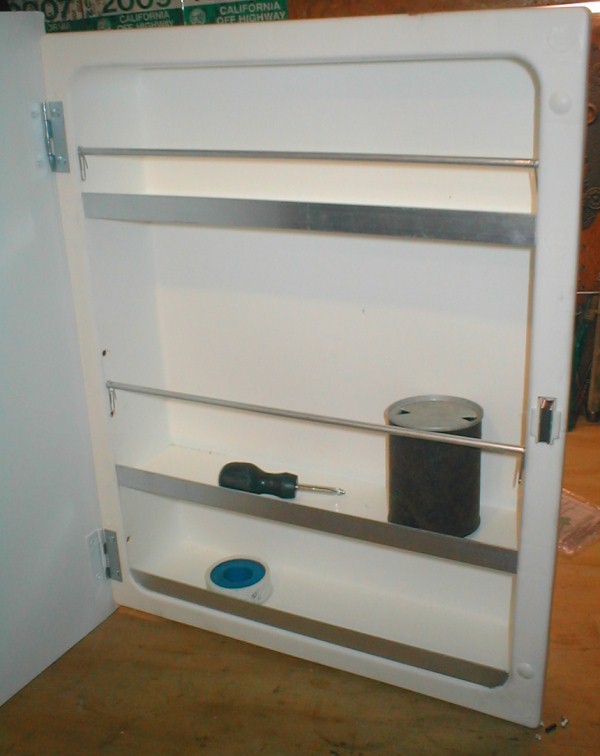 And finished, well cabinet shelf mods. When I removed the mirror discovered the 'door' is cardboard. The whole time I modded shelves I pondered this. I have some sheet aluminum (old dishwasher face) that I could make a new door. I tried to convince myself the cardboard door would work. But as this is going in a camper not in house it will see a lot of vibration, humidity levels are extreme. It might work, just afraid of the glass mirror hanging on 2 small hinges riveted to cardboard...so the project grows. Guess thatís why cabinet was so cheap. Plus side is in making new door I can add second magnetic latch, the door opens too easily. Also I can shift the hinges over, they are mounted to far inboard, when door swings overhang hits side of cabinet & will only open 90 °. Welp-writing this convinced me to remake door...be right back.
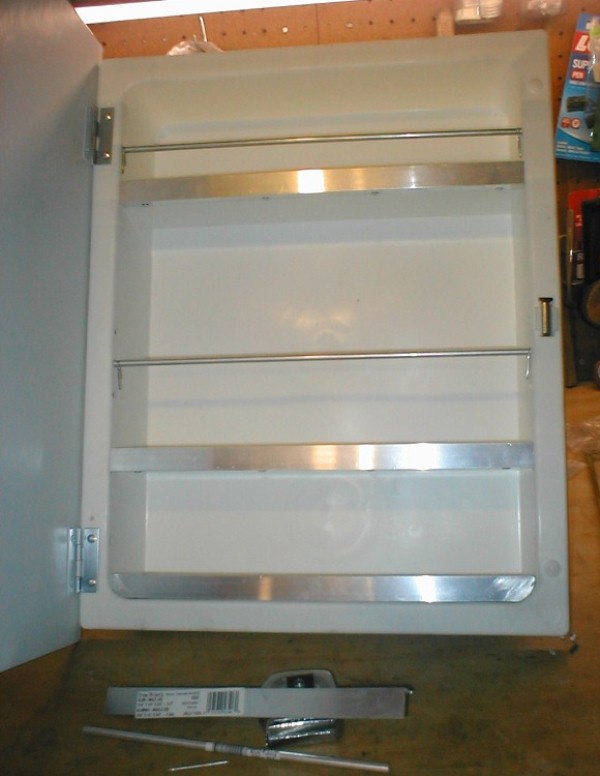
New door, hinges and catches
Ok--another project gone wild-Finished door. Cut a sheet of aluminum same size as cardboard door. Redrilled both the al & cardboard door for some larger hinges I had. I ended up making 1/8" split rivets to attach hinges to door. Works well but a pain-comes in handy when no room for bulged rivet end. (Drive out the 'nail' on aluminum pop rivet, cut length that will protrude beyond thickness of materials joined in half, insert, use screwdriver to start to bend over then hammer flat). At any rate the hinges are also wider so door will swing open now about 140°.
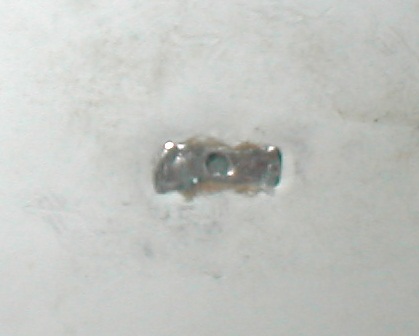 As I used the cardboard between the mirror and al door it compressed enough so the split rivets are below mirror surface. Made 2 more 3/16"split rivets to attach new mag catch plates. placed some masking tape over rivets just in case. time to install this "simple" swap out...Ill reinstall mirror after final install.
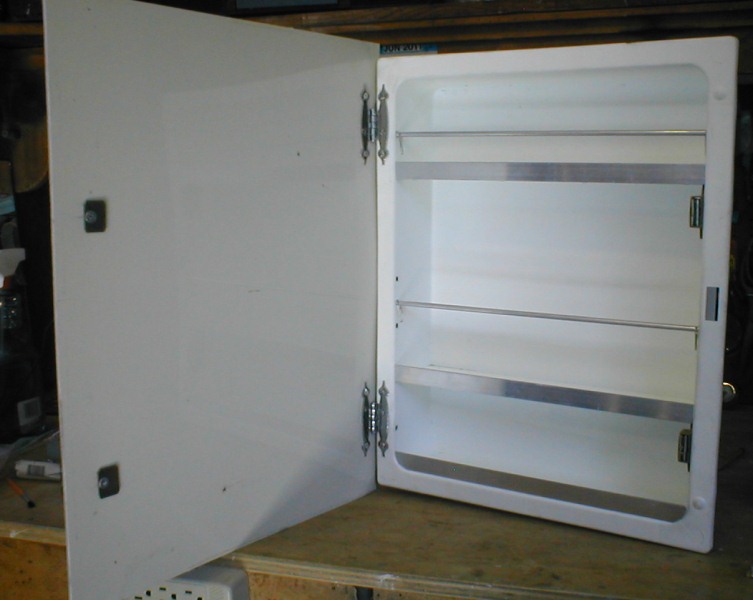
Installed. Well picture of new cabinet, not that its spectacular-just a bath cab. If you look at 1st pic you can see the difference. The larger interior gives a bit more room, setting at a greater angle in corner actually a lot more practical to use. It doesnít intrude on interior space and you can stand straight to see in mirror. Have no idea why it was shaped as it was or installed like it was. Also I swung door opposite from what it was, shown above. makes it easier to retrieve stuff when using sink. 'Free' project.
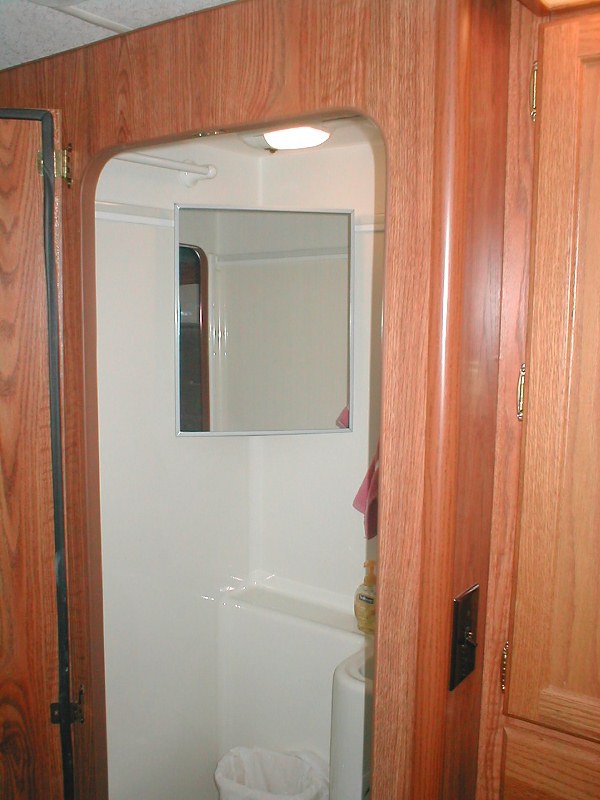 Well if you took the time to actually read this guess I could add a comparison pic
Before and after side by side.
Back to Ourelkhorn Camper Modifications page
|


